
Hello! Welcome back to another article. Unfortunately I haven’t been posting too much, partially because I was preparing this deck for the Vienna Tabletop Championships. Today I wanted to spotlight my deck there!
I will first go over the general gameplan of the deck and what you want to achieve with it. Then, I will quickly review the objectives as well as provide a brief explanation of why I picked them and what they did. This will be followed by power cards.
GAMEPLAN
First of all, it might help if you have the decklist:
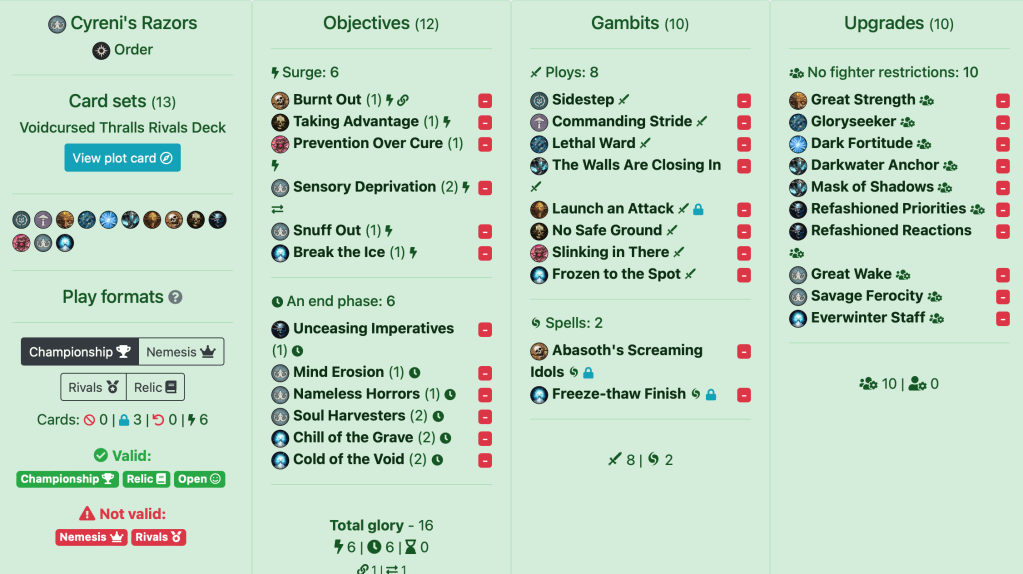
The plot card I chose to go with is Voidcurse. This is because Cyreni’s Razors are one of the most fragile beings on the planet and shatter from 1-2 attacks each. Voidcurse helps with outmaneuvering the opponent, mostly through the Refashioned Cards.
The plan with this deck is to, as any aggro Cyreni player would do, longboard and sit at the very end of the board. My personal favorite board for this is The Tortured Coil, but only if you position the boards. It counters the popular Stricken Swamp when used correctly as it hides 4 of your fighters on the back near lethals as well as gives Cyreni 2 targets for Hammertide immediately.
Since your warband is stupidly fragile and melts away fast, it may surprise some that there are no defensive upgrades at all in this deck. No Great Fortitude, Champion’s Fortitude, no Frostwyrm Cloak or nothing. This is because the main idea here is to Prevent damage rather than Cure (or reduce it). This is relatively easy due to your warband’s solid Range 2 attacks, as well as Hammertide. Finally, the best way to prevent an attack is to eliminate the attacker, which is the main idea of this deck. Eliminate the attacker. This deck invests all 3 R slots into pings and the objectives lean heavily into killing enemies as well. 6 pings and 4 pushes (to line up Hammertide) ensure that your enemy does not have a great time when invading you.
Key things to remember here:
– Don’t be too aggressive, especially when playing against aggro warbands. Your warband melts if it’s played improperly. Your 1 defense dice isn’t getting you far.
– Don’t be too passive either. If your opponent starts taking the objectives and scoring more than you can, get there ASAP. Your deck doesn’t require positioning too much, so you can focus on denial really well.
– Hammertide is crucial. While 1 damage + stagger does not sound like a lot, it’s A) Unblockable and B) softens up easy targets and finally C) infinite range. Always make use of it. Threaten opponents by simply moving Cyreni herself around. Block hexes where opponents can charge by moving Cyreni into position. Hammertide is too powerful of a tool to ignore, for you and your opponent.
– Finally, a common misconception that I heard in general was that the Thralls are useless. I found that those guys can do some serious damage, as well as the squid. All your fighters have the potential to pull some serious weight, don’t forget to employ them. Alathyr’s cleave and scything when inspired can pose a threat to any shields or in very edge cases swarm warbands, and Renglaith’s Grievous can help a lot in putting down tough guys.
OBJECTIVES


Burnt Out – Typically a late-round surge but you will score it in most cases. Some things to remember for it is that Salvaging spells will deny it. A tip I have for scoring it is to not waste all your cards in the first activation to get this done. Sure, you have 5 ploys and this in hand but those ploys are useful. However, if you are in the final power step of a round and have just a Push sitting around, play it: it’s worth it at the end. The reason I took this in place of Devoted Offerings is cause of my deck having 2 Spells, so I don’t have as much ploys or draw tech.
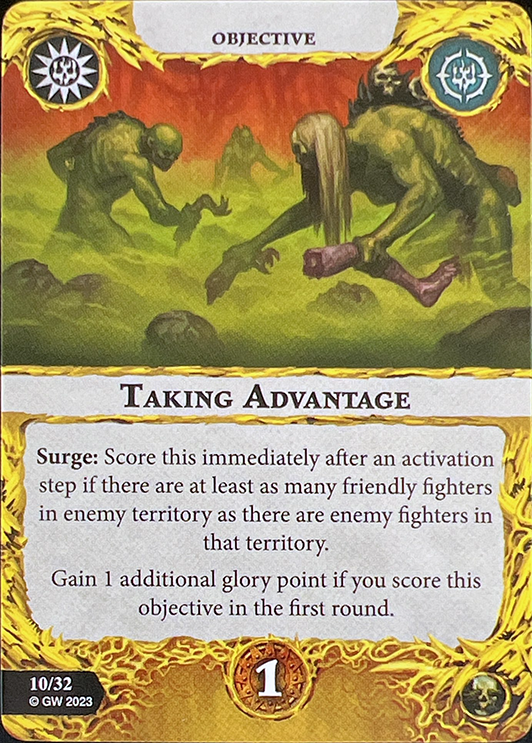
Taking Advantage – For a warband that wants to sit at the back and shoot Hammertides at opponents, this may seem like an odd choice. The reason for this card is that it can be scored with 0 enemy fighters in enemy territory. Since most of the time opponents will invade when pressured by Hammertide, this shouldn’t be a problem. When all else fails, Cephanyr can Phase Ink into enemy territory to get this.
Prevention Over Cure – You will be doing a lot of killing, this card rewards you for doing so, especially since you have ways of getting opponents off of objectives (such as Lethal Ward, Screaming Idols, and Freeze-Thaw Finish).


Sensory Deprivation – A greedy surge, neither condition is too difficult provided your opponent is not spamming the Guard action. I reliably scored this even against 3 fighter elites, usually in the Stagger condition, with the help of the Phase Ink reaction and Hammertide, as well as No Safe Ground and even Barge! The kill condition isn’t too bad either and in most cases is actually the one you are going for. Unfortunately, this card does get very difficult vs. 3 fighter elites especially in Round 1, getting easier as the game progresses.
Snuff Out – A fantastic kill surge. Scorable via attacks, Hammertides, and gambits. Most of the time it isn’t a big problem that you are dealing too much damage and overshooting the ‘exact’ condition. In cases where you do, my recommendation is to just kill the enemy and either discard this in the end phase or keep it for the future. Remember, prevention of damage is crucial to your survival.
Break the Ice – This is a fantastic objective with Hammertide. It’s almost auto-score in Round 1, but is really dice-dependent in Rounds 2-3 (due to the roll-off). Still, I found it to be consistent enough to deserve a surge slot (not that I could find a reliable alternative).


Unceasing Imperatives – A relatively easy card provided you don’t get your Voidcursed fighter (who should be a Thrall) killed. Your opponent can also score it for you, which is nice. It doesn’t require much positioning too.
Mind Erosion – Due to the sheer amount of stagger you are pumping out this is not too difficult. Survivors of Hammertide score this for you, as well as targets affected by No Safe Ground and Phase Ink. Even your opponent delving will get it! So will Barging, if worse comes to worse. One issue with this card is that you may be tempted to leave a staggered fighter alive to score it. Don’t, if you do, you risk that fighter running around and killing a few of your guys. Always make sure to prioritize killing enemies!
Nameless Horrors – A surprisingly easier version of Cold of the Void. Scored when you have no enemies adjacent to your fighters, as long as you stay a couple hexes away you’re fine. It also helps that you all have Range 2 attacks (but Cephanyr, who can teleport away anyway).


Soul Harvesters – Since your plan is to kill opponents while preventing future attacks done to you, this should be fairly simple. This card was put in the deck because my previous edition had Quota of Souls, something which was little difficult with this new version, but I still needed a good 2 glory end phase. Luckily, you only need to get 1 kill to score this.
Chill of the Grave – Once again, you want to kill opponents and can do it consistently so this a win-more card.
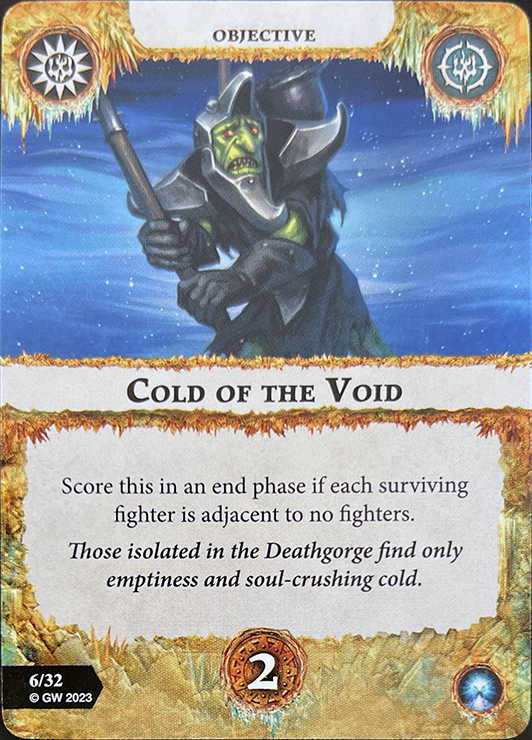
Cold of the Void – A gamble in Bo3, but most of my games I did score it. It’s easier to deny than Nameless Horrors but luckily it was popular enough to make my opponents run it for themselves, so it wasn’t in their interest to deny it. I don’t know how long it will stay that way though. The main reason this card was run was for a passive, no kills required 2 glory end phase. If you have another option, go for it!
POWER CARDS
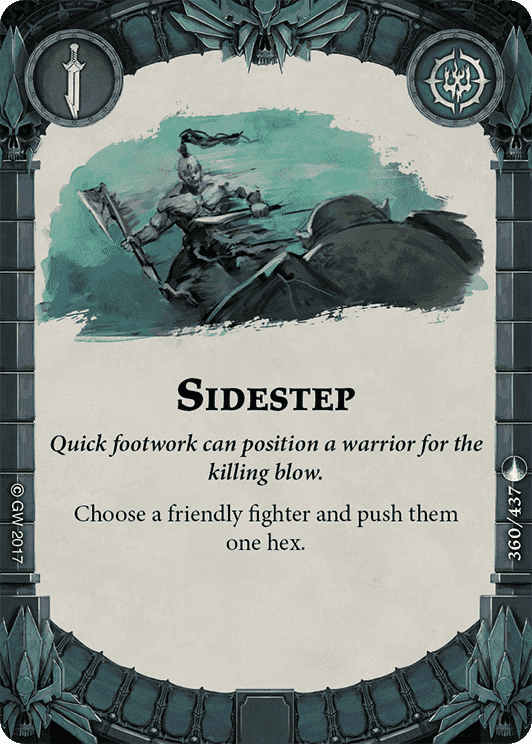


Sidestep – A simple push. You can get away from attackers with it or (I put it in mainly for this) set up Hammertide.
Commanding Stride – A less simple of a push. Push Cyreni 3 hexes so she ends on a starting hex. You typically don’t want to lose Cyreni, so this card not being salvageable only hurt me in one game. The key thing about this card is that opponents typically stop caring about where starting hexes are positioned after Round 1 so in Round 2/3 it can be a nice surprise Hammertide set-up. It is also VERY effective at preventing attacks against Cyreni in cases where you can leverage the full 3 hexes of the push.
Lethal Ward – A ping with no dice necessary. Overall really nice, most opponents tend to move onto feature tokens (that happen to be objectives) anyway. This card also combos really nicely with Abasoth’s Screaming Idols. Against aggro warbands, the play with this card was setting up objective tokens to drive enemies back onto them to play this card.
The Walls Are Closing In – Not a common card, but in a longboard (which Cyreni enjoys) it’s devastating. In full boards less so, but even then I managed to set up nice attacks for 3 damage by playing this card in my opponent’s power step, charging someone with 2 damage on my activation, following with a drive back into an edge hex to have this card trigger. Finally, I don’t know if this must be said but do try and prevent pinging yourself with this. You know the card is coming, avoid it!

Launch an Attack – The first restricted slot goes to Launch an Attack. Mainly because it requires no dice and has 4 range, which is great for a ping, but also because of the fear of False Gifts and Singular Reshaping.
No Safe Ground – Another push. This time, it can be used on opponents as well as your own guys. I took this card mainly for setting up Hammertides but also to help score Sensory Deprivation, it makes that card 1000 times easier. I typically don’t recommend pushing yourself out of attack range with this since you get staggered, but if it’s the only option/you just want to reposition yourself with no threat of an attack, by all means use it to push yourself!
Slinking in There – Sidestep+. Not much more to say about this!
Frozen to the Spot – A ping and a prevention card! Your opponents taking damage whilst moving is really good for you. First of all, it hinders their positioning. Second, it messes up their chances at getting away from Hammertide undamaged. And finally (and most importantly), it puts a much bigger price on charging you. This is a really crucial ping to your survival! Just make sure to play it activation 1 and on fighters who move themselves by activating (not like the Exiled Dead who all move through Danse Dynamic).
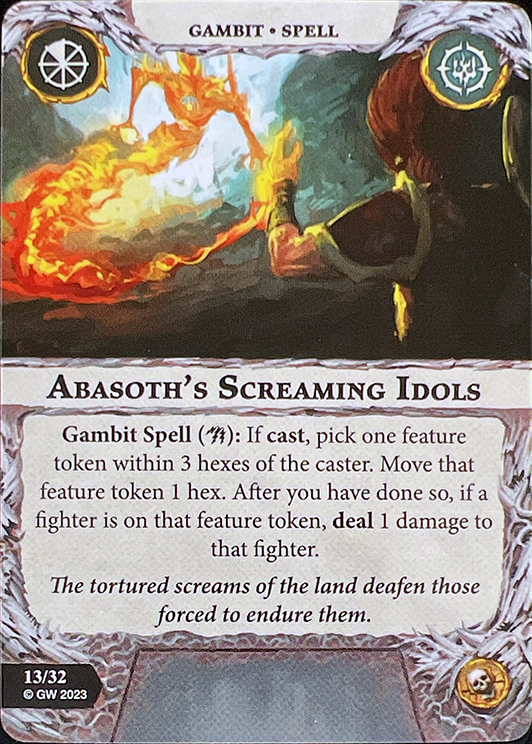


Abasoth’s Screaming Idols – A nice ping with technically 4 range, it also combos with Lethal Ward and Freeze-Thaw Finish. It’s also easy to cast so might as well run it.
Freeze-Thaw Finish – A long range ping that damages a visible enemy next to a feature token. Due to a bunch of pings being R’ed my opponents didn’t expect this barrage of pings, so this ping usually went uncountered (not that it’s easy to counter anyway).
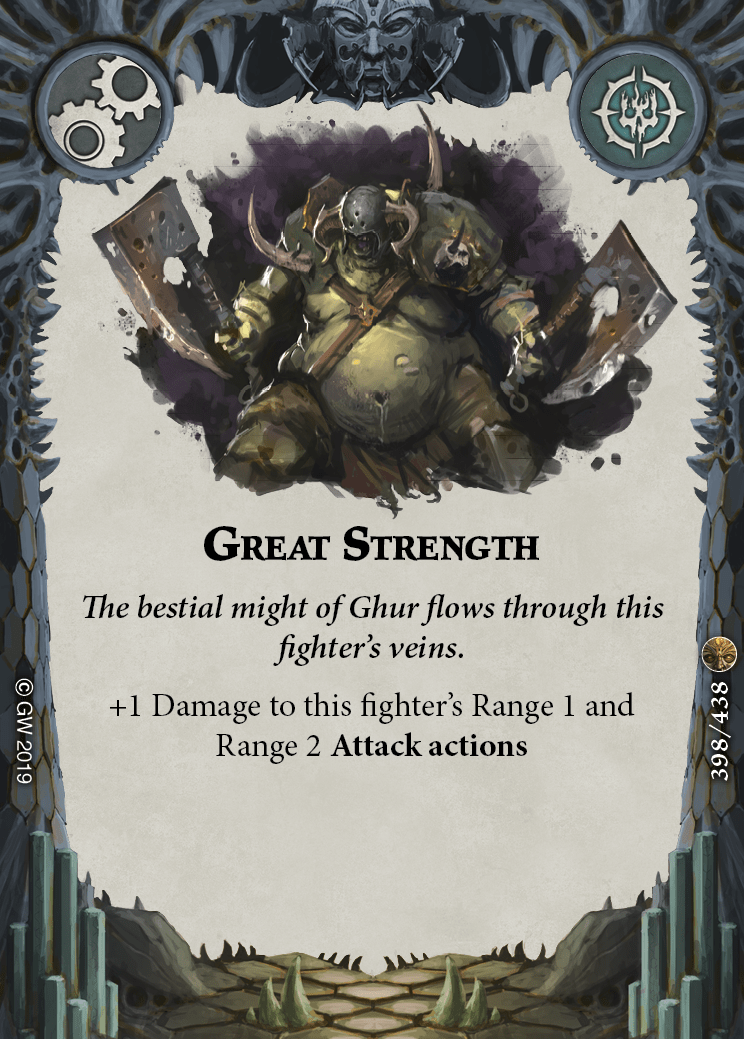
Great Strength – The first upgrade. More damage is always nice.
Gloryseeker – Same as above, just slightly less universal (not that warbands who don’t have a 4 wound fighter are common).


Dark Fortitude – I started liking this card since the release of Deathgorge. The ability to Heal 2 is always nice, and I preferred this over something like Great Fortitude due to it not making Cyreni and Cephanyr large. Also, as you may notice I didn’t have too much good upgrade slots so this helped fill them up.
Darkwater Anchor – Not being pushable is always nice, but another reason this card is here was cause of the recent surge in Range 3+ attacks that are 2 damage. Ephilim, Domitan, even Hexbane can reach Range 3 with 2 Damage, and all 3 of those could have appeared at any time.
Mask of Shadows – Another interesting choice of a card, this one is here because of the amount of Range 2+ attacks in the meta right now. Not being able to be attacked while the attacker isn’t adjacent is huge. This also combos nicely with Great Wake/Refashioned Priorities/Refashioned Reactions. A huge player in helping me avoid attacks.
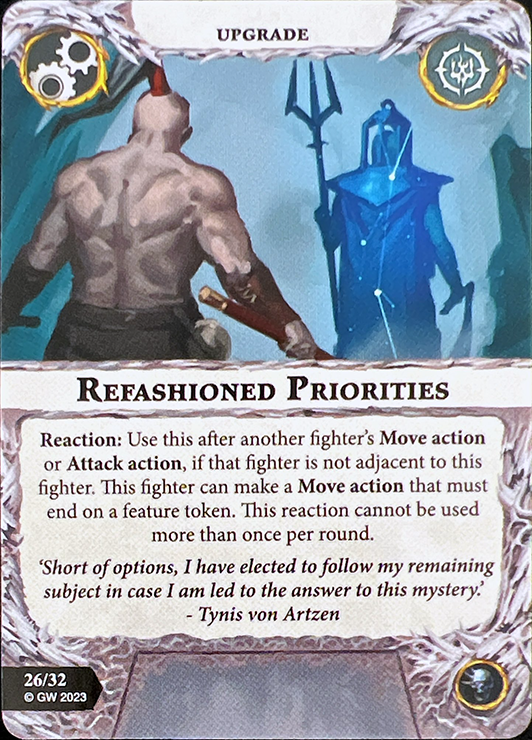
Refashioned Priorities – One of the most versatile cards in the deck, this is the reason this deck uses the Voidcursed Thralls plot instead of anything else. Being able to reposition to avoid attacks or set up Hammertides is massive for this warband and deck specifically.
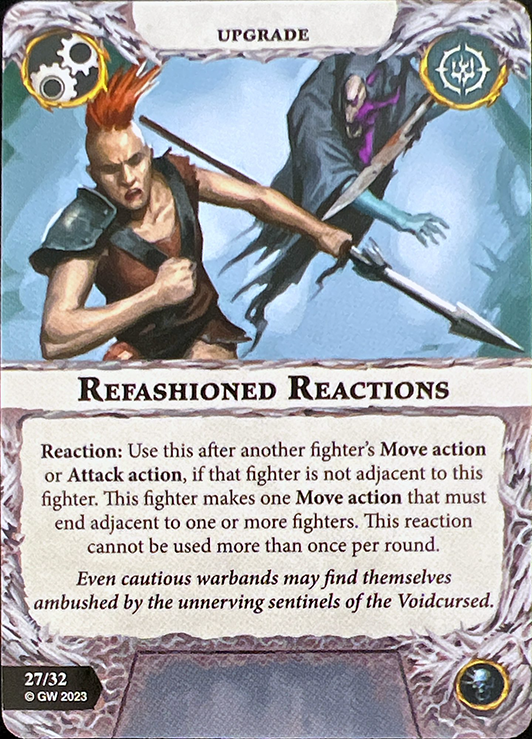


Refashioned Reactions – Same as above. This helps me position for Hammertides/avoid attacks. If these Refashioned cards are comboed together, you can avoid almost any charge being made into you!
Great Wake – This is mostly here because of the 2 Refashioned Upgrades synergizing well with this. It wasn’t too useful now that I look back, but the plan was that it could help me avoid melee attacks. In my experience it was mostly used as Launch an Attack ammunition.
Savage Ferocity – Accuracy is always nice, and this card does not disappoint in providing that.
Everwinter Staff – The final upgrade in the deck. First of all, being made into a wizard lets me cast Abasoth’s Screaming Idols without having to send Cyreni in close. Second, it gives me backup wizards. Finally, this attack can potentially benefit half my warband: Cyreni uninspired will have the same accuracy but not have to worry about backlash, and Cephanyr will receive a nice range 2 attack.
And that’s it! Thank you for reading! If you have any feedback or questions, you can contact me on Discord (VintroV2). I will keep tinkering with Cyreni and posting my achievements with them on this blog, so I hope to see you again soon!
