
Hello all! Both Michael and Ben here. Today we will be discussing a very important topic – who should I be charging first?
It is a common occurrence to have more than one fighter that is attackable (and who attacking won’t lose you the game). This article aims to reduce the amount of dilemmas that arise from this issue!
Since Ben and I both play different warbands we will be co writing this article. Let’s begin!
This article is part of the Kill Priority for Each Warband Series. We so far have one other article out, for Order, which can be found here:
Order Kill Order
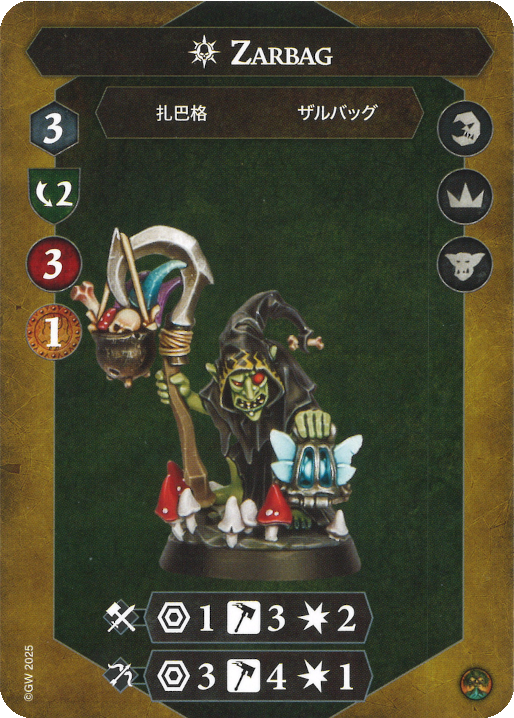
Zarbag’s Gitz
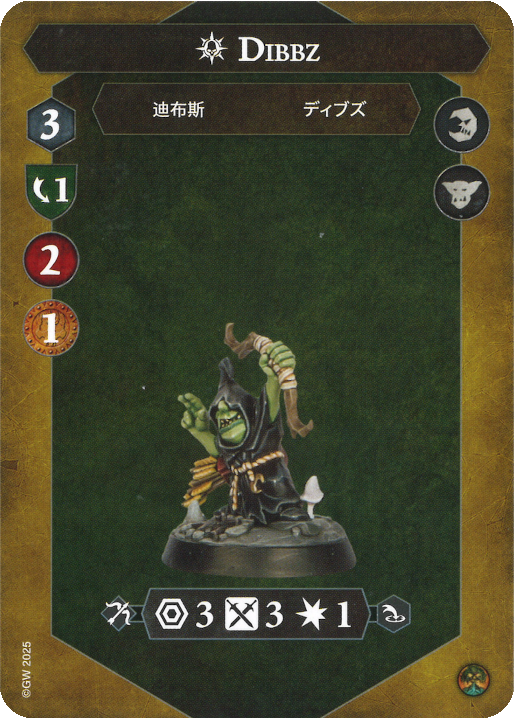
Michael: 9 Fighters means lots of options! For the purposes of this list, I’ll organize Dibbz, Redkap, and Stikkit as the ‘archers’.
First – Snirk. He is a major threat on the board and unless you are playing Wrack and Ruin it is unlikely you will be able to capitalize several times on his Whirlin ability damaging his own Gitz. He also goes to 3 dodge when inspired. Overall, the only times you don’t want him dead instantly is if you are playing Wrack and Ruin or if you have lots of Ensnare (in which case you still want him dead ASAP). If you are scared of missing into his 2 Dodge, an alternative first target is the Squigs. They are super good and typically deploy up front for easy pickings.
Ben: I have to agree with Snirk being the first fighter to go. He allows the warband to deal way more damage, whether by his 3 damage attack or a squig charging you and driving you back into Snirk.
Michael: The general order would want to see the squigs dead after Snirk. They are super accurate when inspired and easy to hit while uninspired so take your free bounty! If you have lots of Ensnare, Zarbag should go down ASAP as he is a big threat on the board with his high accuracy. If you are leveraging Snirk, then make sure to kill the Shootaz with Volley second, as they can ping-pong you around Snirk for a potential 4 damage in one activation (super balanced).
Ben: The squigs should be the second ones to go, as this early on they only defend on one dodge and they are very accurate and deal 2 damage alone.
Michael: The general order would want to see the Volley archers dead, but there are some exceptions – such as them being Inspired, in which case I would kill Drizgit. If you are keeping Snirk alive, I would go for either Prog (uninspired) or Zarbag (inspired) next as they both are very good at leveraging Snirk with their Range 3 attacks.
Ben: Now Drizgit should probably go, as the archers are less deadly with Snirk off the board and are probably inspired, giving them better defences.
Michael: By this point we will assume everyone is inspired. The general order will want Drizgit (assuming he is alive) off the board now. He is the easier one to kill off the people with good melee attacks left. If you are keeping Snirk alive, kill whoever you didn’t kill in the previous step.
Ben: Next to die should be Zarbag himself, as the other fighters also defend on 2 dodge and he has the best melee attack left and hits on 4 hammers on his ranged attack for some reason.
Michael: Next we want Zarbag dead as his 2 dodge is no longer exclusive and he is the biggest threat of the guys left! He has by far the best ranged and melee attack still on the Gitz side. Snirk-lovers would want to kill Drizgit next, partially cause the only other option is Snirk but mainly because he has the more accurate attack that is left.
Ben: Now the archers should go, as they can attack twice with volley while Prog can only attack once.
Michael: General order will want Prog dead, because he is the last one left. He is a slightly more accurate but seriously less damaging version of the Volley archers, so he is not that big of a threat. In the other order, it is finally time for Snirk to die! He has been leveraged enough hopefully by this point.
Ben: Finally, I think Prog should be the last one to go. He is not threatening enough and mostly just a body Zarbag uses to delve.
Michael’s Order: Snirk, then the Squigs, then the Volley archers (Stikkit, Dibz, Redkap), then Drizgit, Zarbag, and ending with Prog.
Ben’s Order: Snirk, Squigs, Drizgit, Zarbag, the Archers, and Prog.
Leveraging Whirlin: Squigs, Volley Archers, Prog uninspired, Zarbag, Prog inspired, Drizgit, and Snirk last.
Mollog’s Mob
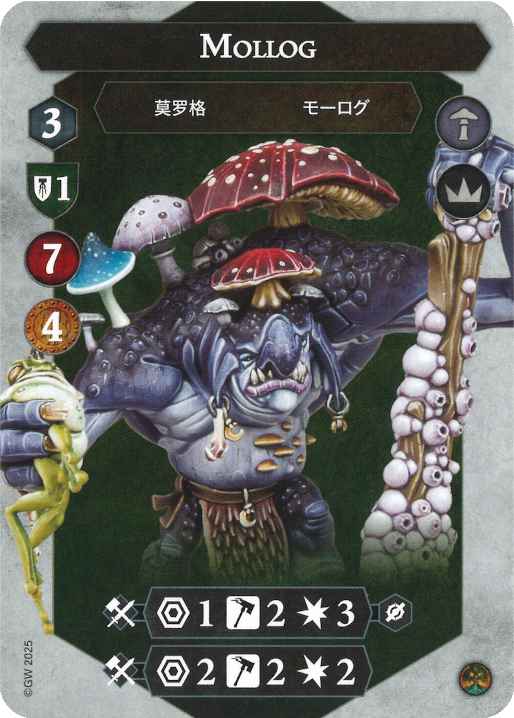
Michael: Mollog has 2 kill orders – kill big guy, or don’t kill big guy.
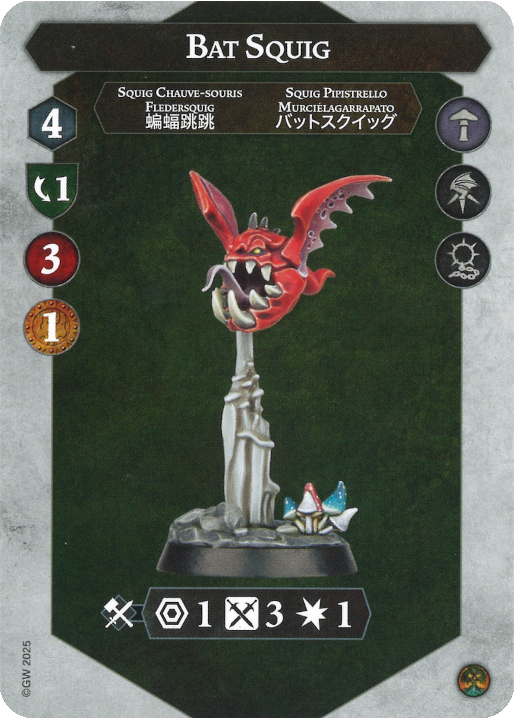
Kill big guy has a very obvious first target – Mollog himself. Obviously this is a risky strategy as it involves getting super close to a super dangerous fighter, but it’s worth it in the end. The don’t kill big guy order will have you focusing down Bat Squig. He is the strongest of the minions as he can move faster than all of them and is pretty accurate!
Ben: I am a fan of the kill big guy route, but I agree that the strongest minion is the Bat Squig. He has the highest move and a decently accurate attack.
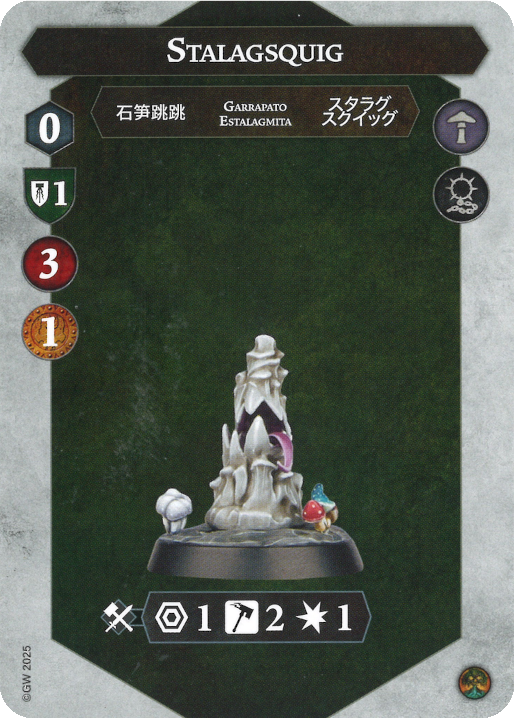
The kill big guy order will want Bat Squig dead next for the reasons above. The second minion dead in ‘don’t kill big guy’ is Spiteshroom. He poses a slightly larger threat than Stalagsquig assuming the rock doesn’t have any movement upgrades yet, as the shroom can move which is a major boon.
Ben: Spiteshroom should be the second minion to go, as even though he is less accurate, he has a movement speed which makes him way more threatening.
Third in the kill big guy order is Spiteshroom, for the reasons above, but also for the added reason of killing the rock will allow the shroom to hit charged out – and we don’t want that! Third in the don’t kill big guy order is a gamble – you can try and kill the Stalagsquig, but then you enable Mollog to hit charged out. Alternatively, you can focus Mollog immediately now and pray you survive contact!
Ben: I agree with Michael on this one. Mollog could be killed here in the don’t kill big guy order, as getting him charged out is a massive damage spike.
Fourth and last, kill big guy order would want to see the stationary Stalagsquig dead. He has done his job of not letting you hit charged out, he can go off the board now! In the don’t kill big guy order, Mollog is last to go. You should consider the game state as sometimes the optimal strategy is just to leave Mollog alive and not let him get any attacks on you, but you do you!
Kill Big Guy – Mollog – Bat Squig – Spiteshroom – Stalagsquig
Don’t Kill Big Guy – Bat Squid – Spiteshroom – Stalagsquig (optional) – Mollog
Morgok’s Krushas
Michael: The Krushas are pretty terrifiying.
There will be two kill orders here – Cleave, for if you have easy access to Cleave, and No Cleave, for if you don’t.
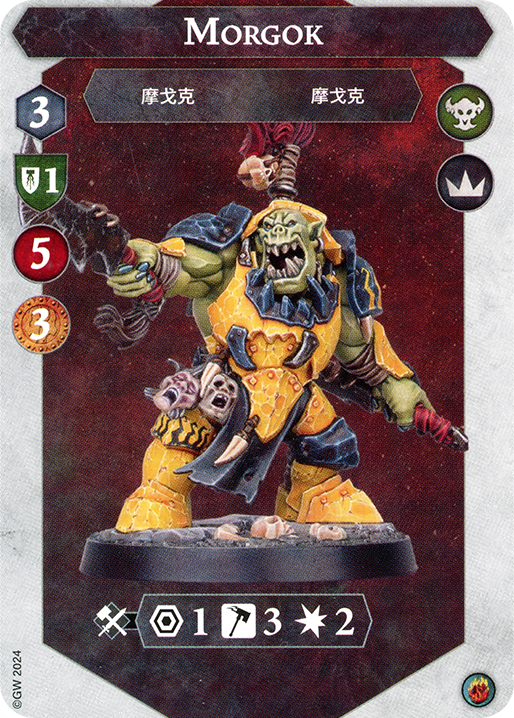
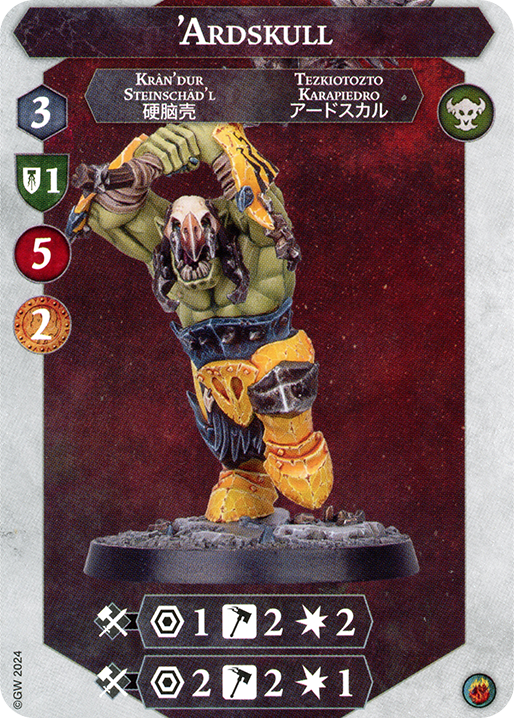
Michael: The Cleave order would love to see Ardskull dead first. His one shield is super easy to hit and you aren’t scared of the other guys’ two shields. Also, he is the only one with a ranged attack and it’s actually pretty strong, so he is a big priority. The No Cleave kill order wants Uninspired Morgok dead ASAP. This is because uninspired he only has one shield, so he is kind of easy to hit. He inspires to be pretty accurate and damaging as well as being the only reason the Push warscroll ability works.
Ben: I think Morgok should die in both orders first, as he has a very accurate attack that does 3 damage and gives three bounty. That makes him the most threatening fighter and he gives the biggest reward when killed.
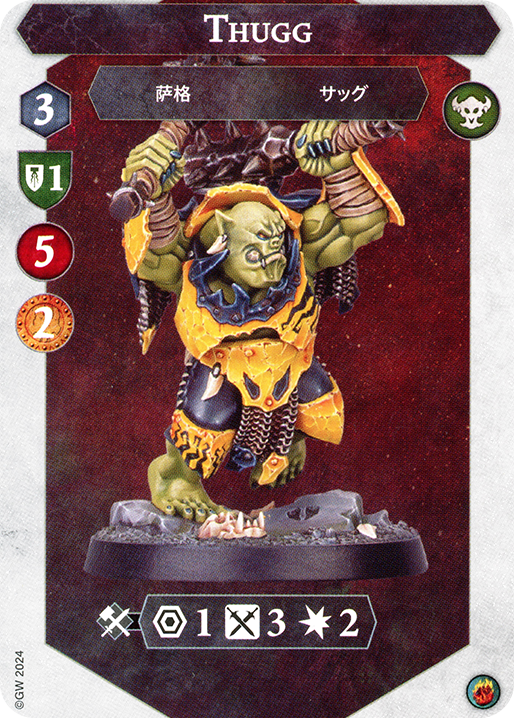
Michael: The Cleave order wants Morgok dead second. He has a very strong attack and he enables the Push warscroll ability, so he is a big threat on the board. If you don’t have cleave, you aim to kill Uninspired Thugg next, mainly because when he inspires, he gets to 2 Shields, so it is important to damage him as much as possible.
Ben: Both orders should kill ‘Ardskull next, as at this point the Krushas are inspired/will be inspired after the first attack against them. That makes ‘Ardskull the most threatening fighter left and, for the no cleave order, way easier to hit.
Michael: Cleave order wants Thugg dead last. He is a simply less scary version of Morgok, and he gives less bounty, so not much reason to kill him. The no-cleave order wants Ardskull (either inspired state) dead next, because he is the easiest to hit as well as being the most damaging.
Ben: Finally, both orders want to kill Thugg here, as he is the least threatening fighter and defends on 2 block.
Michael: The no cleave order will then want to kill Inspired Morgok and end with Inspired Thugg, as these two have two shields each, making them hard to hit. Morgok is definitely the scarier of the two, though!
Cleave Order: Ardskull, Morgok, Thugg
No Cleave Order: Uninspired Morgok, Uninspired Thugg, Ardskull, Inspired Morgok, Inspired Thugg.
Da Kunnin’ Krew
Michael: Da Kunnin’ Krew’s kill order is visible to anyone with the slightest bit of Kunnin’.
Ben: I’m going to let Michael write this one, as I haven’t interacted with this warband in v2 yet.
Michael: I’d argue you should prioritise killing Krookgrin until he inspires. He is a key piece to the warband and he only has one dodge so he should be easy pickings, until he inspires at least.
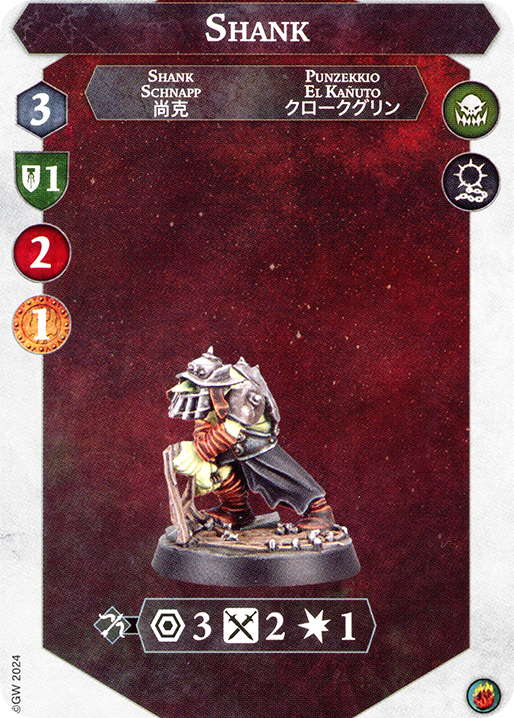
The second two targets are definitely Gikkit and Shank. They are super easy to kill once you hit them and they are the main reason behind the warband’s strength – super high accuracy. Gotta get rid of their supportive abilities first!
If Kroogrin inspired, kill him after Gikkit and Shank, as he is slightly harder to kill than them.
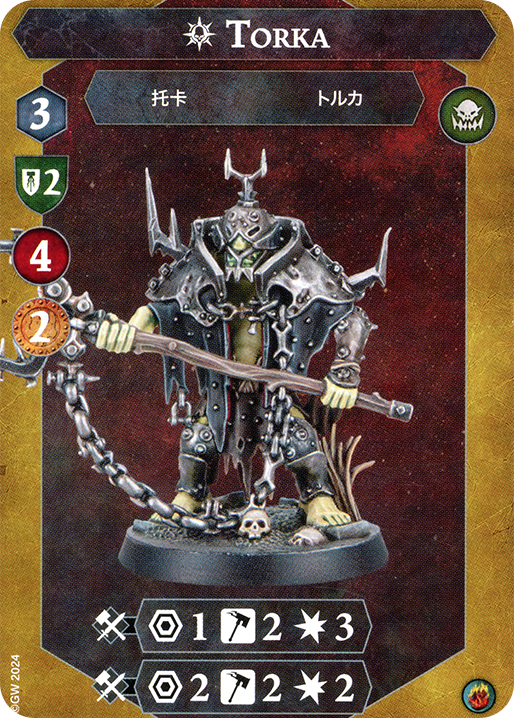
Fourth death is probably Torka. He is the more damaging of the two guys left, and he has a more painful ranged attack. Keep in mind, he is also harder to hit when inspired, so make sure to consider this.
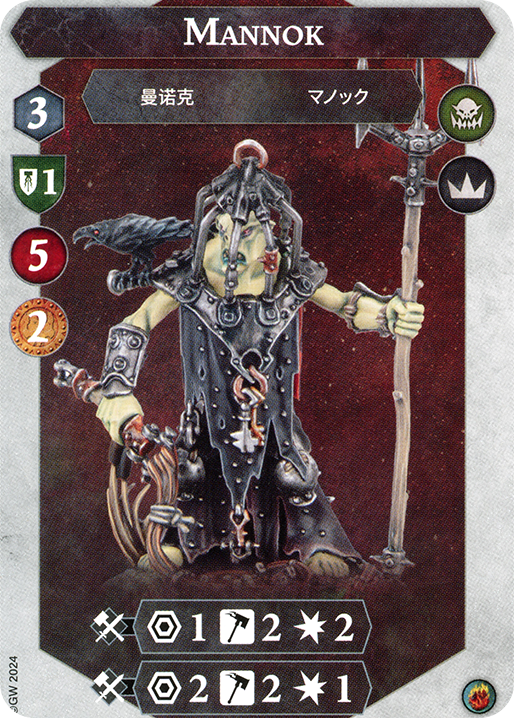
Fifth will be Mannok. He gives the same bounty as Torka, is more accurate, and has more health. He is going to be a nuisance but is not as scary as he is with the minions alive, therefore he shouldn’t be a priority.
General Order: Uninspired Krookgrin, Shank, Gikkit, Inspired Krookgrin, Torka, Mannok.
Blackpowder’s Buccaneers
Michael: Similar to Mollog, there are two ways to go here!
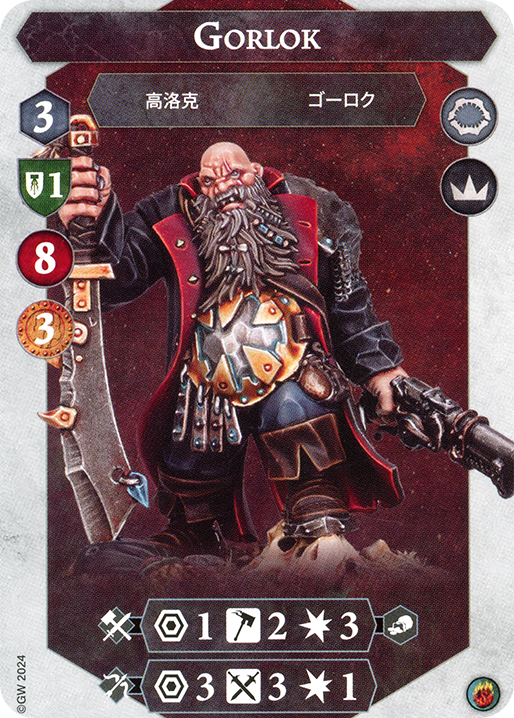
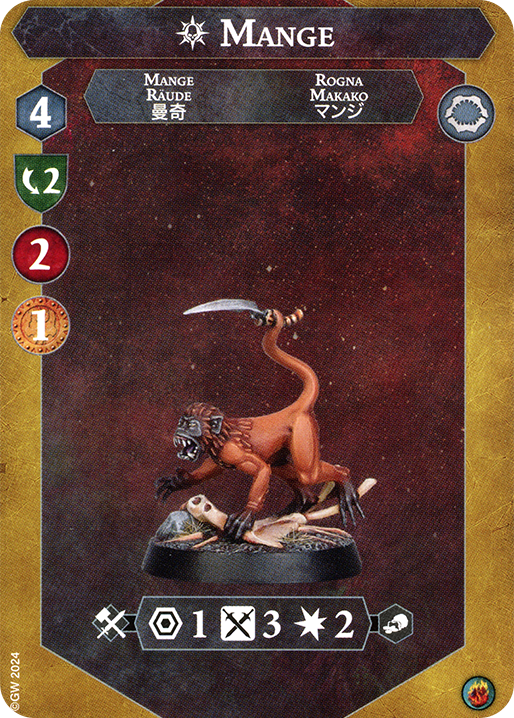
The kill big guy order would obviously want to see Blackpowder dead first. He is the ‘big guy’ in the warband and packs the largest punch. Quick tip – try to never use this kill order against Edge of the Knife as tempering Blackpowder opens up a lot of options! The don’t kill big guy order would want to see Mange dead as soon as possible. He is the most accurate of the minions tied with bird and is slightly better than the bird when inspired.
Ben: I agree with killing Mange as the first small guy, as he is the most accurate and damaging small guy with the bird and can generate the swag tokens Blackpowder wants.
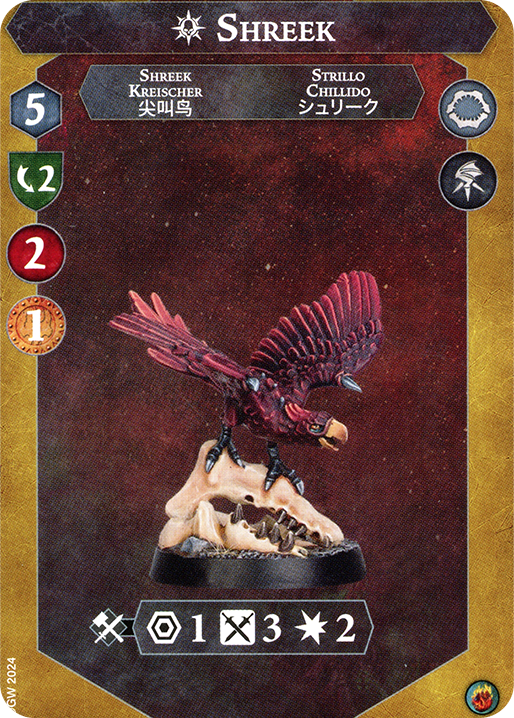
Michael: The kill big guy order will just follow the don’t kill big guy order from now on, so I’ll leave it blank. Just apply the previous step’s don’t kill buy guy order’s logic here! Don’t kill big guy would want to see the parrot dead next. He actually does two damage so is much scarier than the goblins. On the other hand he does have two dodge as well as the monkey, so consider if you can even hit that.
Ben: I agree that Shreek is the scariest of the little guy other than the monkey. He hits on 3 swords uninspired and reaches 2 damage.
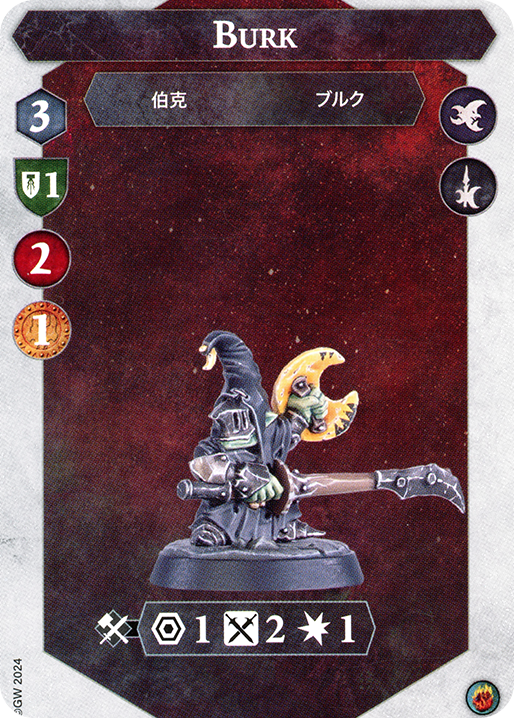
Michael: Third dead is going to be Peggz as he has a melee attack so he can actually benefit from upgrades like Great Strength and such. If Blackpowder is alive, target Kagey instead, as these upgrades are likely to go on Blackpowder!
Ben: I think Kagey should be the next to go, as the ranged attack to gain swag allows the Blackpowder player to position him easily. Giving Peggz melee based upgrades does not make him that scary.
Michael: Fourth dead is going to be Kagey. He is not the most accurate guy around when uninspired and can’t benefit from melee upgrades, so he isn’t too scary.
Ben: Fourth has to be Peggz, as he suffers from weak and inaccurate attacks at range 1.
Finally, kill big guy! Or, just avoid him from the rest of the game. Your choice!
Kill Big Guy Order: Blackpowder, Mange, Shreek, Peggz, Kagey.
Michael’s Don’t Kill Big Guy Order: Mange, Shreek, Peggz, Kagey, Blackpowder (optional).
Ben’s Don’t Kill Big Guy Order: Mange, Shreek, Kagey, Peggz
Grinkrak’s Looncourt

Michael: Lots of fighters means lots of options! For this warband the kill order is especially important, as they can easily get consistent grievous and +1 dice off of their warscroll!
Michael: First of, the main threat in the warband has to be Pointy Burk Grib da Wonky Lance. He does 3 damage of the bat, albeit at 2 swords, and he is most likely going to get dubbed. Obviously, killing the dubbed fighter is usually the priority, but if no one is dubbed yet Grib is a viable first target. He also goes to two dodge when inspired so it is important to get him off the board early.
Ben: I agree that Pointy Burk Grib da Wonky Lance has to be the first to go. He does three damage off the bat and once inspired can deal 3 damage on 4 swords due to Slay da Horde. Also 1 block is easier to hit than 2 dodge, so get rid of him as quickly as possible.
Michael: Pointy Burk Grinkrak is probably the second to die, as he has the highest accuracy attack by far. He is the only one in melee who hits on hammers! He is also only one shield ever, so this makes him easy to kill in both late and in early game.
Ben: I agree with Michael on this one. Grinkrak is the scariest fighter left, being the most accurate and damaging fighter left. He also only has 1 block, making him pretty easy to hit.
Michael: Third, you definitely have to kill Pointy Burk Pokin’ Snark due to his attack being the best one left, as it is the only one that can do 2 Damage without modifers. Something to consider here is how much quests the looncourt have completed so far and whether or not you should maybe try to go for the uninspired other guys, so they don’t go to 2 Shields!
Ben: Pokin’ Snark is the only fighter to be able to hit 2 damage without modifiers, which is way more powerful with consistent grievous active than usually. Get rid of him next.
Michael: Fourth, I would advocate for POINTY BURK. For real this time! This is because he is much scarier than Moonface Nagz and these two are the only ones left who can benefit from the Grievous and extra dice from being Dubbed. This makes him a prime threat.
Ben: I agree with removing the melee small guys, however I have been very unlucky with my attacks against Pointy Burk, so Moonface Nagz it is.
Michael: Fifth is Moonface Nagz cause he is mainly just a worse Burk (they are exactly the same stat-wise).
Ben: Now Pointy Burk is on the chopping block
Michael: Sixth has to be Snorbo da Spore, as has a surprisingly decent attack! While the catapult does have more range and cleave, I’d still be more worried about killing Snorbo as he does only have two lives as well as his defense being slightly worse.
Ben: I think next has to be Skolko and Pronk, as cleave can make them pretty accurate and range 4 comes up often.
Michael: Seventh is the catapult. It is a pretty big nuisance on the board but it is also so hard to kill when inspired that a lot of the time I just ignore it and let Skolko and Pronk fire off their 1 DMG attacks.
Ben: Last Snorbo has to go. His stagger is not very threatening and being on 3 dodge makes him difficult to hit.
Michael’s Order: Pointy Burk Grib, Grinkrak, Snark, Pointy Burk, Nagz, Snorbo, and end with the Catapult.
Ben’s Order: Grib da Wonky Lance, then Grinkrak, Snark, Nagz, Pointy Burk, Skolko and Pronk, Snorbo.
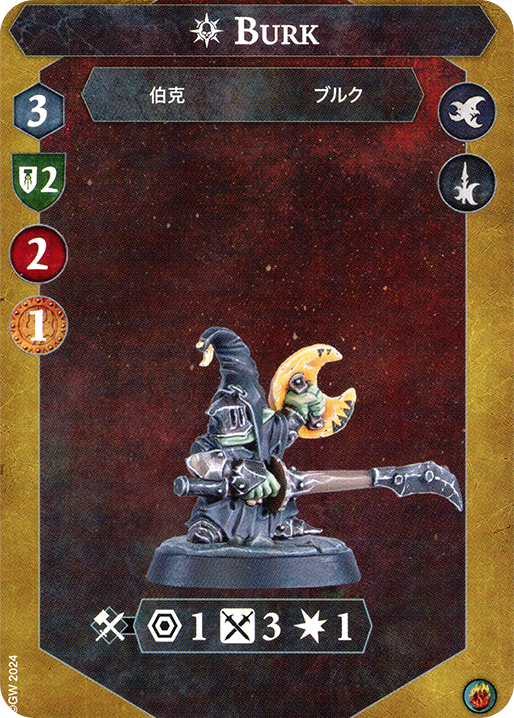
Daggok’s Stab-ladz
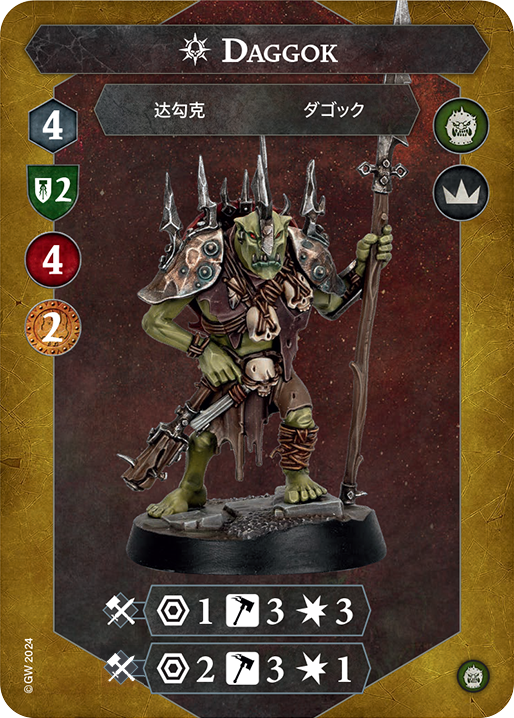
Michael: Daggok’s Stab-ladz are all decently strong, so kill order is really important here. It is also heavily influenced by their inspiration.
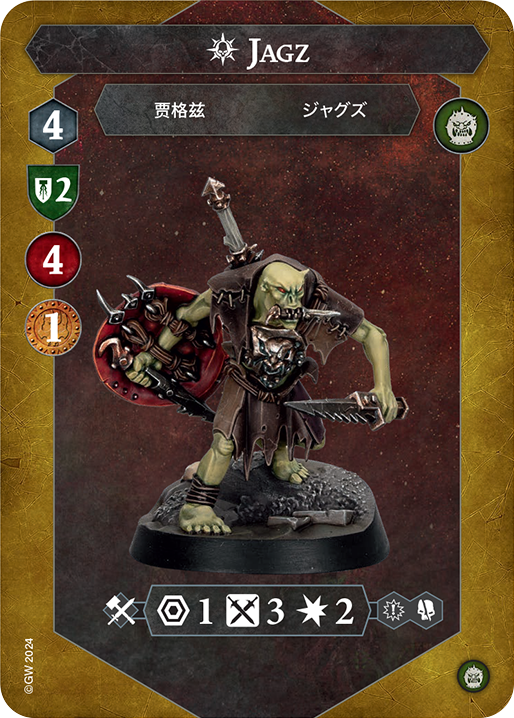
I would argue that Jagz dies first. He is tied with Daggok for the best defense when inspired, so you want to make sure that doesn’t happen. He also gets an extremely strong melee attack, capable of doing three damage. While Daggok does all he does, but better, Jagz is super weak uninspired, so it is important to kill him early. If he does inspire, maybe consider switching targets to Daggok and avoiding Jagz, as Daggok is easier to hit.
Ben: Daggok dies first – inspiring, every single stat on his card gets buffed, which is extremely strong. Given the fact that I would love to kill him first, he shouldn’t be inspiring. 3 Hammers 3 Damage without Grievous is insane! He is basically a better Dromm.
Michael: Daggok is typically my second target. He is super strong, boasting a 3 Hammer/3 Damage attack as well as two shields when inspired. If you don’t feel like attacking a 2-Shield powerhouse, Hurrk is probably your second target choice as he is pretty strong but not as tanky.
Ben: If Jagz isn’t inspired, I personally would love to get rid of him next. First of all, the other fighters don’t get as much from inspiring, so getting rid of the ones who do is important.
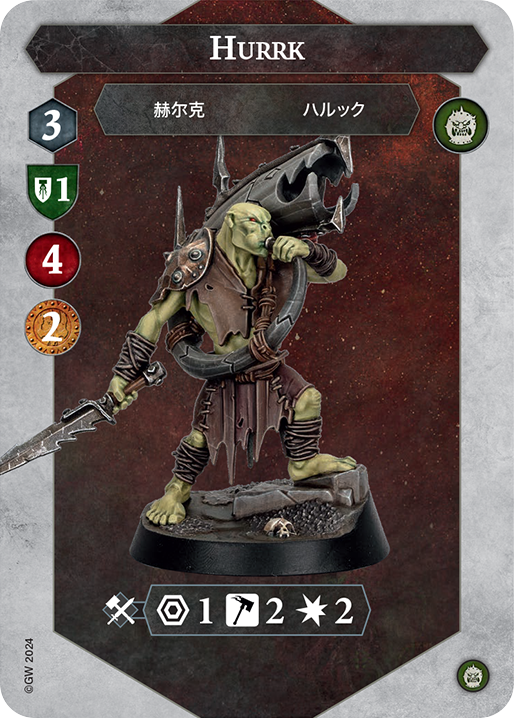
Michael: Hurrk is third to die, as he has a strong melee attack but is also not as tanky as the other two. If you were following the ‘easy-to-hit’ kill order and Hurrk is already dead, then your next target should be Grakk, as he is much easier to hit than an Inspired Jaggz or Daggok.
Ben: Hurrk is third, because he is pretty strong when inspired but not as good as the other two.
Michael: Finally, Grakk will die last. While he does have a strong Range 2 attack it isn’t the most accurate attack in the game, making him not a huge threat. Also, 1 Dodge is super easy to get through. The other kill order will see Daggok/Jagz dying here, whoever is still alive.
Ben: Grakk dies last, he isn’t too accurate and the Grapple ‘threat’ isn’t that much of a threat.
Michael’s Order: Jagz, Daggok, Hurrk, Grakk.
Ben’s Order: Daggok, Jagz, Hurrk, Grakk
‘Easy to hit’ order: Uninspired Daggok, Uninspired Jagz, Hurrk, Grakk, Inspired Daggok, Inspired Jaggz.
Borgit’s Beastgrabbaz
Michael: The newest warband released so far, so take all these with a pinch of salt! I have played 4 games against these so far and 1 with them.
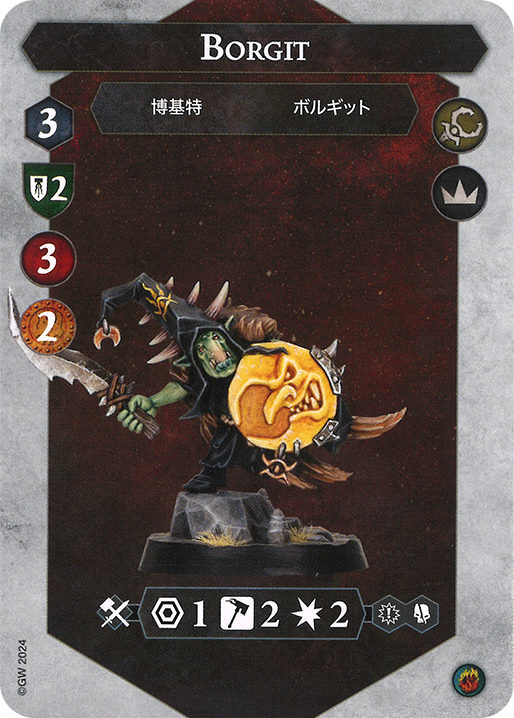
Michael: While this is always difficult, Borgit should be the priority. If you ever have a chance, kill Borgit. He is super accurate, can be very damaging, and has a pretty good defense. Killing minions also lets him push around a lot, so be careful with that!
Ben: I agree with removing Borgit quickly. He can push himself around a lot and has 3 hammers for 2 damage with crit-grievous when inspired. The only downside is that he is difficult to hit, having 2 block uninspired.
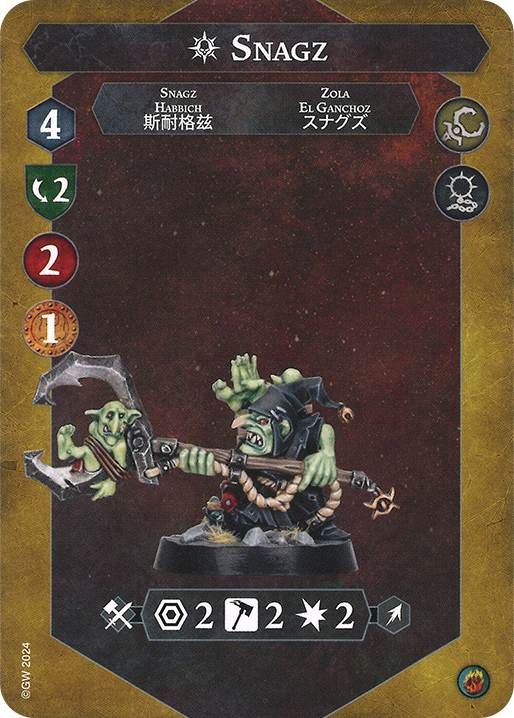
Michael: Second, I like to kill Snaggz. He has a super strong Range 2 attack for 0 apparent reason so I cannot see a reason not to kill him. He is easy to kill (if you get through the two dodge) and he is scary if he attacks, so no reason not to kill him!
Ben: Snaggz is pretty threatening, as he does 2 damage at range 2 and can drive you back in any direction he want. He is the most threatening of the minions.
Michael: Third, I would go for Dregg. He is much easier to kill than Rigg and Shamm and he doesn’t let Borgit push as far if you kill him. He doesn’t have very accurate or damaging attack until he inspires, so that may be an argument to kill him later.
Ben: I agree with killing Dregg next. He is the same as Rigg and Shamm, except that he is easier to kill and has a range 3 attack, which makes him more threatening. Get rid of him next.
Michael: Fourth, I would kill Rigg and Shamm, because they are much easier to take down than the troll. It is unlikely at this stage in the game without Cleave access that the troll will ever die, leaving only poor Rigg and Shamm to get on the chopping block.
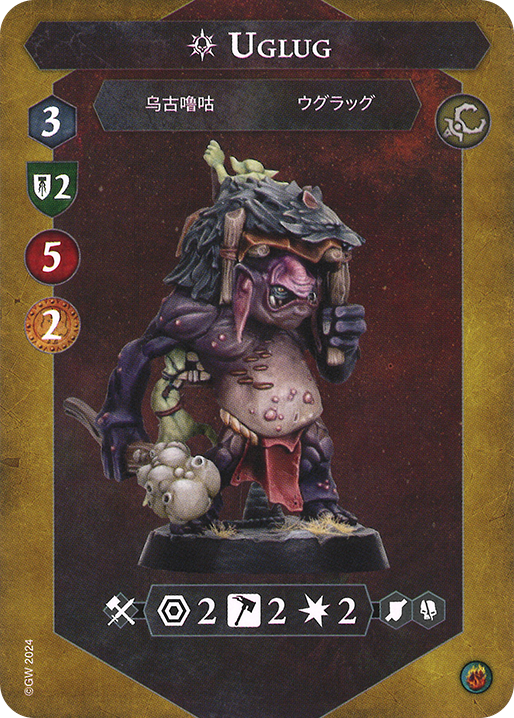
Ben: Yes, Uglug being at 2 block with 5 wounds makes him very difficult to get rid of. Take the bounty you can off of Rigg and Shamm.
Michael: Finally, Uglug is last. While he is super hard hitting, he is also very hard to be hitting. However, if you think about it, he doesn’t have that much threat outside the Reassuring Presence ability. In Round 1, unless he charges you, he is forced to spend an activation to move and Delve to inspire. This means you get an Uglug-free round if you avoid him! Round 2, just try your best to stay out of attack range, so he can kill maximum one fighter, and same in Round 3. I found lots of success in just straight up not attacking Uglug, but whatever suits you is also good!
Ben: Uglug is the most damaging of the warband, especially when inspired. Best stay away from him to make his 2 damage cleave or grievous attack not be used more than once a round.
The Staggerers Order: Borgit, Snaggz, Dregg, Rigg and Shamm, Uglug.
Michael: And that’s it! We hope you enjoyed the article. If you would like to contact myself or Ben for some discussion, please do join the Staggerers Discord server. We are active there! Thanks for reading, and I hope to see you again soon!
