
Hello! Both Michael and Ben here. Today we will be discussing the kill priority for each warband. A common question any Underworlds player asks is ‘who should I be killing first?’ Today’s article aims to address this common question!
Due to the large quantity of warbands in the game and the not so large amount of screen space people have, we have elected to split this article by Grand Alliance. Today, we will focus on Chaos. The last article which isn’t out yet is Death. Here are the other two articles for each Grand Alliance:
Order
Destruction
Before we start, a quick disclaimer:
Please do NOT go for the kill order in the article in every single case possible. There are always exceptions to the proposed orders below. If going for Ardorn will cause you to lose your strongest fighter, but going for Farassa will let you end on an objective and score Supremacy, please go for Farassa!
Bottom line – don’t blindly apply these suggestions, make sure to consider your position first. This is meant to be a ‘tiebreaker’ kind of list if you have multiple targets 🙂
Let’s begin!
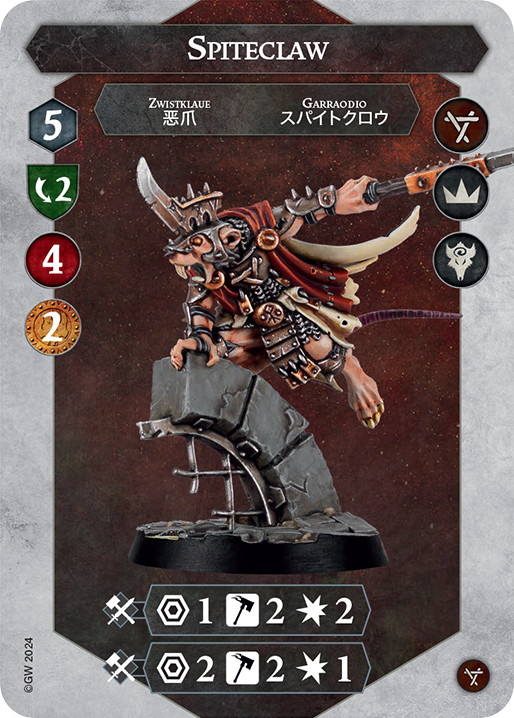
Spiteclaw’s Swarm

This is the first (and greatest) warband that can raise in this series, so it has an interesting order.
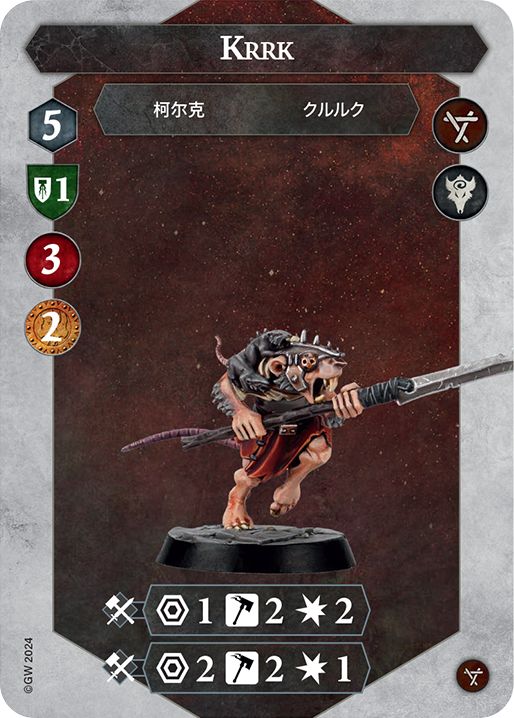
Michael: The hard part about Raise-capable warbands is that they can bring fighters back, making kill order very hard to choose. In a magical fairy tale wonderland dreamworld, your ideal first target to kill is Krrk. He is much easier to knock out than Skritch, and he can also Raise fighters if Skritch is down, making him super important to get early.
Ben: I agree with killing the Almost-Trusted before the Trusted first. Krrk is basically a copy of Skritch except that he is easy to kill, making him a prime target to deny the swarm the ability to raise.
Michael: Ideally, you would want Spiteclaw himself next. This is unlikely to happen but it is important because he can raise fighters, he has the best attacks tied with Krrk, and he benefits from the Schemers ability. He is also more tanky than Krrk making him less important to take out later.
Ben: I agree with this. Your opponent will fiercely defend Skritch, as the schemers are vital to their strategy, but if you see a low risk shot at killing him, go for it.
Michael: Now, if you can’t kill the Schemers, it is important to know a kill order for the minions as well. The most deadly minion is the Festering Skaven, as he does have built in Grievous when inspired. He is also the lowest defense fighter when uninspired, making him a priority target.
Ben: I agree with the Festering Skaven being the first to go. His inspired side can deal 2 damage and killing him to flip his card back over is well worth trying to hit through 2 dodge.
Michael: The second minion to go is the Hungering Skaven, mainly because it takes about 1.5 years to kill the Lurking Skaven. Hungering Skaven is also more accurate and has Brutal which can be pretty good against some warbands.
Ben: I agree with Michael that the Hungering Skaven should be the next target, as his 2 hammers with brutal is very accurate.
Michael: Lurking Skaven is not the smallest threat, but is the hardest to kill, and really not worth if the Schemers are alive, as he comes back on 2 Dodge immediately. This makes him annoying to kill repeatedly, meaning you need to prioritise the other Skaven more.
Ben: I agree with the Lurking Skaven last, as his 2 dodge makes him difficult to kill and he is the least accurate and damaging fighter in the warband.
Schemers Order: Krrk, Skritch (the Greatest)
Minions Order: Festering, Hungering, Lurking.
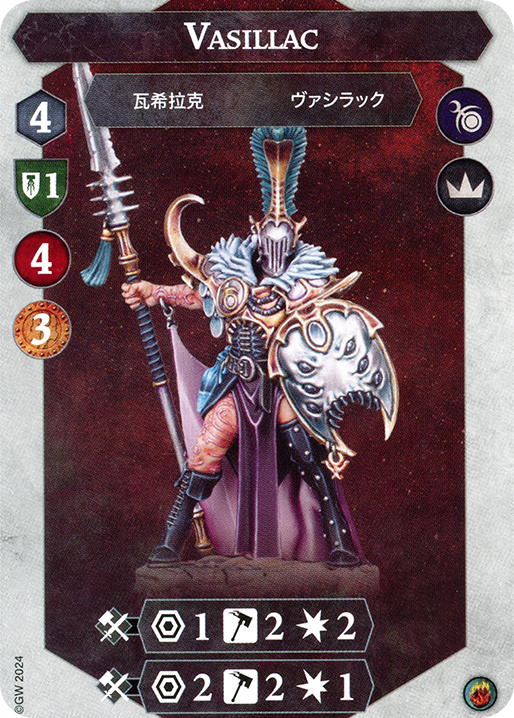
The Dread Pageant
The Dread Pageant are similair to Mollog in that if you can kill the big guy, you win.
Michael: So, it’s a little known fact, but there is a hidden warscroll ability on the Pageant’s warcroll that reads ‘if Vassilac dies, you lose.’ Therefore, killing Vasillac as early as possible is the priority. He has the best attack, gives the most bounty, and is pretty squishy! The perfect combination for an early kill.
Ben: Vassilac has every property an early target should have. Threatening attack, high reward and poor defences. The other fighters do deal damage, but none do it as well as The Gifted himself.
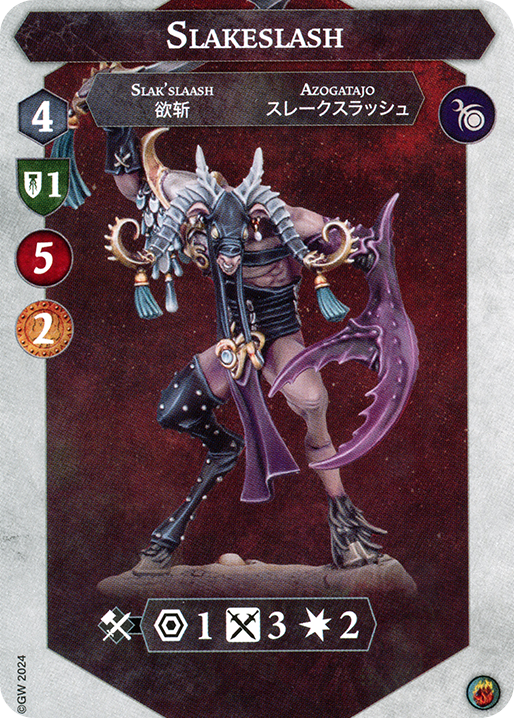
Michael: The second target is probably Slakeslash or Glissete, depending on who is inspired. Killing Glissete is pretty difficult when she inspires, meaning it’s best to do it early. If she is already inspired, Slakeslash is just a stronger version of her, so he is probably the priority!
Ben: The second target should probably be Slakeslash. The rest of the warband hits on swords, so not accurate at all. Slakeslash however has the most accurate attack remaining and only defends on one block. Also he gives 2 bounty, so he is the clear next target.
Michael: Third will be whoever you didn’t kill in the previous step!
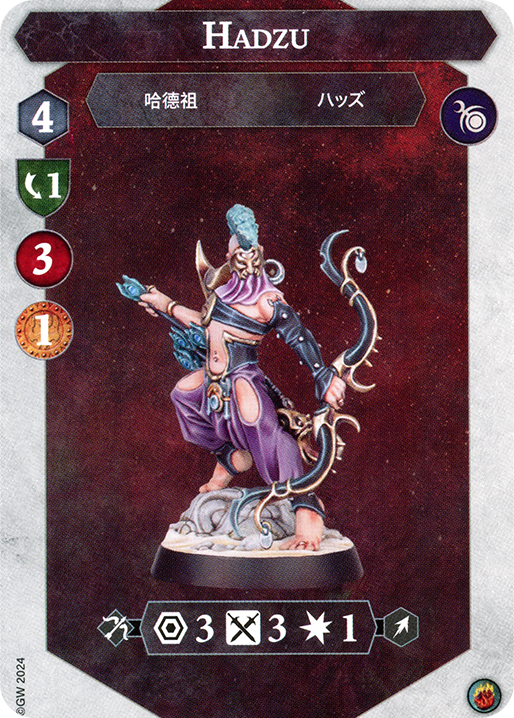
Ben: Glissete is the clear third target, as she deals more damage at the same accuracy as Hadzu.
Michael: And ending with Hadzu, as he had the ‘archers curse’ of being the lowest damage around. I’d say his saving grace is the fact that he has 2 Dodge when inspired, so it makes him annoying to kill, so consider killing him early as well if he hasn’t inspire yet.
Ben: Hadzu, being the archer, deals to little damage at a low accuracy to be targeted earlier. Kill him last.
General Order: Vasillac, Uninspired Glissete, Slakeslash, Inspired Glissete, Hadzu
Ben’s Order: Vasillac, Slakeslash, Glissete, Hadzu
Khagra’s Ravagers
We finally have a warband whose HEALTH modifies upon inspiration so early strikes are vital!
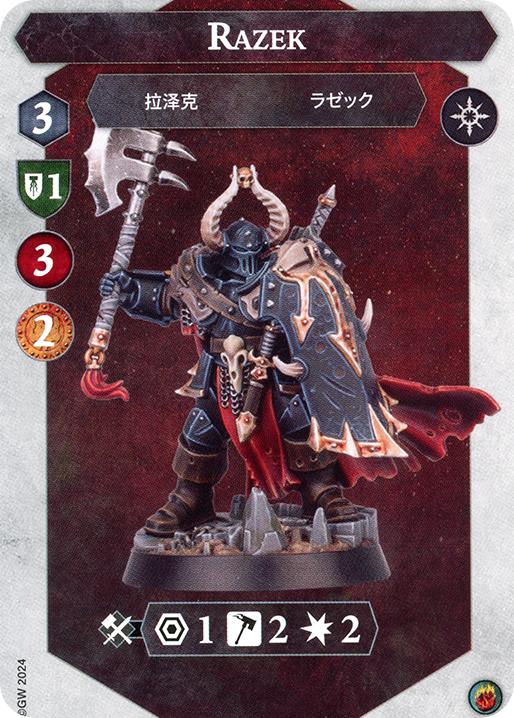
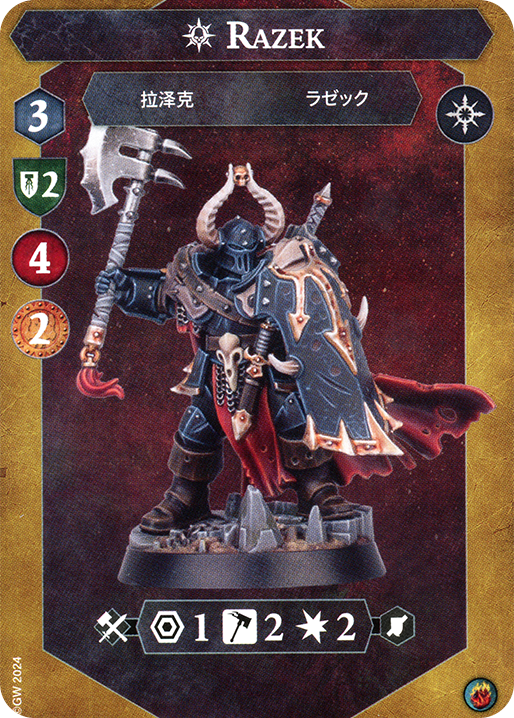
Michael: The best target to kill first is definitely Razek, more so if he is uninspired. He goes to 2 Shields and 4 Health when inspired which you cannot afford under any circumstances. Khagra is of similar importance here, but i’d argue it is important to kill Razek first ASAP.
Ben: I have played these guys a lot and I agree that Razek should be the first target if he is uninspired. He gains so much on inspiration that denying it and the body is very important (especially if your playing a block based warband).
Michael: If the entire warband inspires before you kill someone, here is the new order: first of all, you would probably go for Cragan as he is the easiest to remove from the board (except Zarshia) and gives pretty good bounty. Removing as many models from the board as possible is vital into Emberstone Sentinels as it is much harder to hold with 3, let alone 2 bodies.
Ben: As you are realistically only killing zero or one fighter before inspiration, the first inspired target should be Zarshia. She only defends on 1 dodge and removing Khagra’s most accurate and only ranged attack makes it difficult for them to knock you off objectives.
Michael: Second is Zarshia, as she is the second easiest to kill. Once again, it is super important to kill as much as bodies as possible in order to make the Emberstone Sentinels matchup bearable.
Ben: Second should be Cragan, as his 4 swords is the second most accurate attack in the warband and he only blocks on one shield. Also Sharp Reflexes and Utter Conviction can get turned off if both of the 1 defence fighters die early.
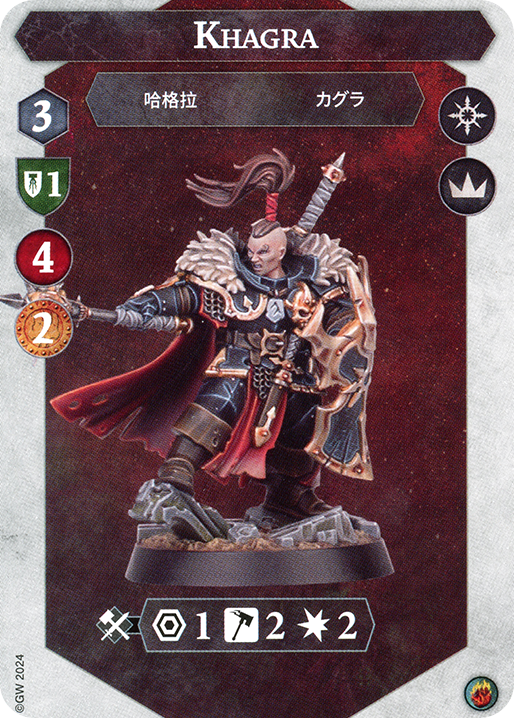
Michael: Third, I would say kill Kharga, she is slightly more threatening than Razek due to her 3 Damage Range 1 attack and her 2 Range 2 Damage attack. They have the same accuracy but Razek has cleave so something worth to consider.
Ben: Khagra should be the next target, as three damage is more threatening to most warbands than cleave. If your warband has a lot of 2 shield fighters, consider killing Razek before Khagra.
Michael: Inspired Cragan is your last target, he is really hard to kill but isn’t too threatening unless you rely a lot on Shields to stay alive. This makes him not a big priority to kill!
Ben: Razek is the last on the chopping block as he is difficult to kill and not that big of a threat.
General Order: Uninspired Cragan, Uninspired Khagra, Razek, Zarshia, Inspired Khagra, Inspired Cragan.
Ben’s Order: Uninspired Razek, (all others inspired) Zarshia, Cragan, Khagra, Razek
Gorechosen of Dromm
Michael: I have a major grudge against these guys and am more than happy to provide the best way to get rid of them!
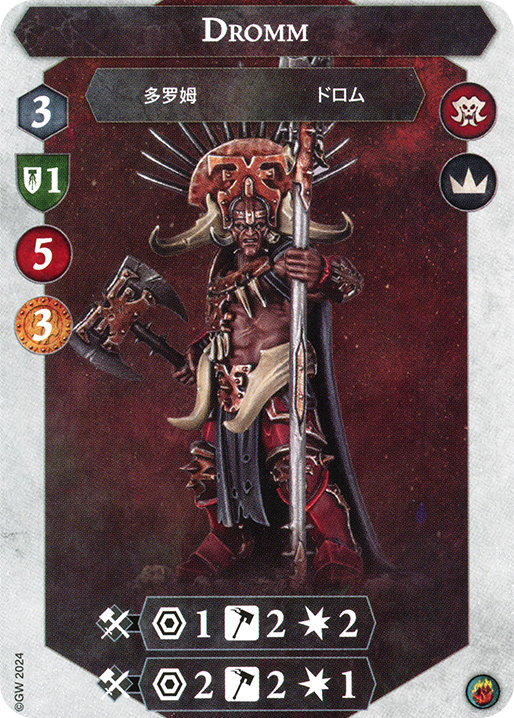
Michael: Anyways, the first person to die in my humble opinion should be Dromm. Compared to Herax, he gives 3 bounty, is much more accurate (when inspired), and only takes 1 extra damage to kill. Compared to Gorehulk, he is more accurate, is less tanky, but is less versatile. Overall, the main reason for killing him first is the threat removed from the board with him is much higher than Herax as well as the reward, and him being much easier to kill than Gorehulk.
Ben: I agree with killing Dromm first. He gives 3 bounty and he makes his title “wounder of worlds” justice by having the most accurate 3 damage attack in the warband. He also is easier to kill than the Gorehulk and you reap the same reward.
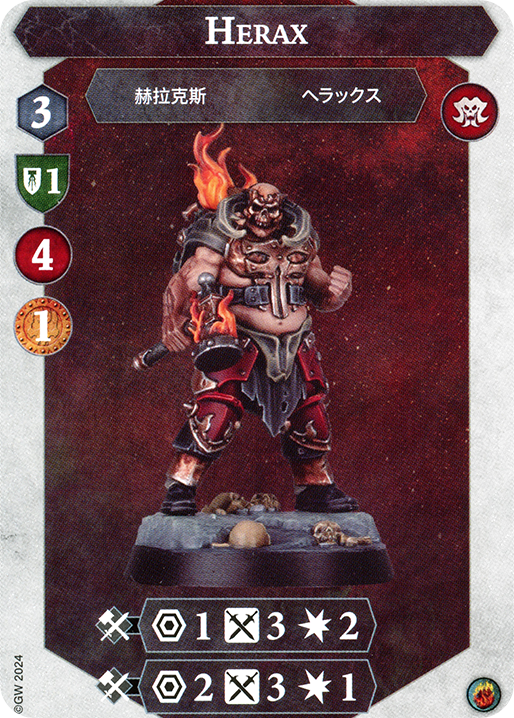
Michael: Herax is second to kill in my opinion – but this may be biased, as you will read later. He is a pretty big threat (though not as large as the others) with his Range 2 Damage 2 and he is also the faster one of the Gorechosen. He only gives one bounty, but it’s much easier to achieve than to kill the Gorehulk.
Ben: I agree with killing Herax second. He is way easier to kill than the Gorehulk and the Skullgrinder’s stagger can make those three damage attacks from the other two that much more accurate.
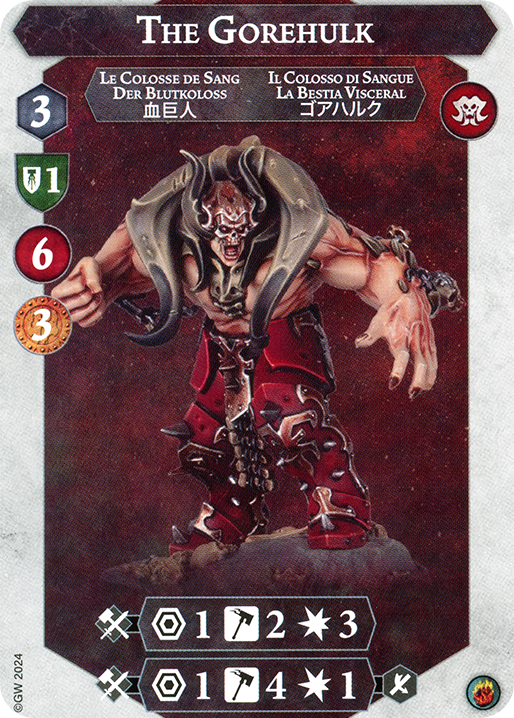
Michael: Now, Hulk is third. Why? He is SO HARD to kill for some reason and he has wayyy too much damage and threat to punish you while you kill him. While he does give 3 bounty, you will probably give the Gorechosen player way more by going for the Hulk. The only time I recommend switching Herax and the Hulk is if you have reliably high damage. In my what, 17 or so games against Dromm this ENTIRE edition, I have NEVER killed the Gorehulk. So if I kill him against you and act unreasonably happy, this is why. (note: since writing this article I finally did kill him… once.)
Ben: Gorehulk should be the last to go, as he is unreasonably tanky and deals three damage at two range, making a single missed melee attack or drawn range 1 attack extremely punishing.
General Order: Dromm, Herax, Gorehulk
Ephilim’s Pandeamonium

Ephilim is weird as they can get extra power cards on death!
Michael: Your first target can be a multitude of different people. Let’s make three paths here – anti-Ephilim, anti-minion, and General Order. The merits of Anti Ephilim is that you lessen the amount of Raise as well cards drawn in a game. Anti minion removes a lot of threat from the warband, as most of the damage is in the minions. Swarms should enjoy this as it lessens the damage of their mass ping ability. General order is just a rule of thumb.
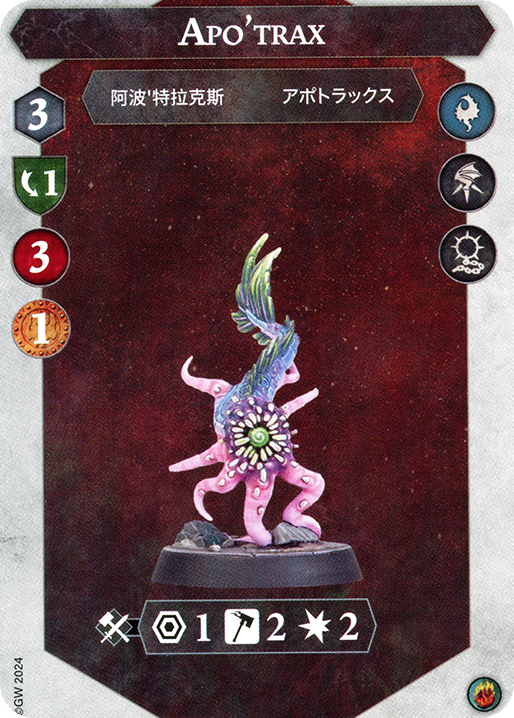
Michael: Anti Ephilim will want Ephilim dead ASAP, as it’s in the name. Eph boasts a strong attack as well as has a lot of the warscroll revolve around them, so they are important to kill first. Anti-minion will want the Starefysh, Apo-Trax, dead first. This is due to the fact that he has high accuracy with Cleave as well as being pretty tanky! Generally, I would kill Apo-Trax first, for the same reasons as above. Quick note – make sure to check if the Staggered minion is near you, maybe it’s an easier target!
Ben: I personally am a big fan of the Kill Ephilim strategy, as it removes two of the warscroll abilities which give the Ephilim player passive value. He also has an accurate melee and ranged attack, as well as giving two bounty. If you don’t want to follow that though, target Spawnmaw or Apo-trax, depending on what hurts your warband more.
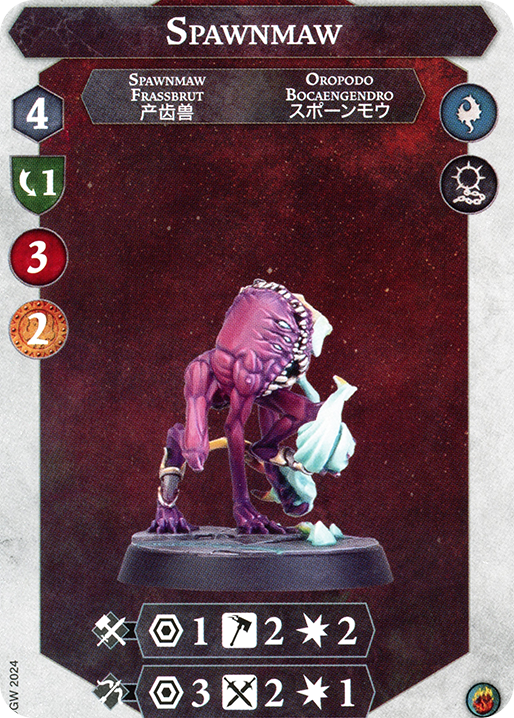
Michael: Anti Ephilim will want the Spawnmaw dead next. The reason it isn’t Apo-Trax is because he doesn’t have a ranged attack, which means he can’t be as active on the board as with Ephilim’s rez at your disposal. Spawnmaw has a ranged attack, which can be used several times over the course of the game, as well as a good melee attack. Anti minion will also want Spawnmaw dead next, for the reason that he has the best melee attack left on the board. Generally, I would also kill Spawnmaw second. He is a big threat due to his high damage and decent accuracy! He is also two bounty, which is very nice.
Ben: I agree with Michael on killing Spawnmaw if Ephilim is dead, as his two bounty, strong melee and ranged attacks make him very threatening.
Michael: Anti-Ephilim will want to see Apo-Trax dead next partially because he can actually do decent damage and hit attacks, unlike Kindlefinger. He is also easier to hit while uninspired. Anti-minion will also want Flamespooler dead next, but at this stage there is a chance that another fighter comes back to life, so keep that in mind. General order, I will also focus Flamespooler for the same reasons as above!
Ben: I agree with Michael on this one. Apo-Trax is the last threatening minion in the warband and Flamespooler has a good ranged attack, while Kindlefinger is difficult to kill and not accurate.
Michael: Anti-Eph will see Flamespooler go fourth. Kindlefinger is hard to hit with his two dodge and he isn’t a threat with his one hammer, so he isn’t the priority to kill, meaning it’s probably better to kill Flamespooler. Anti-minion will see Kindlefinger die next, because he is the only minion left. I wouldn’t recommend going down this path, as Kindlefinger is a much smaller threat than Ephilim, which is why here I would divert to the General Order where I recommend killing Ephilim fourth. Kindlefinger is just too difficult to kill for too little reward.
Ben: Flamespooler is better than Kindlefinger, as mentioned by Michael above. I also agree that Kindlefinger isn’t scary enough to kill before ephilim, so go for Ephilim if you have not yet.
Michael: Finally, Anti-Ephilim will see Kindlefinger die last. He is not very strong as stated multiple times above so it safe to leave him alive for a while. Anti-minion will see Ephilim dead last, as there are no more minions left! Ephilim should not be able to do much on their own. Just keep in mind that minions do keep coming back so try to get them killed when they do. General Order, Kindlefinger is dead last. He is not a nuisance when attacking you but a nuisance to hit, so he isn’t worth killing early.
Ben: Kindlefinger, being the worst fighter, should die last. He is not much of a threat with his 1 hammer and he has 2 dodge uninspired, causing him to be difficult to kill.
Anti-Ephilim: Ephilim, then Spawnmaw, Apo’trax, Flamespooler, Kindlefinger
Anti-Minion: Apo’trax, Spawnmaw, Flamespooler, Kindlefinger, Ephilim
General Order: Apo’trax, Spawnmaw, Flamespooler, Ephilim, Kindlefinger
Note that Ephilim is a warband where I want to especially remind you to pay attention to the board state! There is a high chance that a Staggered minion may be easier to kill in a lot of cases!
The Thricefold Discord
The current World Champion warband has a surprisingly straightforward order.
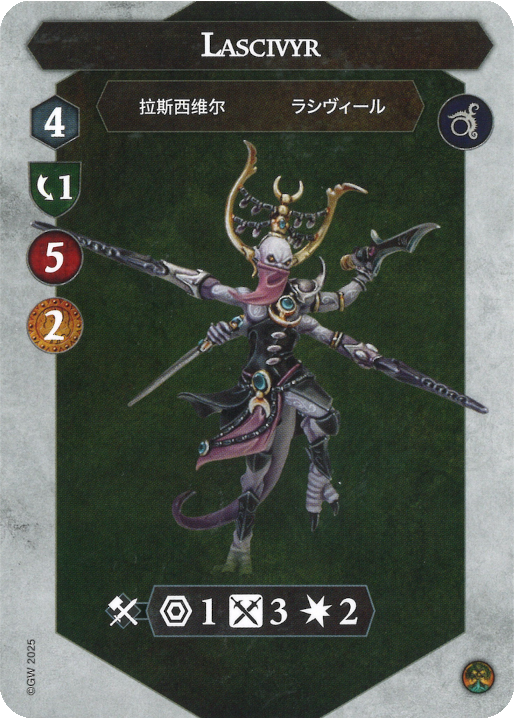
Michael: I would love it if Lascivyr died ASAP. He inspires to two dodge, has Evasive, and his his annoying ping ability. This makes him a massive threat on the board, and one that is super important to get rid of ASAP. I like to let him charge first and then spend Round 1 surrounding and disassembling him, as he is simply too scary to be left alive!
Ben: Lascivyr is the scariest fighter by far, as evasive, even after the nerf, is still very annoying and he inspires too 2 dodge, making him difficult to kill. He also deals 1 damage on a missed attack, while hitting for three damage on a hit.
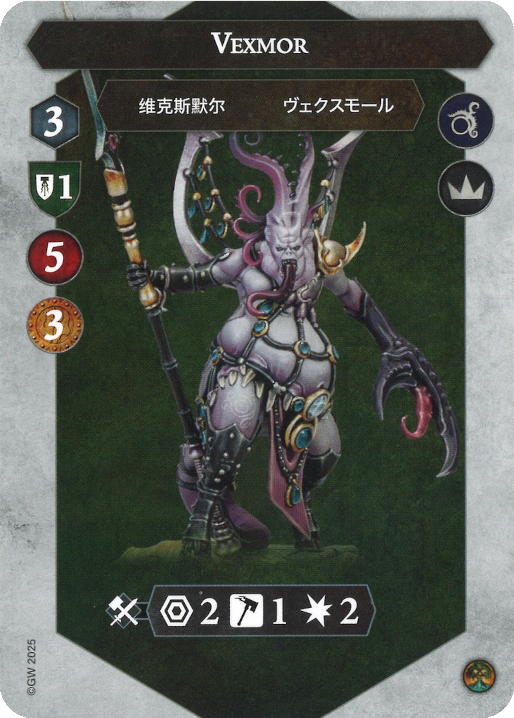
Michael: Vexmor is probably second. He gives 3 Bounty as well as is pretty strong. He is easier to hit than Vashtiss and is arguably more damaging/threatening, which makes him a prime candidate for second elimination. Just be careful to not charge INTO him, as his Indolent ability is what makes him good.
Ben: Vexmor should be killed second, as he is less tanky than Vashtiss and with indolent threatens more damage. Even without it, vexmors 2/2/2 attack is still good.
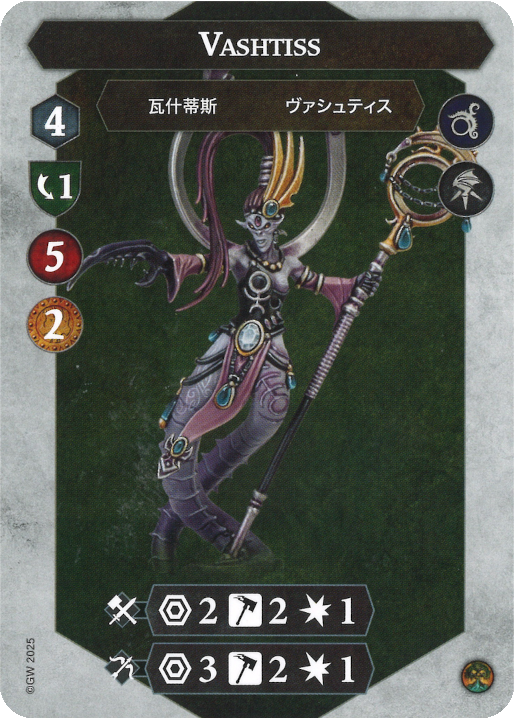
Michael: Vashtiss is last, as she is not as scary as either of the above. This doesn’t mean you can completely ignore her, as a 2/2/2 Attack is still SUPER good. It’s just the other two are either much scarier (Lascivyr) or much easier to kill and more rewarding (Vexmor).
Ben: Vashtiss is difficult to kill, not rewarding enough and the least threatening fighter in the warband. Get rid of her last.
General Order: Lascivyr, Vexmor, Vashtiss.
Zikkit’s Tunnelpack
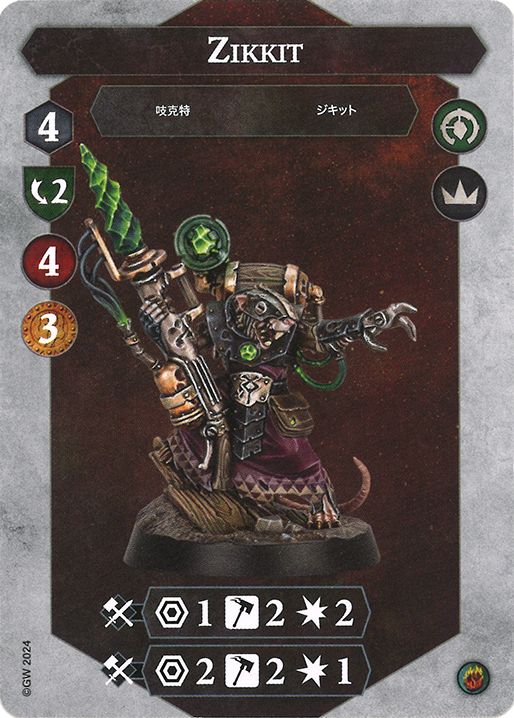
The Tunnelpack have two major fighters to kill.
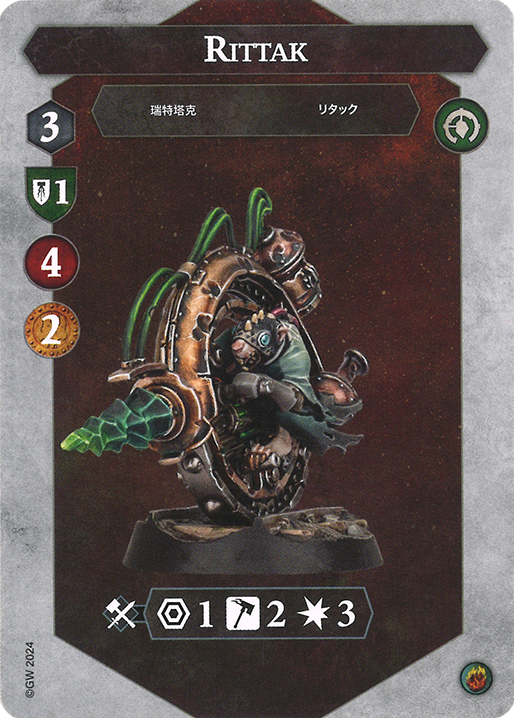
Michael: First of all, your first priority should probably be the Wheel of Doom, Rittak Verm. He has a 3 Damage attack which is enough to one tap most warbands. He also moves 5 pretty early on, so it is important to minimze the amount of time he charges around. If you are a low wound swarm warband, I would advocate for killing Zikkit himself first, as he gives a whopping 3 bounty but is also much more accurate so he can knock out several of your fighters much faster.
Ben: For most warbands Rittak should be the first target, as he deals three damage and has 5 move. This makes him more threatening than Zikkit for most warbands. However, against a warband with multiple 2 block fighters, Zikkits accuracy makes him scarier, as well as him giving one bounty more than the Wheel of Doom.
Michael: Second target in general should be Zikkit, though it is important to acknowledge that it will be hard to kill him. Once you do, you pretty much won! He and Rittak make up 5/7 of the warbands bounty which means you can safely ignore the other 2. Zikkit is very accurate and has a high defense, so make sure to take caution killing him. If you already killed Zikkit, swarm warbands will want the doomwheel dead next, as I already said, the two fighters make up a lot of the Tunnelpack’s bounty making it important to get rid of them.
Ben: Second target is whichever of the big rats you did not kill before.
Michael: Third, Krittatok. He is usually seen as the sacrifice to inspire the Doomwheel but he is also capable of doing two damage unlike Nitch. Don’t underestimate his 3 Swords!
Ben: Thirdly, Krittatok is the next target, as he actually deals damage.
Michael: Finally, Nitch. While he is super accurate, he only ever does one damage, meaning he isn’t that scary. He will pump out damage super consistently, but luckily it will be consistently low! Make sure to try and not damage these fighters till the Doomwheel and Zikkit inspire as it can lead to them inspiring early.
Ben: Nitch is the least threatening fighter, as his 1 damage ranged attack only ever deals 1 damage.
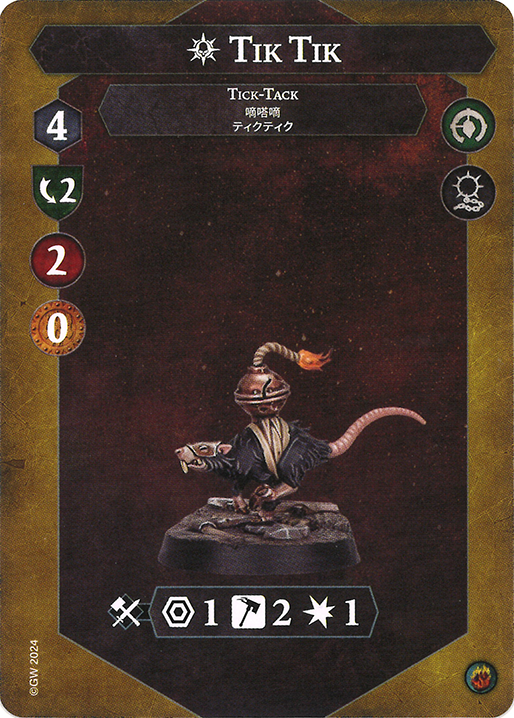
Michael: A word on Tik-tik: Most warbands shouldn’t be too scared of leaving Tik-tik alive for very long. I try to kill him in R2 if he isn’t already dead as a R3 Tik-tik is pretty strong, but a lot of Tunnelpack players send him in early. For swarms, this is obviously much more deadly, which leads to the following orders:
General Order: Rittak, Zikkit, Tik-tik (if in R2/3), Krittiatok, Nitch
Swarm Order: Tik-tik, Zikkit, Rittak, Krittiatok, Nitch.
Grandfather’s Gardeners
The tankiest warband around!
Michael: My personal favorite first target is Strewg, but I would like to stress how important it is to NOT LET HIM INSPIRE! He is basically a second Phlegmus, who is super strong, when inspired! Strewg is pretty tame while uninspired and does give a significant 2 Bounty, which makes him a good first target to focus. A note on Gardeners – it is important to keep track of their high healing ability!
Ben: I agree with killing Strewg first. He is the most accurate fighter in the warband with the leader while inspired. He also gives two bounty, making him well worth the effort.
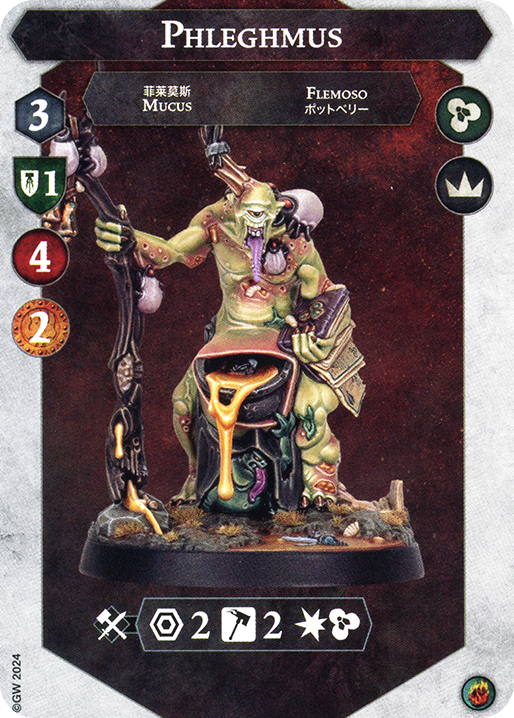
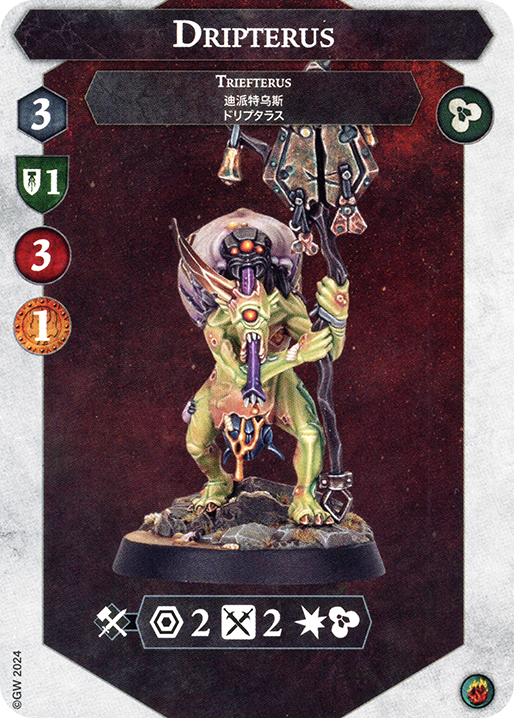
Michael: Dripterus is a good target to kill second. While Phelgmus is probably stronger, Dripterus is much easier to kill, and is still important to get rid of due to his 2 Range. He is also not as dangerous. If you are a risk taker, go for Phlegmus, as he is definitely more rewarding to kill due to his high accuracy and his damage getting higher as the game goes on, but be prepared to spend a long time!
Ben: I am a risk taker. I would kill Phlegmus second, as he is the most accurate fighter remaining and gives two bounty when he is killed. He is also not as tanky as you would expect if you time the healing ability right. With him dead Supremacy is way more difficult to score, if they are running ES, as they would need three fighters on tokens.
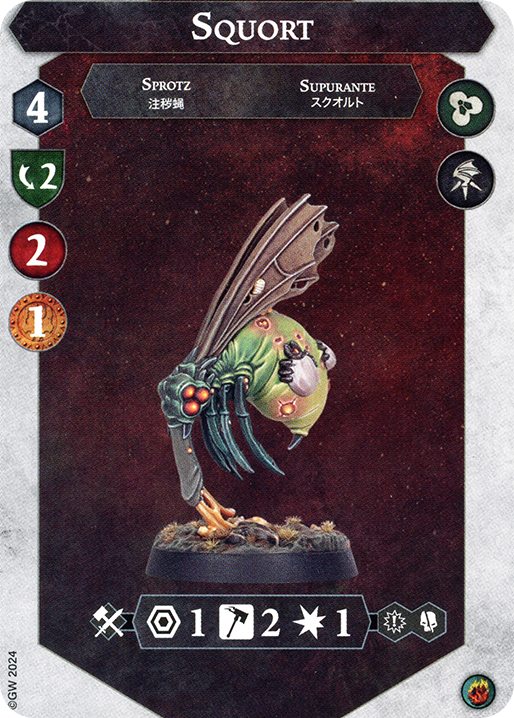
Michael: Third, I would go for Squort as long as you don’t inspire him. He is not a threat and getting close to him at this late stage is not as deadly as getting close to Slunge, who is likely already at a higher damage state than Squort due to it being R2/3 realistically. Risk takers who killed Plegmus would aim to get Dripterus here to remove all Range 2 off the board, as the the Range 1 fighters will have a hard time doing something.
Ben: Next I would kill Dripterus, as his range two high damaging attack makes him a strong target, that can also likely get off more than one attack per round.
Michael: Fourth, I will kill Slunge typically. Gardeners like playing Emberstone Sentinels and having only one body makes Supremacy impossible, so it is important to set this up. Phlegmus is just too hard to kill most of the time! Risk takers will kill Squort here as he is arguably less dangerous and may even be easier to kill with good dice than Slunge is.
Ben: Fourth I would go for Squort, as getting close to Slunge is dangerous and they are worth the same reward.
Michael: Fifth, kill Phlegmus typically, though it is unlikely to happen. He is just too slow to cause lots of damage and too tanky to reliably consider killing early on. Risk takers will end with Slunge as even though he can do 3 damage maybe, it is unlikely to happen more than once a round, as he is only one range!
Ben: If you get to this step, you have killed more of these guys than anybody else, so good job and claim your prize with the one glory that Slunge drops.
General Order: Shrewg, Dripterus, Squort, Slunge, Phlegmus
Risk-takers: Shrewg, Phlegmus, Dripterus, Squort, Slunge.
And that’s it! Sorry for the delay on this article. Still, I hope you enjoyed it! The final article in the series is meant to be out by sometime this month. If you have any feedback for Ben and I, please reach out to us on the Staggerers discord server, and we hope to see you again soon!
