
Michael: Hello! Michael here. Today I wanted to do a Deck Guide on my Elathain’s Soulraid deck which I took to the World Championships and managed to take second place with!
For anyone unfamiliar with our deck guides, I will first go over the deck and explain each card one by one. A new section for this deck guide is I will explain why I DIDN’T take some cards that seem ‘obvious’. I then give you a quick 101 on how to play the deck, and close of with some specific tips for some important matchups. With that, we can begin!
THE DECK
Here is the decklink!
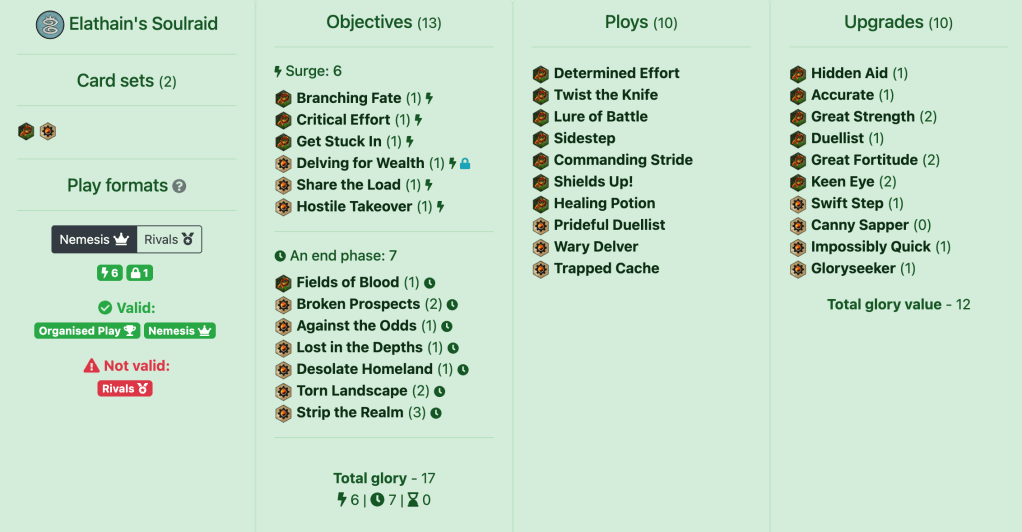
As usual, I will go over all the objectives first.

Branching Fate – This card had the biggest comeback arc for me, I hated it before Worlds began and as I practiced I grew to love it! It can be scored my most of most of your fighters without Underdog already. I love that it can be scored turn one without charging by using Tammael’s Range 3. It Round 1 it’s also easy because enemies are often Staggered by your Flood Tide!
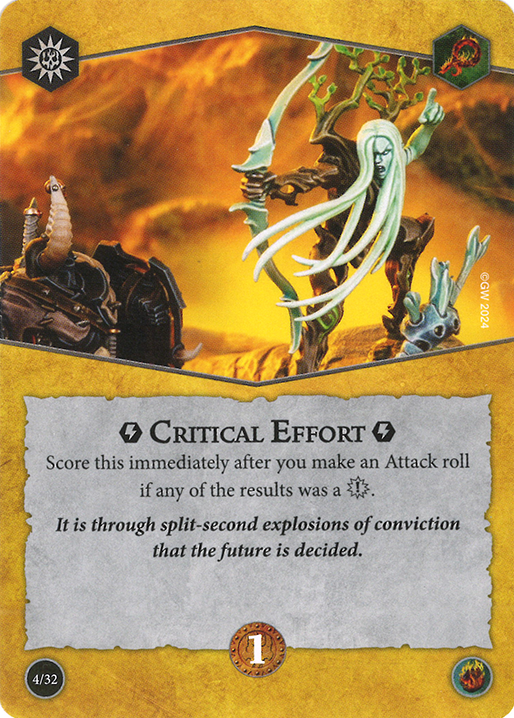
Critical Effort – This can be scored even on a miss and often times you will have a pretty good chance of scoring it. Great card overall.
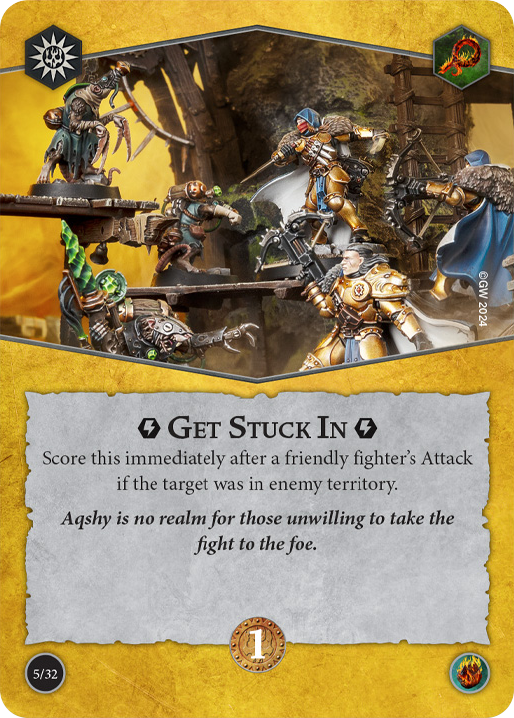
Get Stuck In – Ironically this surge bricked the most out of any surge here. It’s difficult into aggro (especially Wurmspat or anything 3 fighter) but most of the time it’s really easy. As with the other cards it can be scored with Ranged attacks giving you a lot of flexbility.


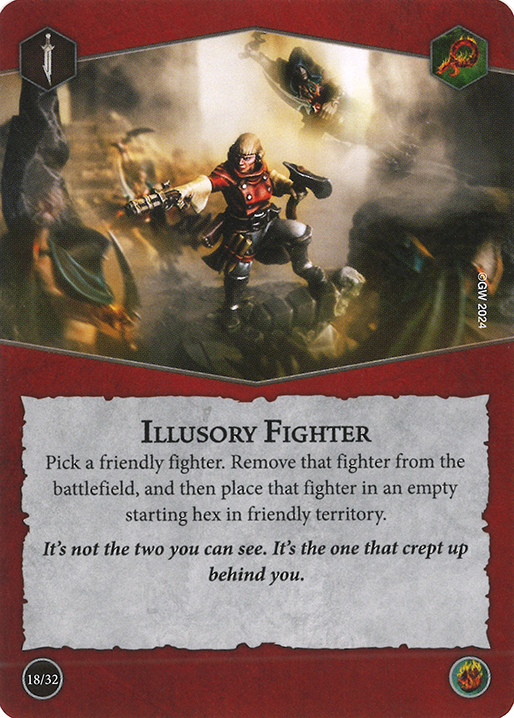
Delving for Wealth – Obviously a great card, I ran it over Claim the Prize because I love the flexibility provided by Delving For Wealth. It’s better for me than Illusory Fighter as I already had 10 good ploys and was missing a surge, so no contest there. You can preemptively delve Aqua Ghyranis and other feature tokens to set this up faster! I love delving Aquas for this as it allows for you to delve the treasure tokens as your other cards require.
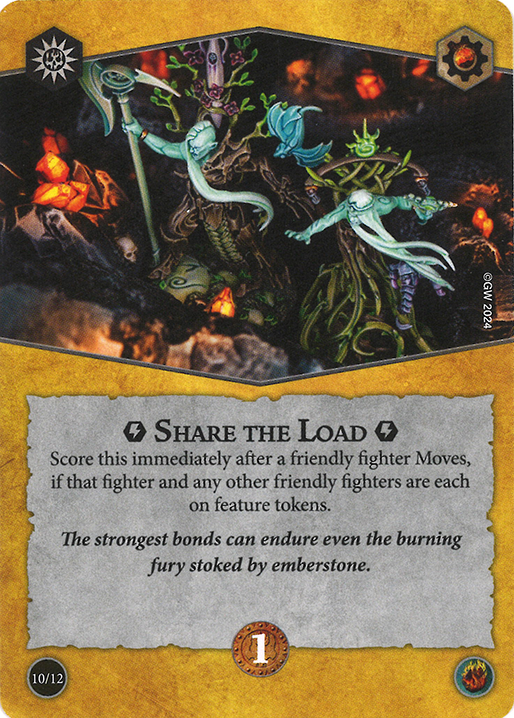
Share the Load – This is really easy with the Ethersea Predators (Duinclaw and Spinefin) but I often ran into issues where every token was occupied. It wasn’t too big of a problem and I scored the card more often than not. Keep in mind it’s scorable off of ANY Aqua Ghyranis as well!
Hostile Takeover – I know some people play Careful Survey but I scored Hostile Takeover so easily that I recommend it any day. Most of the time, my first activation was a Range 3 harpoon throw with Tammael which scuttled my minions onto two tokens and got me my first of two attacks for this, which trivialized this surge. You also have Range 3 attacks on Elathain which make him a good scorer of this card too! Canny Sapper, Ethersea Predators, and other pushes also make this card very easy.
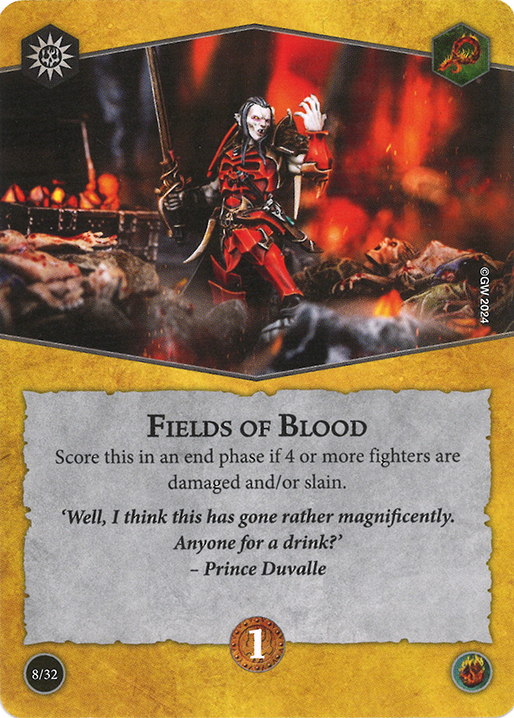
Fields of Blood – Difficult in Round 1 but autoscore in Rounds 2-3. I do have 2 heals in my deck but this was still very easy, and perfectly aligned with my gameplan. I also like how it’s scoreable while tabled!
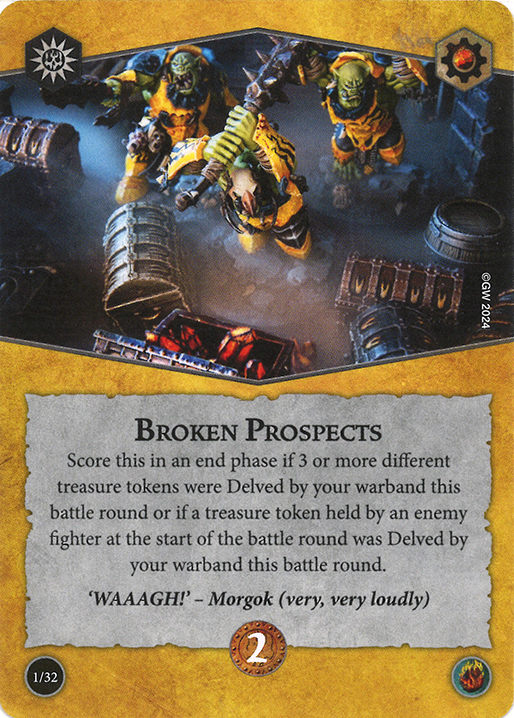
Broken Prospects – One of your two main focuses, you have to prioritize scoring this. Getting this in Round 1 often means you have to scuttle onto two tokens with your minions and acquire a third with an Idoneth, which is easy. Getting this in Rounds 2-3 mean you have to focus on a token that your opponent held at the start of the round – during High Tide, this is super easy. I don’t recommend delving 3 in Rounds 2-3 unless you have no choice since your killing and pushing power is just so high.
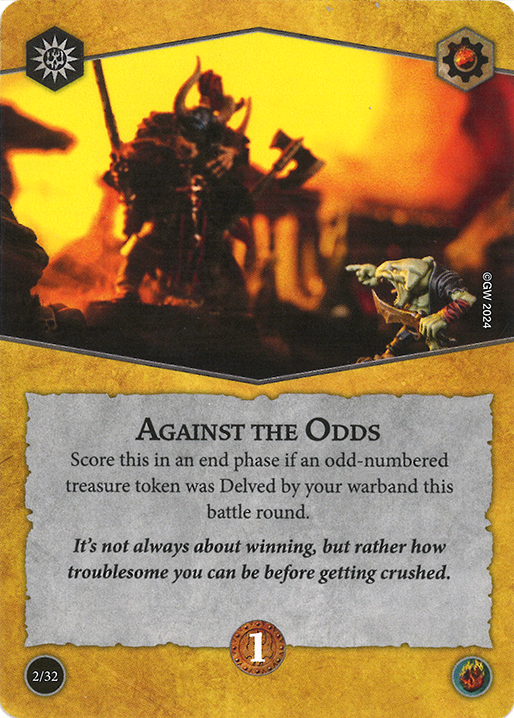
Against the Odds – Usually this is very easy and can be scored with a simple scuttle. Make sure to think several turns ahead if you can maybe scuttle several times in a round to end on an odd token with Duinclaw/Spinefin!

Lost in the Depths – I got asked a lot of questions about this and why I don’t have Keep Chopping. The main reason is I love the flexibility aspect that this card gives you, you can score it without much planning and you don’t NEED to attack unlike with Keep Chopping. Sure, sometimes it forces you to burn a Sidestep or make a questionable scuttle, but think of it as a glory point obtained for a power card. Pretty strong, right? If you prefer to keep your guys bunched up then maybe switch this card but I like to stay in a group as well and scored this with no trouble.
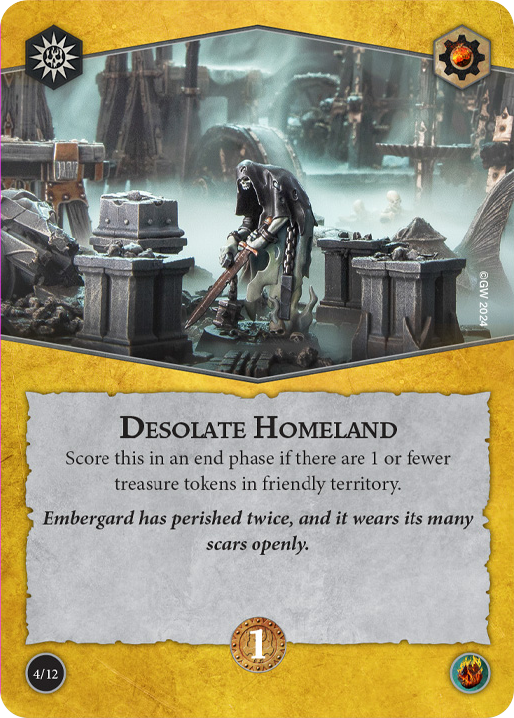
Desolate Homeland – If you want Keep Chopping, drop Desolate Homeland for it. This card bricked SO MUCH for me and I don’t know if it’s worth it for one glory. While it does seem super easy on paper, and it is, the amount of cards that it enables for your opponent is slightly diabolical. Iron Grasp, Torn Landscape, Set Explosives, Strip the Realm, and maybe some more that I can’t think of all get easier when you score this card – not only for you but your opponent! I prefer having as much tokens in my territory as possible to make my 2 glory cards easier and this card competes with it. Decide your playstyle yourself, but personally this card competes a lot with the rest of your deck and most importantly supports some opponent cards.
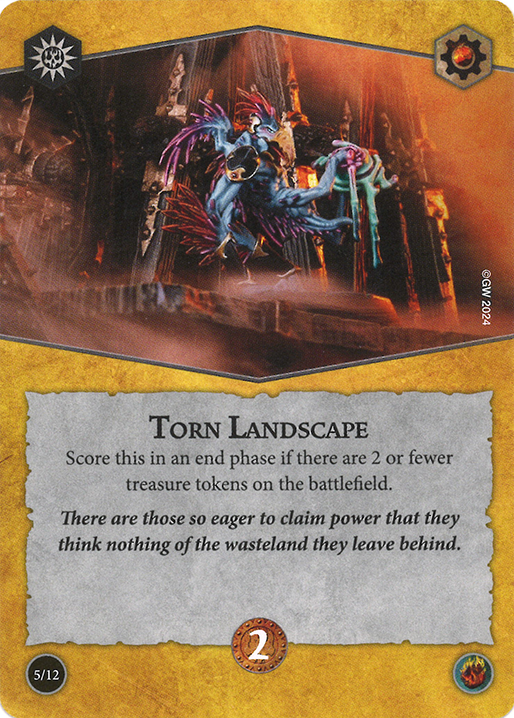
Torn Landscape – This is your second focus card with Broken Prospects – you want to score them both to win. It’s definitely harder and against an enemy Pillage it depends a lot on when they draw their own Torn Landscape. Against any other deck combo, your opponent must focus a lot to deny this and is often a giant mental challenge. Don’t be afraid to ditch this card if your opponent is doing everything to deny it – think of it as a second, easier Strip the Realm!
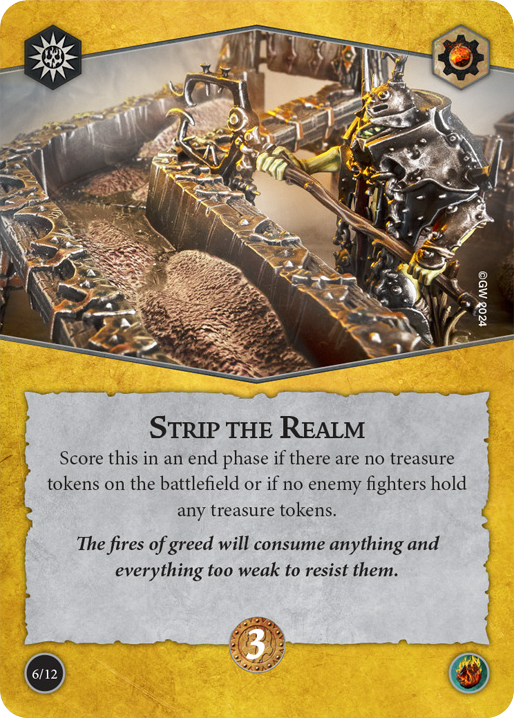
Strip the Realm – A controversial card, I love it and it forces your opponent into doing some very interesting actions. Lure of Battle and Ethersea Predators clogging up treasures make this card much more consistent than in other decks!
Now that objectives are done, we move to ploys:
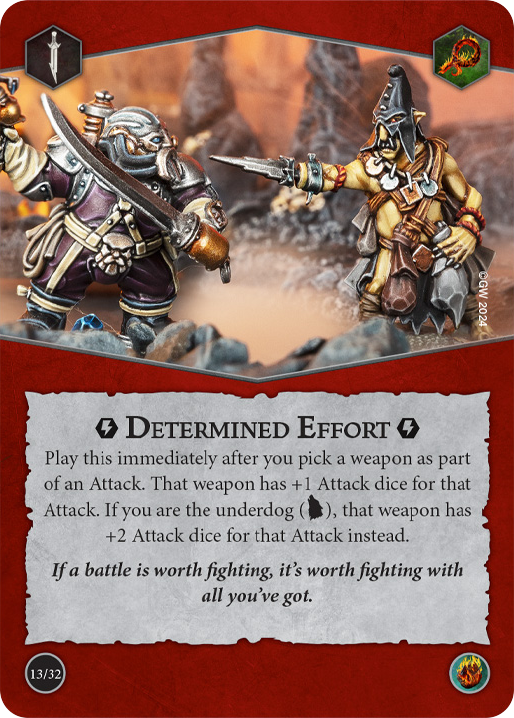

Determined Effort – More dice are great to have. You won’t often get Underdog (I got it like twice during Worlds) but even +1 dice can be huge. Make sure to consider how this affects your surges, usually Branching Fate and Critical Effort. It’s also important to balance how much +Dice you spend on an attack. Don’t burn this, Keen Eye, and Accurate on one attack unless you NEED it to win. Try to stagger your cards around a bit – your passive accuracy is already very good!
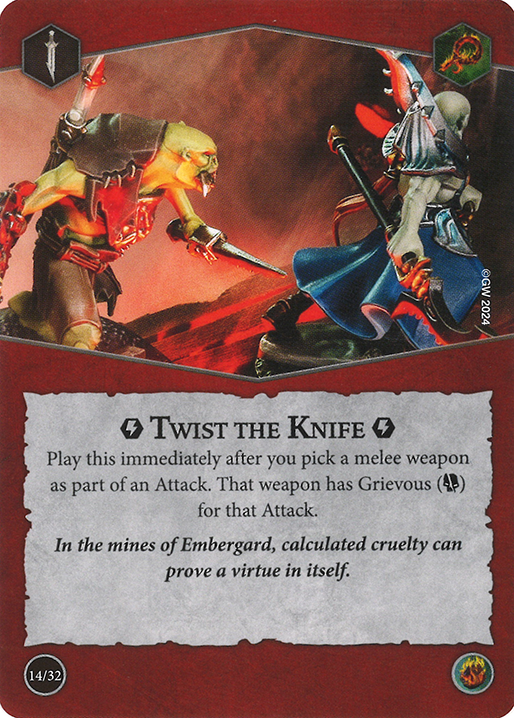
Twist the Knife – You don’t have any sources of 3 Damage so this is great. An issue during High Tide is it competes with literally every fighter but Furiann’s runemarks and during Ebb Tide it competes with your Grapple. (I haven’t used Grapple a single time during Worlds)
Lure of Battle – The Siren’s Call: there is so much to do with this card! Even if your opponent isn’t Emberstone Sentinels or CtC, you can use this to set up Strip the Realm, which I often did. The threat of this + Strip the Realm combo is so large that it forces your opponent to dedicate 2 Fighters to hold if they do not have Sidestep in hand! Other than denial, I used this to get supports and sometimes to even get my own fighters out of danger.
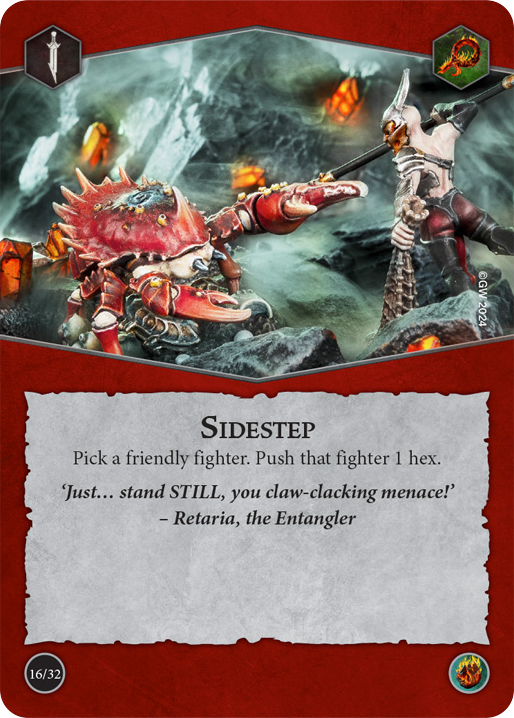

Sidestep – so much to do with this. I like to use it if it guarantees me a glory – either by scoring or denial. Getting out of combat, pushing to set up Hostile Takeover/Share the Load, pushing to delve for any objective, denying Strip the Realm, Guard+push, the list goes on. This is one of the best cards in the game for a reason!
Commanding Stride – Elathain is a great fighter and this card makes him even better. Allowing him to attack multiple times in Round 2 is huge and being able to make otherwise suicidal charges and then get out scot-free with this card is really fun! It does brick if Elathain dies but I like to play conservatively with my Elathain until he needs to go in to Raise Tammael.
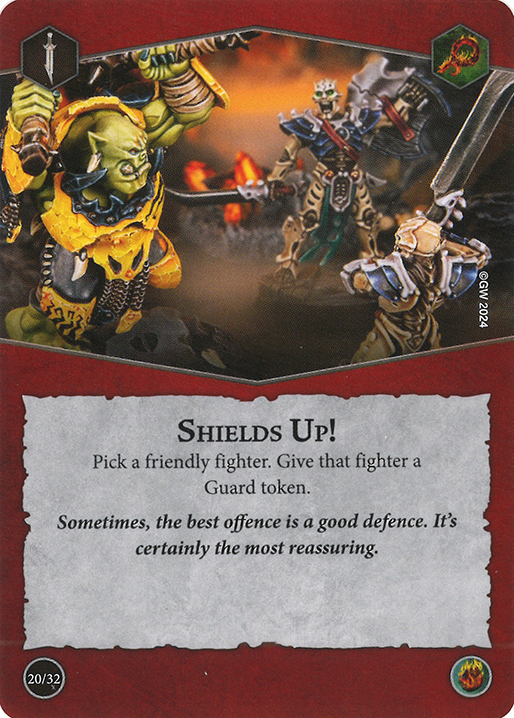
Shields Up! – One of the best early game cards, it makes Furiann pretty much unkillable. Charge her onto a token in enemy territory, Shields Up, and that token is yours for the rest of the game! Keep in mind you don’t need to charge to use this (unlike Wary Delver) so it can be put on other 2 Save (or even 1 Save) fighters who are just standing around, like Inspired Tammael in a horde of Gitz.

Healing Potion – The most basic use case for this card is to prevent a fighter from dying. However, often times I also use it for denial – for example, it makes Trial of the Tempered very hard to score. It can brick Wreckers and Fields of Blood (meaning you have to be careful not to deny yourself). Since Wurmspat is very popular nowadays I also believe that using this card to deny their inspiration is quite effective! Luckily, you have a second card to do so as well, allowing you to use Healing Potion more at your own discretion.
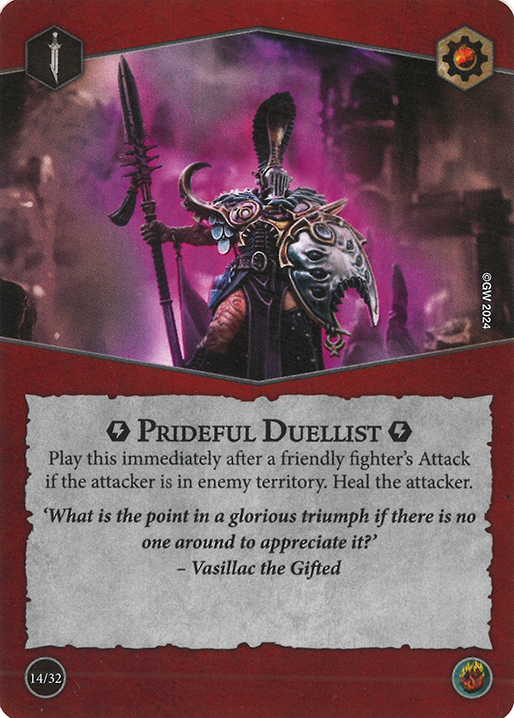
Prideful Duellist – Similar to Healing Potion except that I suggest you send it instantly whenever you can – don’t wait for a ‘perfect moment’, as odds are you won’t get it 🙂 . This is the better card to deny Wurmspat inspires too as it allows you to also attack them at the same time. I don’t reccomend YOLO-ing into enemy territory just to heal so treat this as a nice bonus if you do – don’t charge solely to heal unless necessary (like to prevent a death or deny Trial of the Tempered). Keep in mind both heal cards affect Furiann way better than other fighters, as she has her Phantasmal Forms letting her Stand Fast – so technically all heals are doubly effective!
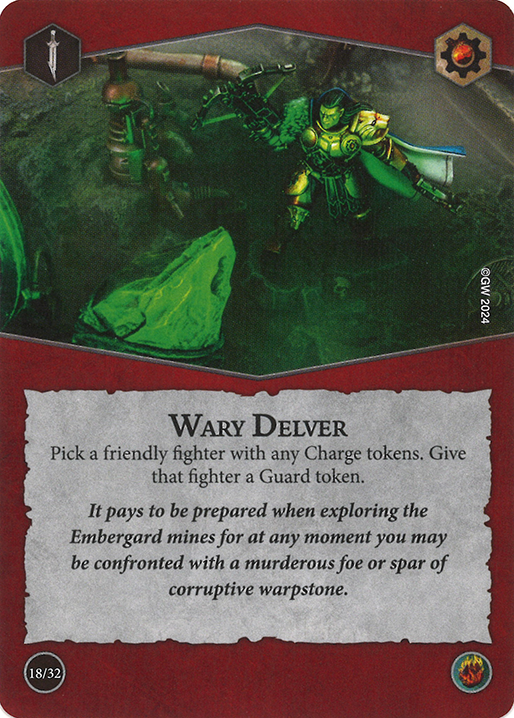
Wary Delver – A worse version of Shields Up, but I prefer to draw this in Round 1 to be honest. It’s great with an early charge with Furiann (as usual) and in Round 2 it works on every fighter very well due to inspiration. Another really obvious point that needs to be made is play this card if you can first before Shields Up, as Shields Up has more use cases. Other than that, it’s basically a copy of Shields Up!
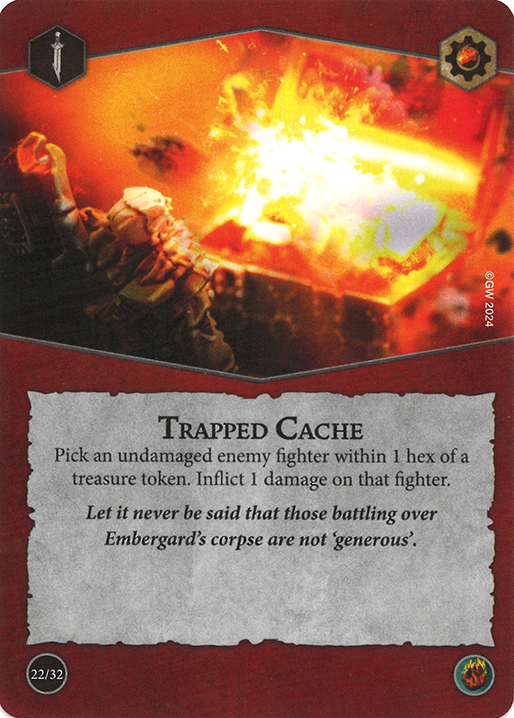
Trapped Cache – the bane of the Spinefin. A fantastic card for getting early damage out. I use it early on to try and snipe an important enemy, such as Imnidrinn from Blood of the Bull or Strewg from the Gardeners. It’s a slightly better but also more telegraphed version of Twist the Knife basically. Another thing – if you can kill an enemy Spinefin with this, do it – especially if the enemy is playing PnP or ES themselves. Spinefin adds so much flexibility to the warband!
Now it’s upgrade time:
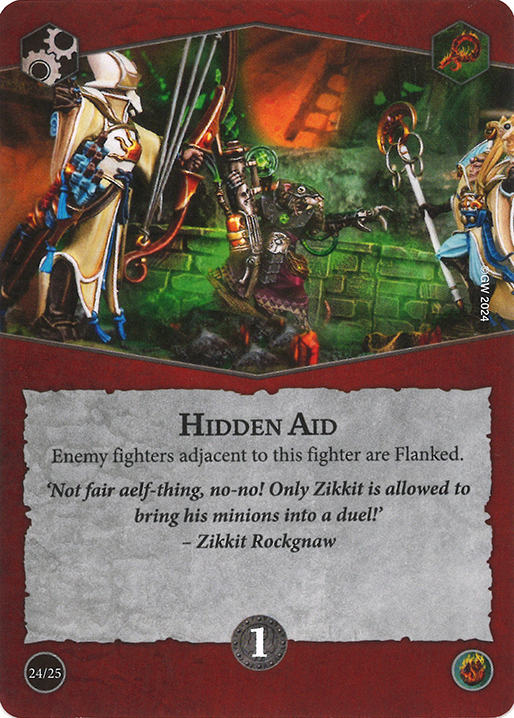
Hidden Aid – A great card in general. It works best on Furiann as it makes her technically go to 2 Shields/3 Hammers uninspired, but it’s great on any fighter. Keep in mind it can also be used defensively and that it only works when adjacent so consider it twice before putting it on Tammael.
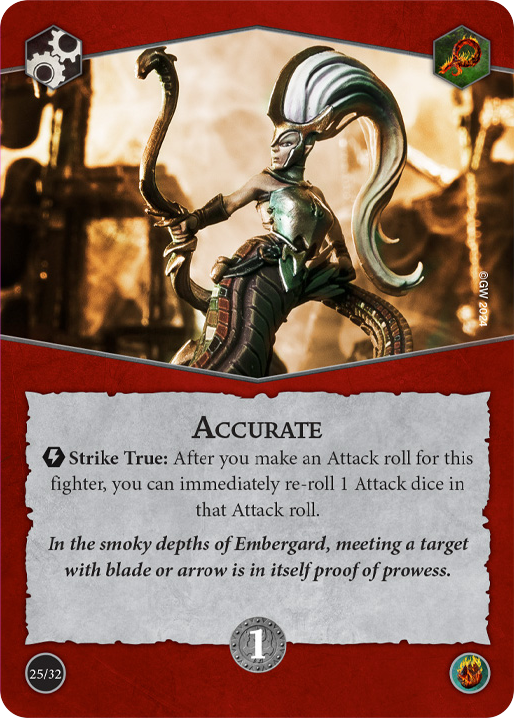
Accurate – A re-roll on anyone is great. It helps score Branching Fate and Critical Effort too. As I said before, try to spread out accuracy upgrades/ploys unless you REALLY need a certain fighter to hit something. Furiann does not need 4 Hammers with Supports and a re-roll with Determined Effort to hit a 1 Dodge fighter, for example. But if Elathain needs to hit a 2 Shield guy to bring Tammael back, then go for it! Voltron all you want.
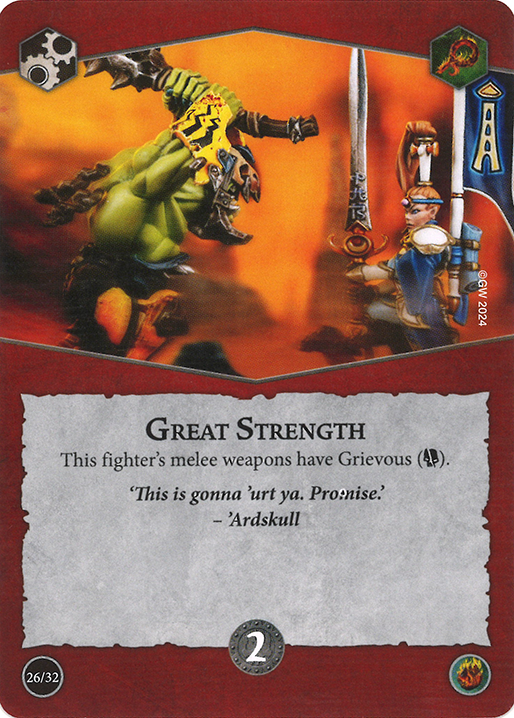
Great Strength – Simply +Damage. Just make sure it doesn’t contradict with your other runemarks in Rounds 2, other than that use as necessary. It’s best used on Furiann cause the only runemark it competes with on her is Grapple in Round 3 during Ebb Tide.
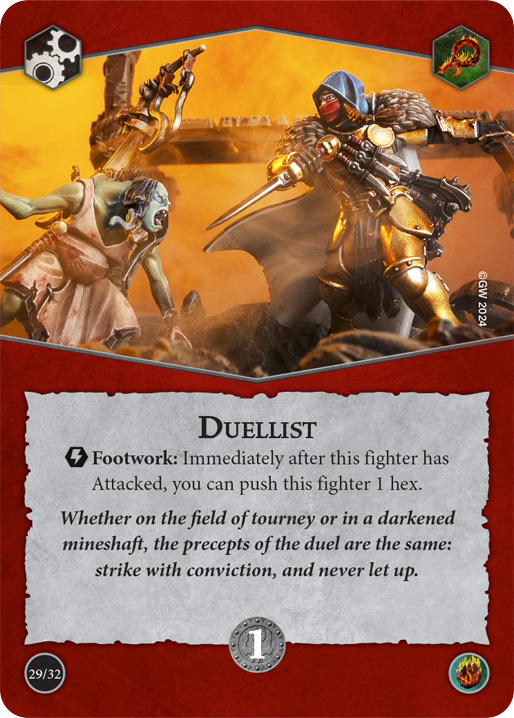
Duellist – This card is great. I didn’t have the opportunity to do so at Worlds but a hypothetical Round 2 with Tammael having this card into a horde warband with lots of damage is very satisfying. Even then, it is great for ‘forced overruns’ and just in general to get out of danger. I also like how you can technically use Prideful Duellist after Duellist (at least no one told me I cannot) which allows for some nice combos!
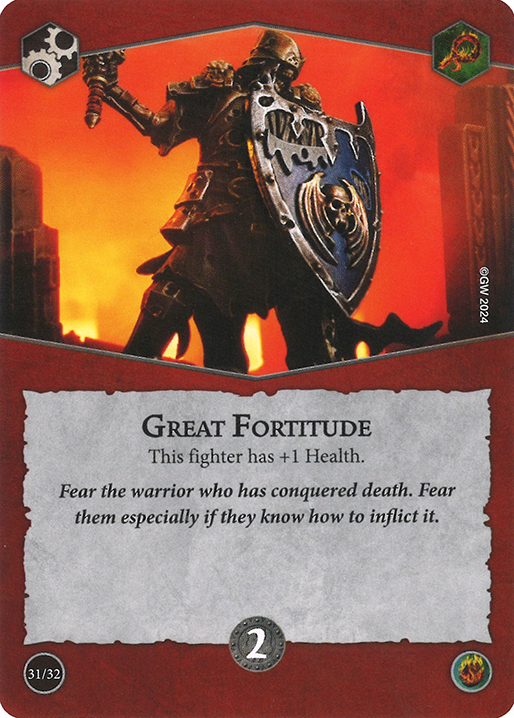
Great Fortitude – Extra health is great and obviously it scales SUPER well on Furiann, so I won’t talk much about that. Instead I will justify why you should put it on the Fish! Against Wrack and Ruin and Pillage and Plunder specifically, it makes the fish immune to the ‘deal one damage to a non-vulnerable or undamaged fighter’. This makes denying stuff like Strip the Realm possible as well as makes you not auto-lose to Damned if you Do!
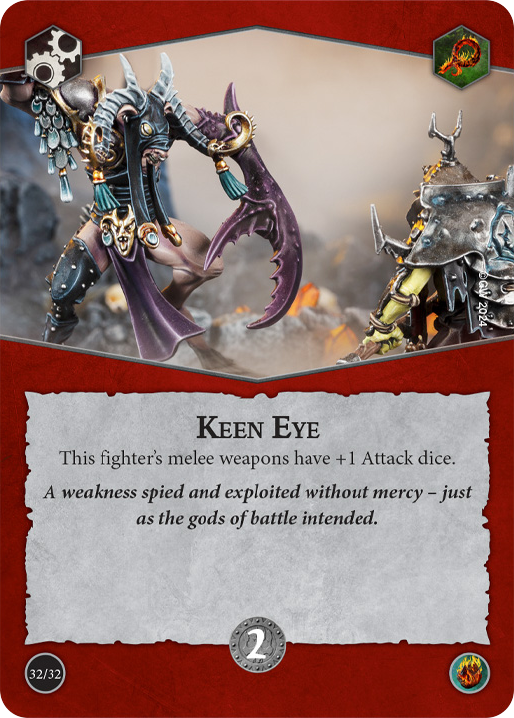
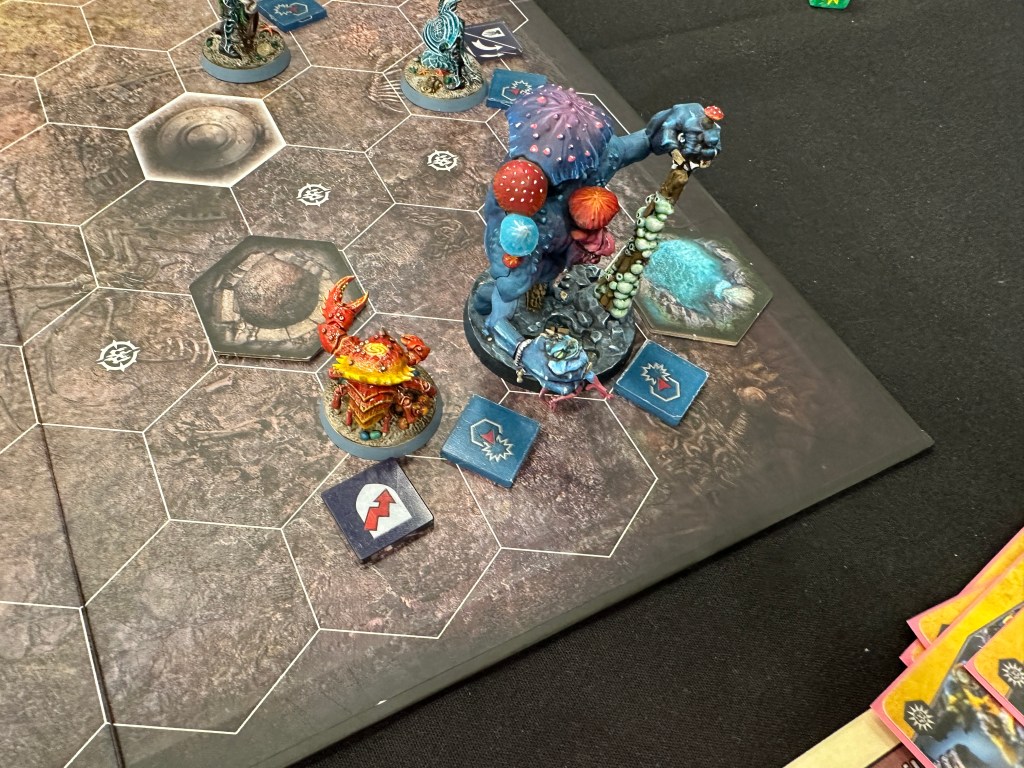
Keen Eye – I don’t think I need to justify +1 Dice. I will say it works really well on Tammael cause it makes him 3 Hammers base, both inspired and uninspired, while also letting him go to 4 Hammers. But honestly it can go on anyone just fine. On the left we have an example of Duinclaw murdering Mollog with Keen Eye, for example.
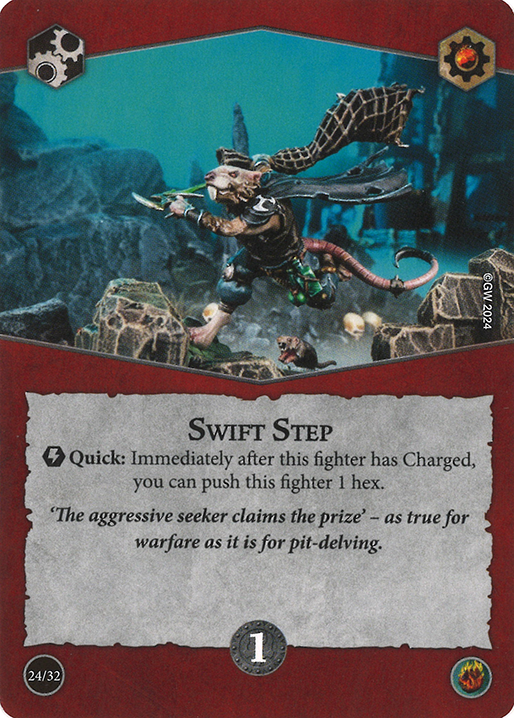

Swift Step – Doubling up on Swift Step and Duellist may seem weird but it is SO NICE. Being able to have two ‘Overrun’ cards is very cool, and the potential for a double push is absolutely insane and has changed the tide for me several games!
Canny Sapper – I only have 7 ploys to activate it but that’s fine. I love using it for ‘Get out of jail’ moments but I used it aggressively a couple of times. Massive shoutout to Commanding Stride into Canny Sappering into enemy stagger hex allowing for a teleport onto an enemy starting hex (technically)!
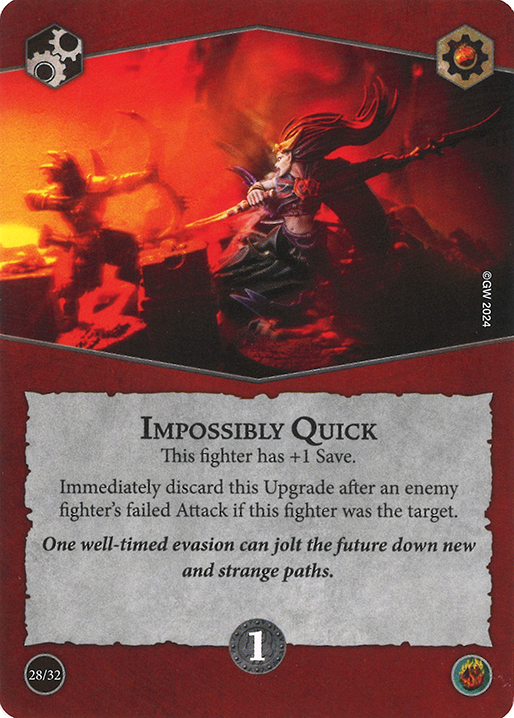
Impossibly Quick – super good on any fighter but my favorite is Elathain, as he scales the best with it, being 1 Shield and inspiring to 2. However it’s super flexible so you can really just put it on whoever you don’t want to get hit.

Gloryseeker – More damage is great. Basically the same comments apply here as to Great Strength, so just take care of when you have multiple runemarks.
CARDS I DIDN’T TAKE
I want to quickly go over why I didn’t take some ‘obvious’ cards. It won’t be every single card in the pairing, just the ones that are generally seen as autoincludes. If you want to skip to the actual guide part, just scroll past this section 🙂
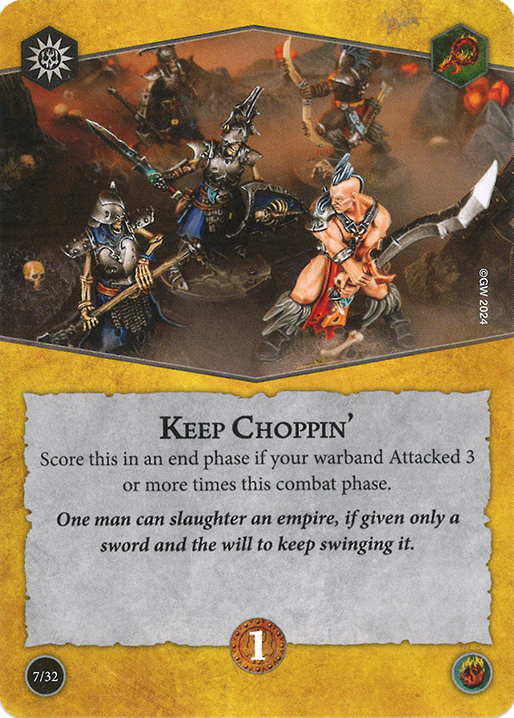

Keep Choppin’ – the biggest question mark. What I love about my deck is that it allows me to play pretty much any way that I want. I don’t need to attack outside of my surges (which can all be scored from one lucky attack, and made even easier with Stagger/Accurate). This card forces me to attack – which I do not want!
Illusory Fighter – this being restricted meant it competed with Delving For Wealth. As I don’t want to play any alternative surge, I had to opt for using my R Slot on Delving for Wealth. I would have loved to play Illusory Fighter though, so if you enjoy gambling with Perfect Strike or want to try some Careful Survey, it can work too!
Brawler – With Deadly Synergy, Thorns, and Mollog all being seen as ‘meta threats’, Brawler stocks went up. I opted to take Swift Step instead cause unlike Brawler which shuts down several matchups, Swift Step is usable in every case. Also, to be honest, I had a plan against each option listed above so I didn’t feel as though I needed more tools to beat them (more on this later).
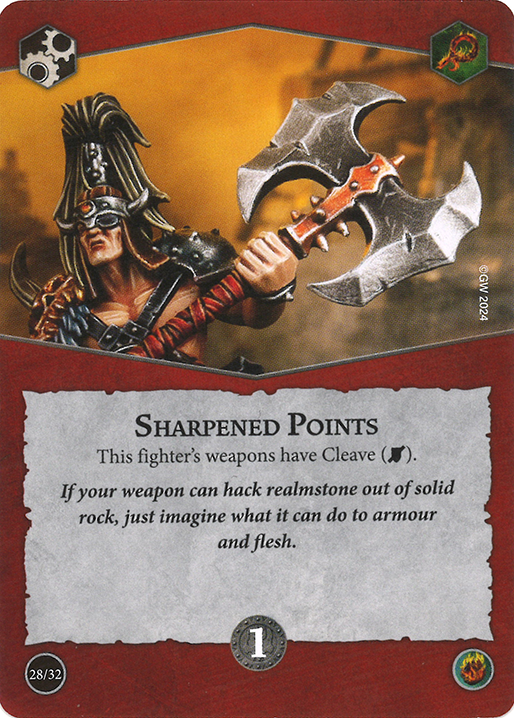
Sharpened Points/Deadly Aim – I have Cleave and Ensnare for the entirety of Round 2. I didn’t want to gamble an upgrade slot into a situational upgrade that only really shines in Round 1 and 3, so I went with something less matchup dependant. In Round 1, I don’t need Cleave/Ensnare as I have an unholy amount of dice from my Staggers and base. In Round 2, I have Cleave and Ensnare already. In Round 3, I should in theory have my accuracy cards out, meaning often times I am already rolling more dice than the enemy removing the need for Cleave/Ensnare.
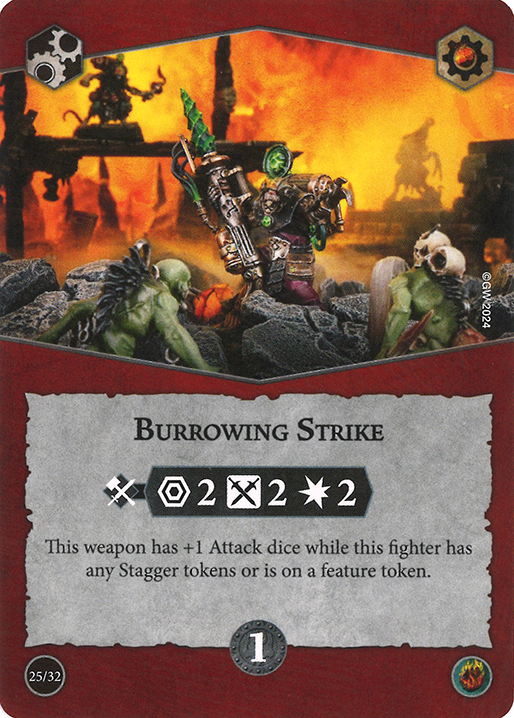
Burrowing Strike – Range 2 is needed on 4/5 fighters but I didn’t take this cause a) it wasn’t too accurate unfortunately and b) Swift Step being more consistent. I didn’t usually need the Range 2 aspect meaning it was a nice fallback plan but requiring it means I mispositioned. Swift Step instead helps me actually position well.
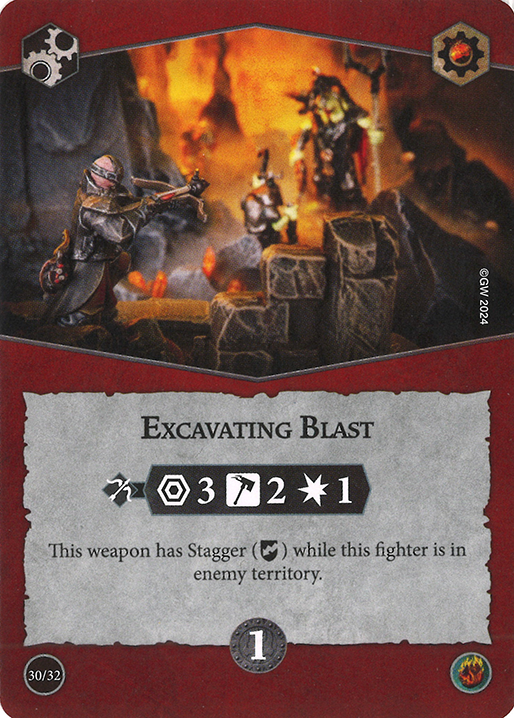
Excavating Blast – pretty much same argument as Burrowing Strike 🙂
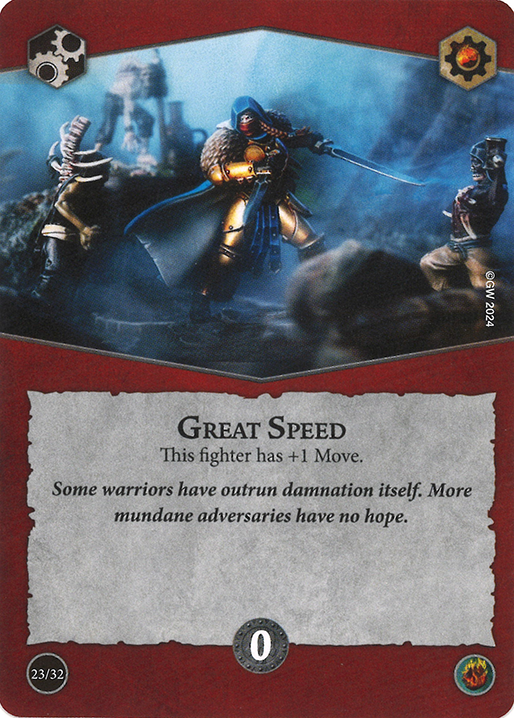
Great Speed – I am already decently fast and I didn’t plan on leaving my territory super often out of High Tide (where I have 5 move) meaning I didn’t need the extra speed.
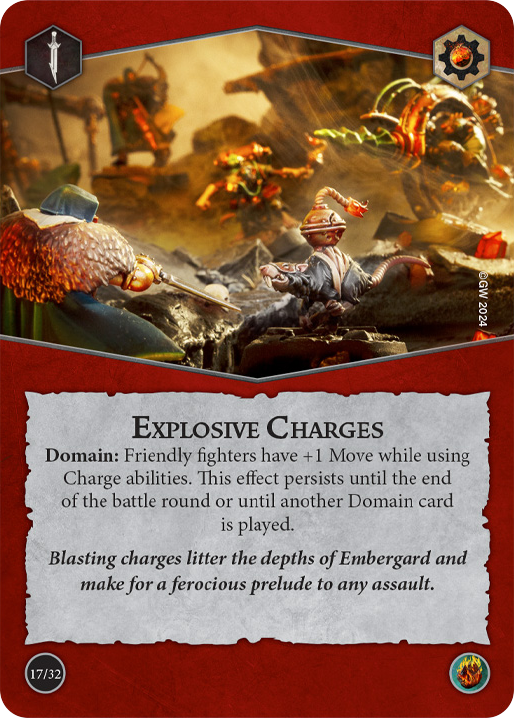
Explosive Charges – As stated, I don’t need to charge super early meaning this card doesn’t have a very good niche.
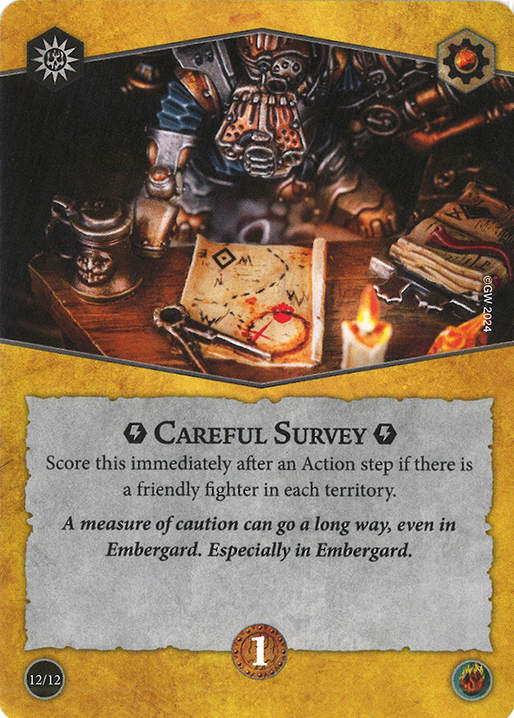
Careful Survey – This could be an alternative to Delving for Wealth in order to have space for Illusory Fighter, but I opted against it cause I don’t want to be too restricted positionally. Yes, I have Lost in the Depths, but Careful Survey forces a lot more strict positioning. You can argue Illusory Fighter makes it easier but my territory is the one I have the least trouble to get into so…
DECK OVERVIEW
Right, so now I will talk about the goal of this deck and give a basic guide on how to play it.
First of all, you will notice I stated multiple times that this deck doesn’t require too much attacking. This makes it super flexible. Playing into BA/DS? Sit back, relax, and wait for them to show up. Playing into ES/PnP? Better warm up the dice, cause you can charge forward and Scuttle onto tokens to delve!
The most important thing to do in this deck that often decides whether you win or lose is initial token placement + fighter placement. Ideally, you should have the following conditions met:
- 2 Treasures next to a starting hex in your territory
- Tammael in range of an enemy with a non-charge attack
- Duinclaw and Spinefin adjacent to a treasure
- Duinclaw and Spinefin can BOTH push on a treasure when ONE Idoneth activates (ideally Tammael with a non-Charge attack).
If you can meet this conditions odds are you are scoring your whole deck. It’s quite simple. By having two minions on tokens in turn one, and with the attack from Tammael, you have made progress on EVERY SINGLE ONE of your objectives except Strip the Realm and Lost in the Depths (and sometimes Against the Odds, but it is against the odds that you don’t). Once you have done this one simple step you can do whatever you want.
Versus aggro, I love to fall back and let the Flood Tide do it’s work. A variation on the default opener that works vs. aggro is instead of Tammael attacking, deploy Furiann in a way that her going on guard (preferably near the front) will get both minions on tokens. This allows her to soak shots reliably while your whole team can counterstrike when the enemy gets Staggered with Flood Tide. From my experience this deck works best into aggro (though that hasn’t proven true at Worlds finals) as you can punish pretty much anything with very accurate and damaging attacks.
Versus hold/passive delving, you can go with the default opener. This denies Strip the Realm, blocks off tokens for the ES Surges, and gives you control of 2/3 tokens necessary for Torn Landscape and Broken Prospects. However, if you have a Guard card in hand (or a heal) (or nothing), an alternate good move especially against enemies with weaker attacks (like Grymwatch!) is just to send Furiann flying onto a token into enemy territory and put her on Guard if possible. This creates a giant nuisance in enemy lines as Furiann is quite hard to displace. If she does get attacked, Tammael and Elathain can join the fray and get easy attacks into some staggered individuals.
Another very important point to know about this deck is ‘when do I go in’. I actually really struggled with this and didn’t realize I did until the actual tournament leading to losses on my first few games. The Soulraid have some GODLY stats, meaning they can brawl with most warbands quite comfortably.
First of all, you have to check how quickly an enemy kill Furiann. If the enemy has no sources of 3 damage and not much pings, you can send Furiann in quite early – against passive opponents, the earlier the better.
Tammael is a really nice counterpunch piece due to his two range but he is also a great missile due to Riptide Harpoon giving him +1 Dice on a charge. If you have extra damage cards like Twist the Knife and Trapped Cache, after the opening harpoon Tammael can often charge early to secure an early lead. Do keep in mind he is worth 2 Bounty which means it’s quite punishing to lose him. However, it is worth the gamble to take out Deintalos or Crackmarrow for example. Make sure to analyze the risk/reward when charging with Tammael – do you prefer him stabbing off threats invading your territory and killing your minions or sniping some unfortunate soul stuck in enemy territory?
Elathain is quite easy – try to delay his charge until AFTER Tammael. A lot of games I had I actually used him as bait since most enemies prioritze him. I like to deploy him near the back, to make sure he is available when Tammael dies. Elathain does have your most accurate attack, but you don’t want to lose him before Tammael (unless Tammael won’t die that game) so play careful with him. He does inspire to 2 Shields allowing to play quite aggressively in Round 2, so keep that in mind.
Duinclaw and Spinefin don’t often charge. Duinclaw uninspired should usually go in if you badly need 2 damage administered somewhere, while Spinefin shouldn’t really ever need to attack while uninspired. When they inspire, that’s a different story! They get Cleave and Ensnare respectively allowing you to use them as ‘backups’ to Elathain and Tammael. If Tammael misses his charge and the enemy defends on dodges (and is one health), send the Spinefin in! Same with Elathain and Duinclaw if the enemy defends on Shields. Duinclaw can be quite active in Round 2 as he does two damage which is the same as all your Idoneth.
Now we can talk about ideal starting hands!
In general I love seeing Broken Prospects or Torn Landscape early as it lets me get them out of the way in Round 1 and focus on the game later. Attack surges are also great, as it means I don’t have to worry about them later if I do resort to the age-old ‘running away’ tactic. Pretty much any objective you have is scorable in Round 1 except from Hostile Takeover and Fields of Blood. Even Strip the Realm is keepable if you draw into Lure of Battle.
The power cards really depend on the matchup. Against aggro elites, you want either Trapped Cache or Twist the Knife OR Gloryseeker and an easy surge in hand early. This makes it possible to two shot one elite, which is usually quite game swinging.
Against swarm aggro, I love having the same damaging cards early because I can kill any invaders very easily when they get staggered. Swarm aggro also hates playing into Sidestep and Duellist, so those are also good picks especially against Thorns and Exiled Dead. Determined Effort is also nice to see as the more you kill in Round 1 the harder it is for swarms to play later.
Against passive elites (stuff like ES/CtC Kurnothi or ES/PnP Jaws, for instance) Lure of Battle is insane. Ideally Trapped Cache or Twist the Knife too, as elites have a much harder time holding with only two fighters.
MATCHUPS TIPS
Moving to the last section, I will now give some small tips on how to beat certain warbands/decks with this pairing. I already talked about card draw but now I will go into actual game tips!
Starblood Stalkers – I actually struggled quite a bit with them and thankfully didn’t have to face any at worlds. My plan in training was to either snipe Klaq-Trok, which required either Twist the Knife or Trapped Cache in first hand, or to farm the little Skinks. ES/PnP is by far the hardest pairing to face with them – all the others are much more managable!
Mollog’s Mob – Pretty scary apparently, but my strategy was basically ‘kill Mollog’. You have the damage output to do it. The best time to strike is either after he charges into you in R1 (which Staggers him) or in Round 2 during High Tide. Grievous is insane in this matchup so make sure you get at least one card that provides it in R1 or 2.
The Wurmspat – My plan against them that worked in pretty much every case is to mark one of them for death (ideally whoever gets Staggered first, or Fecula as she gives 3 bounty), kill them, and then run away. Their stats are kind of insane and so is their damage reduction especially when inspired. Also, PROTECT THE FISH. They instantly inspire upon killing it and let me tell you having to deal with a Inspired Sepsimus LITERALLY from Turn 1 is not a fun game.
Elathain’s Soulraid – in the mirror I tried to play more cagey and it was really a 50/50 if it worked or not. Like, your goal is to be up in kill bounty while scoring your whole deck and then you win. The issue is your opponent will be doing the same so… One more thing to note about the Spinefin – killing him makes bringing Tammael back very easy. Consider ignoring the fish for a bit and then only killing him when Tammael is dead – it’s an easy Raise if you have no other option.
ES/PnP – this is the hardest matchup to play into. Your goal here is to get control of one of their tokens ASAP and defend it. Ideally you also kill stuff. This is one of the matchups you have to aggro hard against, which made it particularly tough for me. Oh and be wary of Trapped Cache and your Spinefin getting randomly sniped for 0 reason in particular.
BA/PnP – in the mirror deck you often have the advantage in passive glory as you have Lost in the Depths in place of Keep Chopping. This means if neither of you engage, you will win out by one glory. This allows you to play a nice counterpunch in Round 1 to leverage your staggers and then transition into a more aggro charge in late Round 1 and Round 2. Just like against any PnP deck, Trapped Cache is super scary.
I think those are all the most important deck pairings and matchups you should know about right now, but if you have any specific questions regarding other stuff please do ping me on Discord (such as the Staggerers Discord server!) and I will do my best to respond! 🙂
With that, thanks a lot for reading! The Worlds content is not done yet, I will have a tournament review up sooner or later (unfortunately probably later). Anyways, I hope this deck guide helped you, and I hope to see you again soon!
