Hello! Michael here. Today is a very special day and to highlight it I wanted to do a relatively short Deck Guide for a deck that means a lot to me – Pingstorm! [future me note – this deck guide was not short] This has been a very iterative deck with lots of versions but today I wanted to focus on a very specific one – Ephilim’s Pingstorm.
What is Ephilim’s Pingstorm?
Simply put the goal of this deck is to play every single ping in the game (possible) and win. Most decks win by scoring glory, you win by your opponent being unable to score glory due to lack of fighters on the board (for as we all know it’s very hard to score glory without models).
Why Ephilim over any other warband? So everyone knows I enjoy Cyreni and especially CataWrack Cyreni but after worlds I really wanted to go back to the ping-ping playstyle where even my warscroll can get damage out. Cyreni is fun and all but I also happened to have another project I am working on with them, leading to me to go back to Ephilim.
I have played this deck in two tournaments – one very early last year, The First Flames of Linz, where I placed 4th out of 13th. Not a bad show by any stretch of imagination especially once you see the deck! However, I don’t have a tournament review for it due to, as stated, it happening in March 2025. I will just say that it was great fun getting all the little combos going on! The second tournament was not too long ago, at the start of February, where I placed 2nd.
I also played this deck in a little too many league games. When I don’t have anything special like Pacifist Skaven or CtC/HG spam to do, I often default to a pingstorm deck, and Ephilim is one of the most fun to do it with. Players cower in fear when get paired into the no-Fireproof CtC/WnR deck.
The Deck
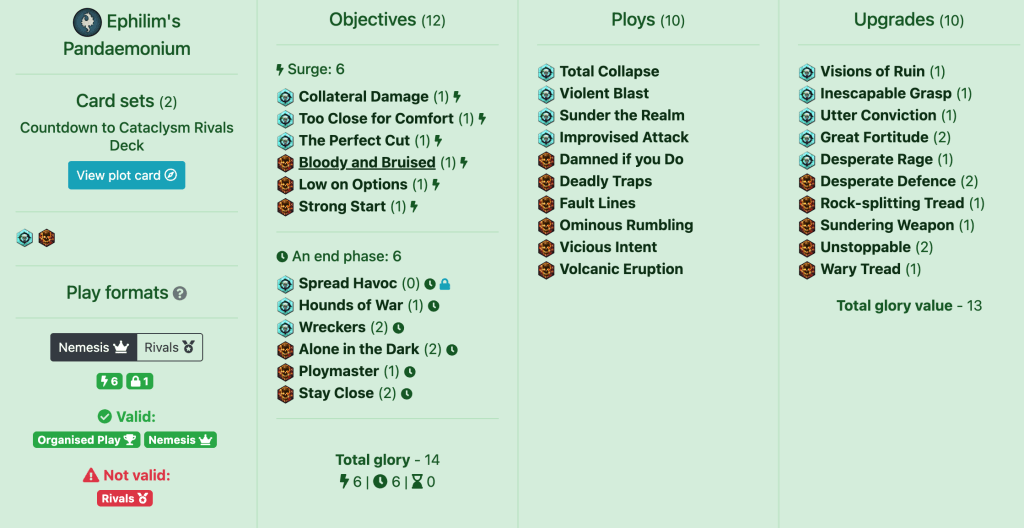
Time for everyone’s favorite section! As usual, here is the decklink in case you don’t know the cards.

Collateral Damage – A very easy card to score especially if your cataclysm doesn’t ramp to 4. You don’t have to go out of your way to score this.
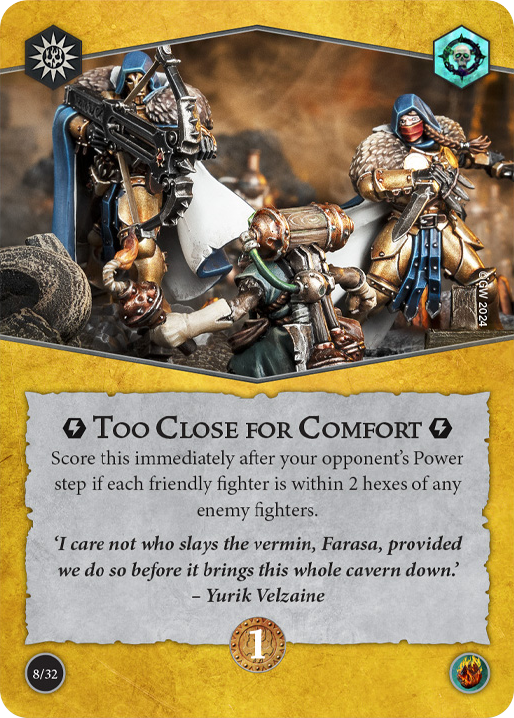
Too Close for Comfort – A new card in the 2026 variation, I grew to love this card while exploring other pairings. Even in a five fighter warband it’s very scorable and with Ephilim’s tendency to group up for Power Leech on top of the appeal of killing Ephilim to stop the Raising makes this card often trivial. At worst it’s a deterrent for enemies running into you.
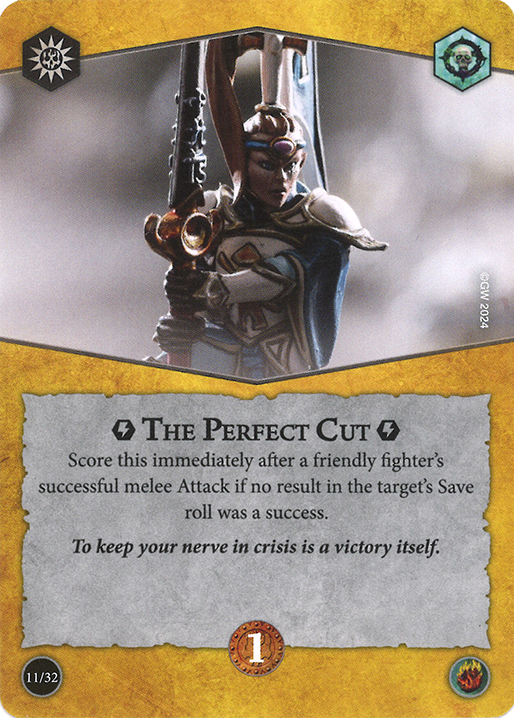
The Perfect Cut – Having access to both Cleave and Ensnare on demand in the shape of inspired Spawnmaw or Starefysh really makes this card very easy. My biggest tip is to not overextend to score this and treat this as more passive glory.
Bloody and Bruised – With the amount of 1 DMG sources you will be putting out this card is super easy, the main issue with it is drawing it in round 3 can brick your whole hand cause there aren’t three fighters on the board. You even have two ways to score it on your warscroll with one attack/surge ability.
Low on Options – Scored for playing the game, made easier by the amount of upgrades you discard through dying creating a lot more opportunities to surge this.
Strong Start – Some may see this as a questionable pick but in reality you aren’t often getting one shot outside of Raised fighters and Kindlefinger, then you factor in your absurd damage output where even Stormcasts have fallen in one turn making this surge much more appealing than Shocking Assault or Unsafe Ground.
Spread Havoc – Really not much to say, I guess just score it for two glory always? You need the glory buffer. Also make sure to save it for late game if you draw it early.
Hounds of War – Super easy with your killing power.
Wreckers – Yes, I still run Wreckers in the Grand ‘26. It’s very scorable against anything not 3 fighters in Round 1 and 2 even. Against three fighter warbands, you must absolutely keep this card in your first hand. Then use any and all tools you can to score it – it’s vital for the glory ceiling. Against 4+ fighter warbands it’s quite easy to score. A warband with 5+ fighters is also achievable in Round 3 cause as I said, your damage output is devious.
Alone in the Dark – While it does contradict Power Leech I still love the card cause it forces really stupid plays form your opponent. It’s also made easier for Ephilim cause enemies are scared of standing close together for some unknown reason…
Ploymaster – Another trivial card for more passive glory, made even easier by Power Leech.
Stay Close – A slightly worse version than Alone in the Dark but it is better in early game when your opponent actually has stuff to do. It makes the Elite matchup quite easy and also punishes hold so I play it as another deterrent card.
You may have noticed a pattern in the objectives. They almost all come in two categories – literally undeniable or very deniable but require hard committal to deny. This creates a lot of mental strain for the opponent as they have to focus on messing up your scoring, allowing you to get away with murdering them relatively unpunished. Thus this objective deck is more played by your opponent rather than yourself – your job is to capitalize on the mistakes they make or the bad positions they are forced into. I know a lot of people say CataWrack is ‘inconsistent’ but with proper punishing and a general idea of what you are doing I’ve never really had bricked hands, outside of super canny opponents playing passive decks. More on this later, for now – the power deck!

Total Collapse – Ping #1, this allows you to snipe a fighter anywhere on the board. The biggest strength of it is its inevitability – it’s impossible to avoid if the dice roll succeeds. Its biggest weakness is it is not the most accurate around but it is still very strong and accurate especially with high Cata.
Violent Blast – Non-ping #1, this is mainly here to help set up your positional objectives on top of denying ES players. It works in all matchups though.
Sunder the Realm – Ping #2, this is by far the most potential ping in your deck. It can be a game winner or it can do one damage (which is nothing to laugh at). The main issue with it is it’s super weak in Round 1 compared to what it can be so often times I mulligan it away early to make sure I draw it with a high Cata to guarantee a large impact. Also epic tip – don’t be too greedy with it. 2 fighters is enough to send the card, you don’t need to risk your opponent moving away to gamble on getting a third. Also I say this always but YOU KNOW THE CARD IS COMING – so get out of neutral territory!
Improvised Attack – Ping #3, its biggest strength is that it is your highest accuracy kill ping as it scales with supports and staggers. On top of that it can proc Fires of Change which is very funny. It also doubles as a second Violent Blast so make sure to check if you can use it to get an enemy away from you to score stuff like Alone in the Dark.
Damned if you Do – Ping #4, this half-pings biggest strength lies in its ability to completely break an opponent. You have to use this in situations where the push is bad for an opponent to actually ping them or where the ping is bad to push them. For example, if I still haven’t scored Stay Close and I play this, opponents tend to pick ping as I can push one of their fighters out of an edge hex. To go back to my ‘punishing’ paragraph, this card is a prime example of you having to be able to punish an opponent when they make a bad choice. They picked ping to deny Stay Close? Ping then again with Total Collapse for a kill. They picked push to survive? Move away and score Stay Close. You get the idea.
Deadly Traps – Ping #5, I hate this card but it’s a ping so it’s in the deck – I did say I am playing every possible ping 🙂 I did find some epic use cases such as guaranteeing a kill through attacking a two wound enemy and shoving them into a minion to Share some Mutations. Go on, say this card sucks. Bet you’ve never played it right after an opponent breathes a sigh of relief that they barely dodged the attack. (and before you say oh the attack would’ve killed them I want to remind you – this is only ping #5)

Fault Lines – Ping #6, this is great for early damage spreading and works very nicely with stuff like Wreckers and Bloody and Bruised. This is one of your only guaranteed pings so keep that in mind when playing against enemies like Gardeners who care about taking damage or a 1-Wound fighter – this is the best way you have to force them to take damage.
Ominous Rumbling – Ping #7, this ping shines when you threaten something that makes the staggers very unappealing. Stuff like Desperate Rage or Spawnmaw + Shared Mutations. As with Damned if you Do, be sure you can capitalize on either option your opponent picks, such as wishing to attack multiple targets so benefiting off the Stagger or having every ping in hand to one clip a Stormcast.
Vicious Intent – Ping #8, THIS IS A PING CAUSE IT CAN CAUSE DAMAGE TO APPEAR ON AN OPPONENT. Now that this legal issue is out of the way, my favorite moments with this are with Desperate Rage. Still the +1 dice is often make or break especially with your plethora of Cleave and Ensnare. Just keep in mind it doesn’t work on Ranged attacks.
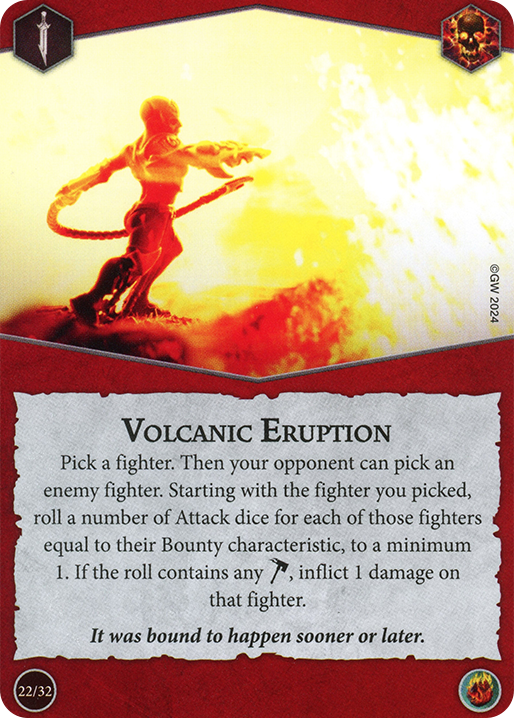
Volcanic Eruption – Ping #9, this recently buffed ping is now on par with Total Collapse. It’s obviously stronger into high bounty warbands and it’s fine into low bounty stuff. I like to use it as a finisher or as a punisher – by making your opponent thing they denied Stay Close and then killing their fighter. It is a risky card to rely on but it’s definitely a strong one for its infinite range and kill power.
Notice how 9/10 ploys are pings! See what I mean when I said this deck has high killing power?
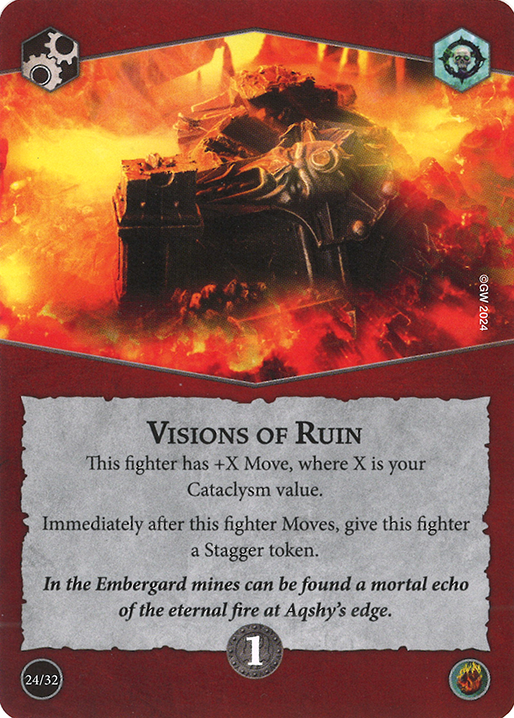
Visions of Ruin – You aren’t slow per se but +3 move is very appealing even with the stagger so I put this card in just in case. It has proven very clutch in my games though. Shoutout to a certain Wurmspat player at Worlds (you know who you are 🙂 ) who made me love this card after clowning on my 5 move with his 7 move.
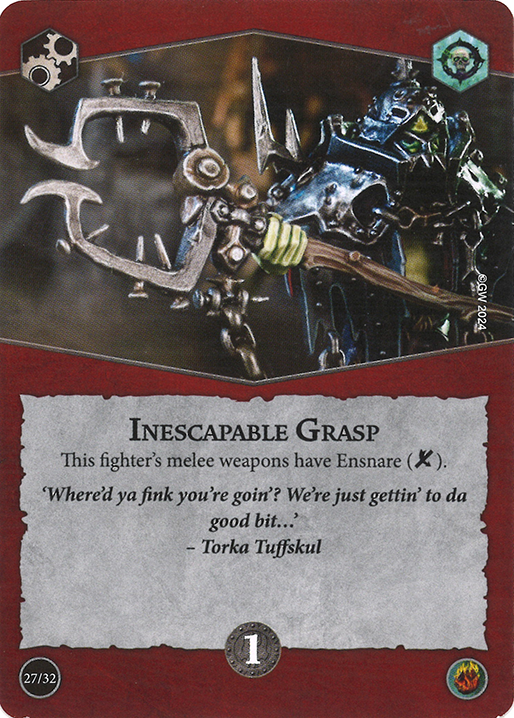
Inescapable Grasp – More ensnare is nice but keep in mind it only works on melee attacks. It does allow you to turn ApoTrax into a Cleave/Ensnarer though.
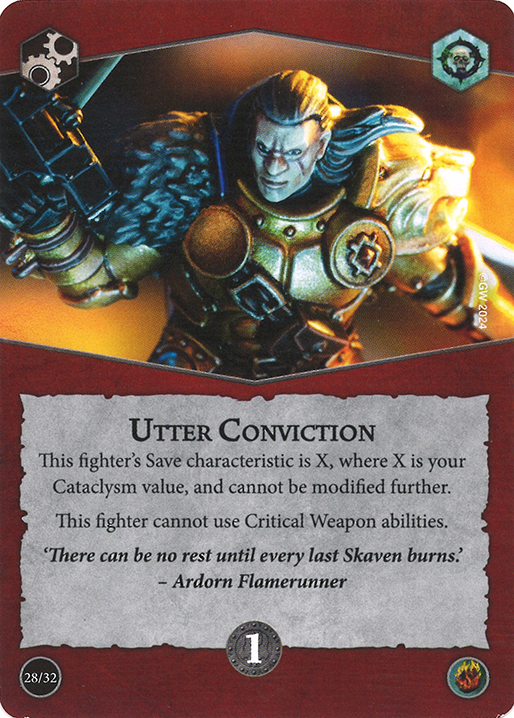
Utter Conviction – With the Aqua clarifications this card is beyond busted and very useful in a warband with no critical abilities and with a leader who is a primary target.
Great Fortitude – Same as Utter Conviction, this usually goes onto Ephilim or a Voltroned minion who is a primary target. Against Edge of the Knife you can toss it on Kindlefinger to deny Trial of the Tempered!
Desperate Rage – I already talked about this a lot but it combos very well with your others cards on top of having an absolutely huge payoff if it connects. In case you ever need more damage, this is where it’s at. In addition you can use it to score Collateral Damage if you realllly need to, but also to draw a power card through Power Leech. It’s not a bad use of the card to give it to a Raised minion and kill them to draw a card for stuff like Ploymaster.
Desperate Defense – Another way to ensure survival, this card is fantastic for keeping key fighters alive. Your warband does have a key fighter in the form of the guy responsible for half of your warscroll being functional.

Rock-Splitting Tread – Ok, so this card is absolutely insane for a very funny interaction with Shared Mutations. Since the trigger window for both is the same, you can give this to a minion and walk into an enemy to deal 2 damage to them by choosing to resolve Tread first and Mutations second. This can also kill stuff, because while Tread can’t damage vulnerable stuff Mutations can! How many games have I lost by holding onto Mutations to see this card? No comment.
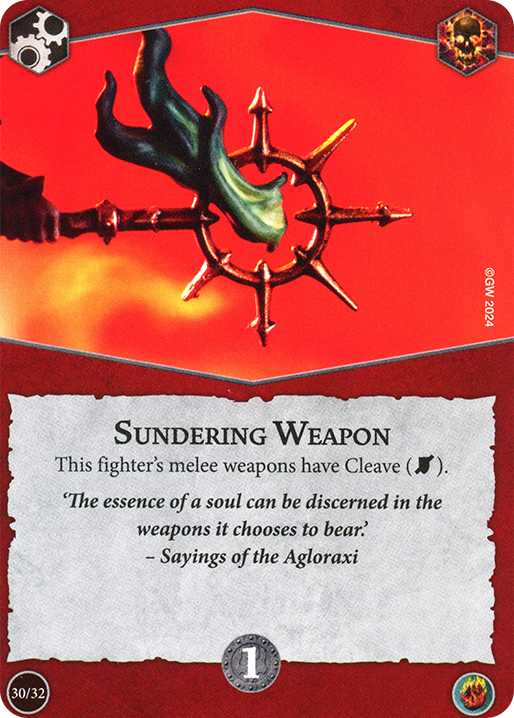
Sundering Weapon – Literally a copy paste of Tightening Grasp but instead of making Starefysh the threat it makes Spawnmaw the threat. By playing both cards you get a very high degree of flexibility allowing you to counter really anything your opponent throws at you.
Unstoppable – You respawn Vulnerable which does allow you to use this card extra well. Also, it has great interaction with Desperate Rage and Desperate Defense. On top of that it makes you immune to some self pings.
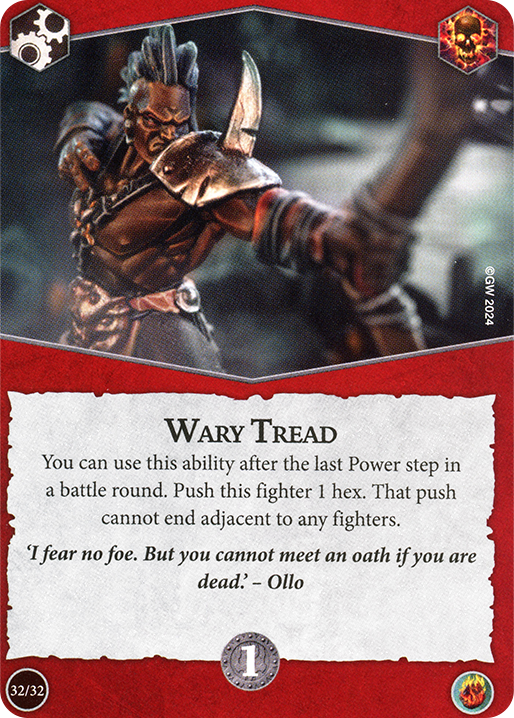
Wary Tread – The main reason for this is to deny enemy positional stuff or to score your own. You can fake out an enemy by forgetting to deny Stay Close and then pushing yourself out, or deny Strip the Realm as well by pushing yourself on a token in the last second. Just keep in mind that you cannot end adjacent to a fighter!
Deck Overview
The goal of the deck, as you may have seen, is to force enemies into bad decisions through your objective cards while punishing them with your ploys. And ping stuff. Your upgrades are very niche but serve as specific matchup counters or just as survival stuff.
This deck is great fun to play at any level, but it’s much less consistent against experienced players who know the Wrack Objective package and can be hard for a beginner to play. However, if you know what you are doing, it’s a super consistent deck which can power spike to win literally ANY game but serves itself fine with bad luck as well. It’s also a super effective ‘seal clubbing’ deck, meaning I don’t really encourage playing it against newer players to take advantage of their inexperience with Wrack stuff, cause if that goes undenied your deck seems literally unstoppable.
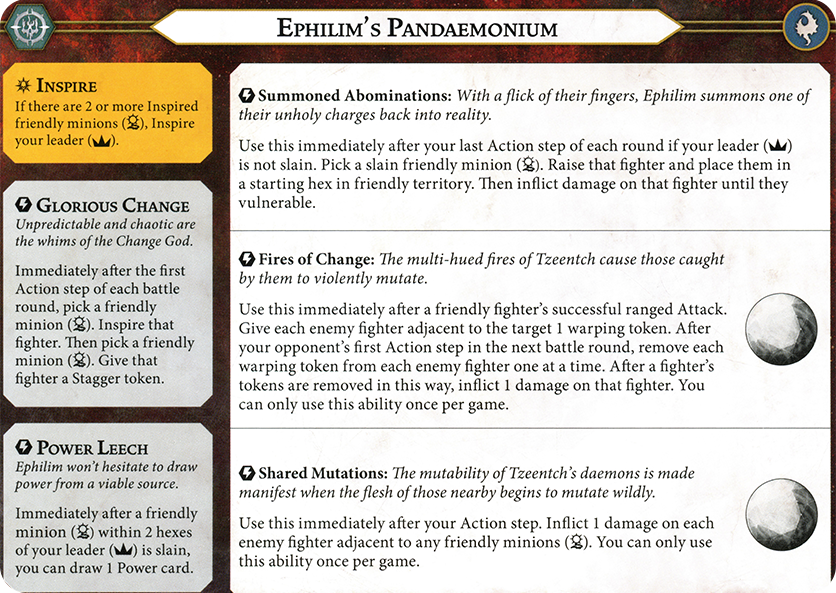
Right, now onto the warscroll and its deck interaction. Your first inspire depends on what the heck you want to do in a game. Spawnmaw is great if you really need to keep up in kill bounty as he goes to two save, but if you want to go more offensive than inspire whoever you need between Starefysh and Spawnmaw for Cleave and Ensnare respectively. Obviously don’t let the inspired guy die to inspire Ephilim unless you are planning to just sit at the back in which case Eph doesn’t need inspiration. For Power Leech, I have a couple of board deployments especially on the new Spitewood boards that allow me to get all my fighters in range. I do feel like it’s a necessary ability to take full advantage of the deck and make it an unstoppable killing machine, cause it does alleviate bad luck, but it’s not necessary for the deck to perform fine, as often times you simply just draw the right cards anyway. Cause any card is right (any ping is right). For the Raise, my main tip is to know when not to raise. For example, would raising let my opponent deny Alone in the Dark by a Sidestep? Would it make them scoring Strong Start easier? It’s not often it comes up but it can and it’s super important to know when to restrain yourself to win the game. There is no dedicated Raise order – just check which fighter you need to play better ^^
Now for the FUN STUFF – Fires of Change is a really swingy ability. Against low model count warbands who played spread out, just fire it off whenever you can. Chances are it’s not going to happen again with fighters dying, so it’s nice to get damage on fighters. Against high model count warbands such as Gitz or Exiled Dead, it’s very tempting to wait for a ‘big one’. This can lead to you missing 7 attacks in a row and not getting to use the ability! To counter this, pick a number which you are content with – ideally 2. Then, the moment you can Warpslash your chosen number of enemies, send the ability! This prevents overheating and also still allows for fun moments as you beat your goal. Be sure to keep the board state in mind as even against Zarbag it might seem impossible to tag even more than 1 fighter. The bottom line is: ALWAYS USE THIS ABILITY IN A GAME. It doesn’t matter if it hits only one guy. 1 Damage is better than 0 Damage.
Or you can ignore everything I said and go for the massive dopamine hit of warpslashing 5 Gitz into a Sunder the Realm combo. Your call.
Onto the best one-use warscroll ability in the entire game – Shared Mutations. There are lots of things to do with it. First of all, guarantee Wreckers. Ephilim is the only warband in the entire game who can force a Round 1 Wreckers against an elite warband. This is a valid use case and even encouraged as it makes the matchup an auto win (but it’s better to use it as a last resort). Next, kill stuff. You can charge an enemy and then ping them to death with it. Very simple and effective but the more fighters you damage this way the better. Finally, just spam damage. Against a warband like Gitz if you can run into the entire group of them with the Flying Starefysh and pop a 6 fighter Mutations then go for it. It makes all your Cata Pings, ranged attacks, Volcanic Eruptions, and Fires of Changes one shot enemies. Which is obviously very satisfying and fun on top of being useful, which is rare! Now for a fun combo – Raised Abomination + Shared Mutations. They trigger at the same time so you can raise a minion next to an enemy to snipe them with Mutations. I absolutely adore this combo and it’s very effective too. Overall, just make sure to use this ability each game. Ideally you get a kill out of it but if not just makes you get a lot of value – it’s a very versatile and creative ability, the sky’s the limit with you wish to use it!
IDEAL GAME
The thing with Tzeentch, as many players know, is it is impossible to predict him. Same with Ephilim ‘the Unknowable’ (that’s their actual name btw, no don’t look it up).
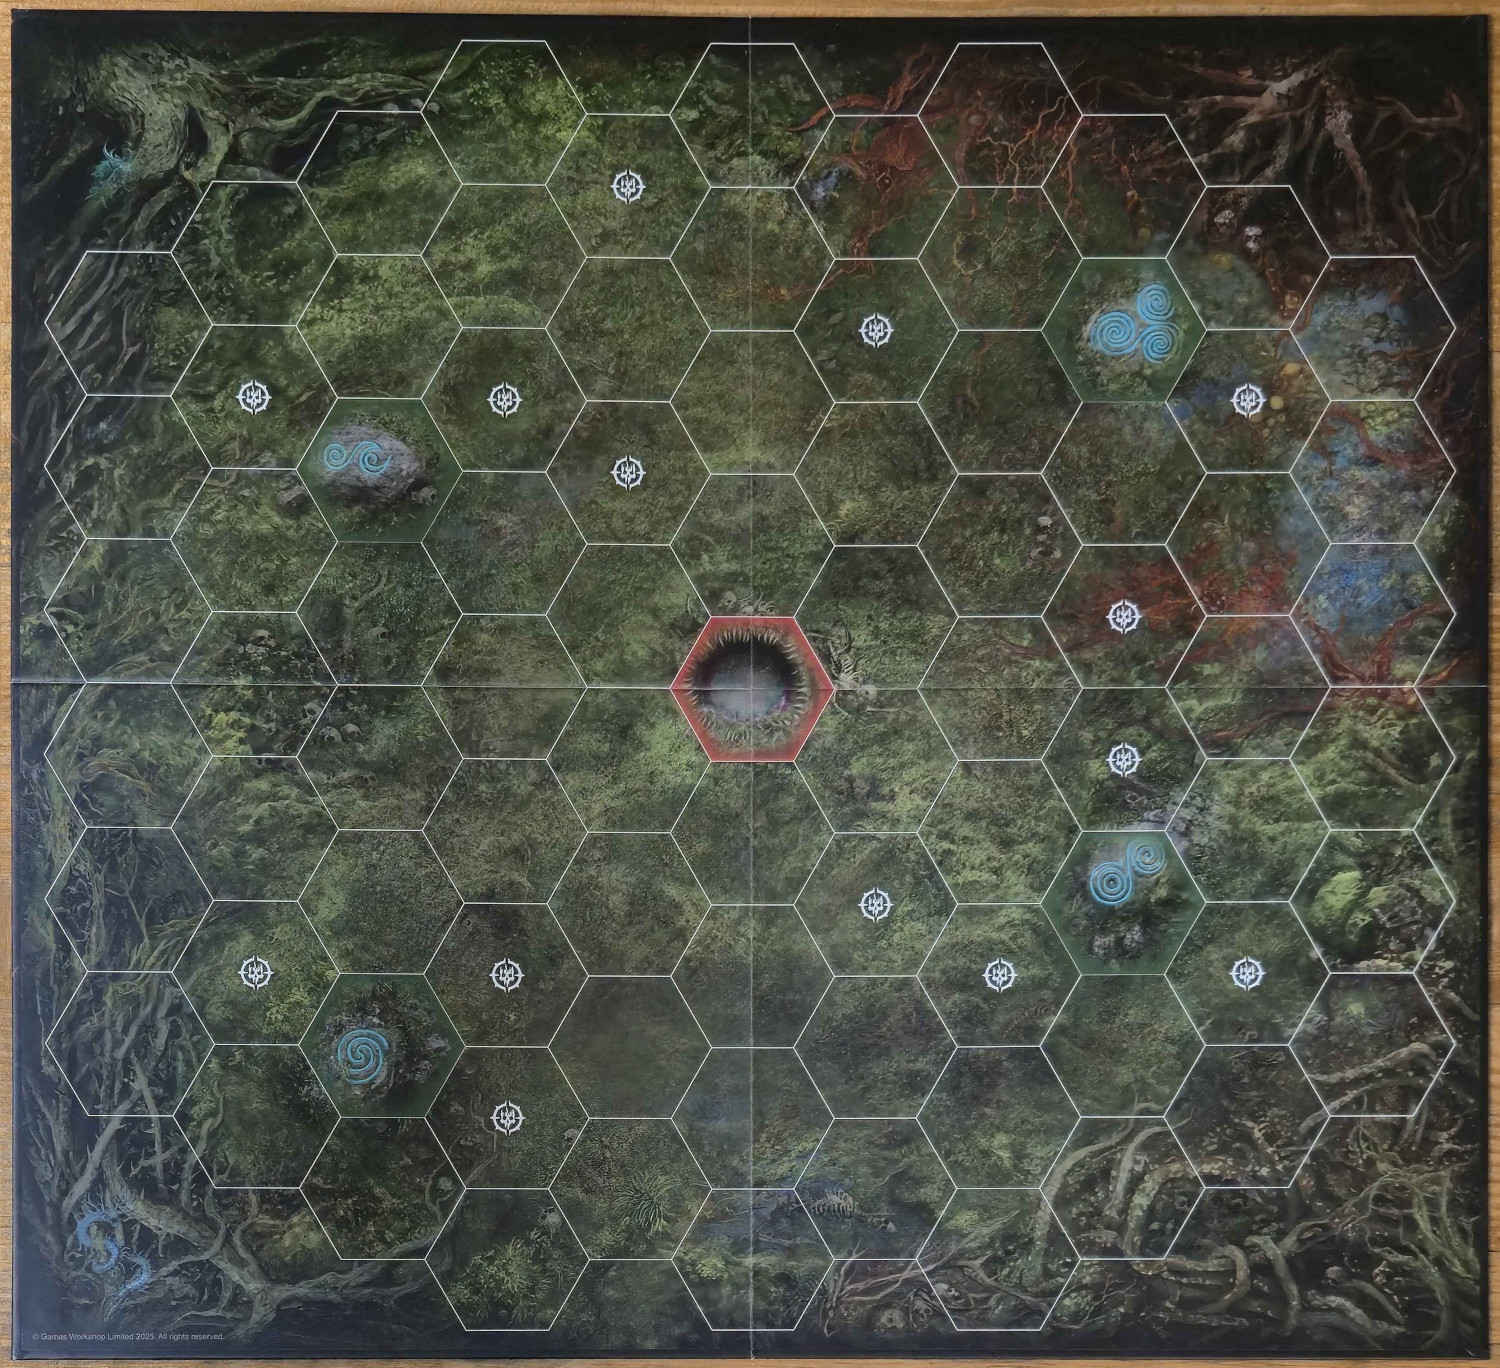
Boards-wise just don’t pick the one with blocked hexes (you have lots of ranged attacks and are not very fast). Waystone hex boards are fine for you, cause you have Ranged attacks and decent save which can benefit from them but remember so can your opponents. Think about Stagger hexes in regards to Violent Blast. Also this board lets you instantly deploy all your changers in a Power Leech:
Your opening hand should contain Wreckers, Collateral Damage, and something else pretty easy (Bloody and Bruised, for instance). Your objectives are pretty flexible but the two I mentioned are the best to have early on. Insta mulligans include Stay Close/Alone in the Dark (matchup dependent) and honestly Spread Havoc is also high on the list only because it’s free in later rounds. Power-cards wise, you want as little cards that mention Cataclysm on them. This is not because they are weak but because they get MUCH stronger as the game goes on! I personally love having WnR powers early on and CtC powers later on, it makes the game a lot smoother to play. Fault Lines is always nice turn one but also stuff like Ominous Rumbling and Damned if you Do is good as you can actually threaten enemies with the damage compared to in R3 when they have Utter Conviction and 3 Guard. Wary Tread is also great to get out in R1 to maximize the pushes.
In R1, the goal of the game is to get the damage spread out. This helps set up a lot of objectives, namely Wreckers and Bloody and Bruised, but also sets up your devious R2 and R3. Your round ones are often quite pitiful, to be honest. Your goal is to make your opponent’s R1 either more pitiful or put them in a position to absolutely demolish them. Also make sure to use Fires of Change either in R1 or R2 – in R1 it’s usually better as enemies are still clumped together.
In R2, you play your capitalization game. NOT LIKE THIS. More like this: Ideally, in R1, you got out some damage. Maybe a Fires of Change went off. Now, all the enemies are damaged, but so are you. Your goal for this round is to hit the most devious Shared Mutations on the planet to make sure you kill your opponent. This can also happen in Round 3, but the less fighters your opponent has on the board by then the better, as it makes your end phases quite easy to score. Your pings are also coming online this round. Basically, your goal is to get as many of your opponent’s fighters off the board as possible.
R3 is a carbon copy of Round 2 sometimes, but it can also be the ‘denial game’ depending how well your kill round went. If your kill round wasn’t very good, due to card draw or not using Shared Mutations yet, run another kill round! However, if your opponent is struggling for life, you have to make an educated decision – go all in and finish them off (risk of counterpunch comeback but secures the win) or leave them alone to score all your stuff, as one fighter can’t deny it, while also denying their stuff (less risky but also less flashy). If you do want to leave them alone, make sure you count their power cards first, as if they have something like Scream of Anger or Illusory Fighter to double charge/attack, that could be fatal.
MATCHUP TIPS

Here i’ll talk about some problematic or common matchups.
Elites – Elites usually seem like they ‘hard counter’ Ephilim due to their ‘low model count’. I’m not sure if you caught on yet, but you can literally one clip a Stormcast in a single power step using naught but power cards and run away laughing as a third of their warband died. It’s not as cool as against Swarms but still super effective. The main tech to beat elites is to kill them ASAP, maximize kill bounty difference, but also not overextending. And to top it off, if you can, use any means necessary to score a Round 1 Wreckers.
4x4s (GSP, Crimson Court…) – ok maybe not Crimson Court but this is by far your hardest matchup. Unlike Elites, they don’t always yield a super high kill bounty, but each fighter individually can also kill off a lot of your demons. In addition there is enough of them to spread out and deny WnR end phases. My counter against them is similar to elites – namely kill as many as possible. R1 Wreckers is also great to score. In addition, you have to make sure you get more kill bounty than an opponent. Overall, the tech isn’t much different than against Elites, it’s just a little harder to pull off. Be wary.
Elathain – Turns out soul harvesting is very effective. To counter him, you can really just focus fire Tammael and then Elathain, as to be honest, after you kill both of them the warband is much easier to deal with.
Wurmspat – protect the Great Apo’trax the Starefysh the Indomitable. He will eat up the entire warband. Other than that, they aren’t that big of a threat to you as even with their nice two shields you get to nicely say ‘take 1 damage’ about 60 times to mess them up.
ES/PnP – the hardest passive matchup. You see a 4×4 ES/PnP and it’s likely over. You have to invade, killing as much stuff as possible. It’s not really an issue to invade but it’s always uncomfortable leaving the comforts of Power Leech and your Raisable territory. You also must maximize Violent Blast impact and Damned if you Do impact.
As you may have noticed most of the matchups devolve into ‘kill everything, gg’. And that’s the best part about Pingstorm!
That’s actually all from this article from me today! I hope you enjoyed it and consider playing some Pingstorm soon as well. I will hopefully revisit the deck and playstyle with an article again in the future (maybe once we get a new ping deck!) so look out for that! If you want to discuss some Pingstorm on this very special day do check out the Staggerers Discord where I am always active and willing to chat. With that, I hope to see you again soon! 🙂
