Quint: Hello there! My exams are finally finished, and Thyrielle’s Zephyrites just released! In this article, I’ll give a grand total of THREE deck guides! They will be a bit shorter than our usual guides, and I’ll highlight the important cards, give some tips and tricks, and give you some options for card substitutions so you can cater the decks to your style! Since the Zephyrites are such a versatile team, they have a lot of player expression, so experiment with them and have fun! Alright, that’s enough preamble, let’s get into it!
Chapter 1: Warband Introduction
Thyrielle’s Zephyrites are the newest Warhammer Underworlds warband, and are very interesting. They have a lot of cool tools and tricks at their disposal, really exemplifying that “Mastery” playstyle, and you can really deckbuild to focus on any of them!
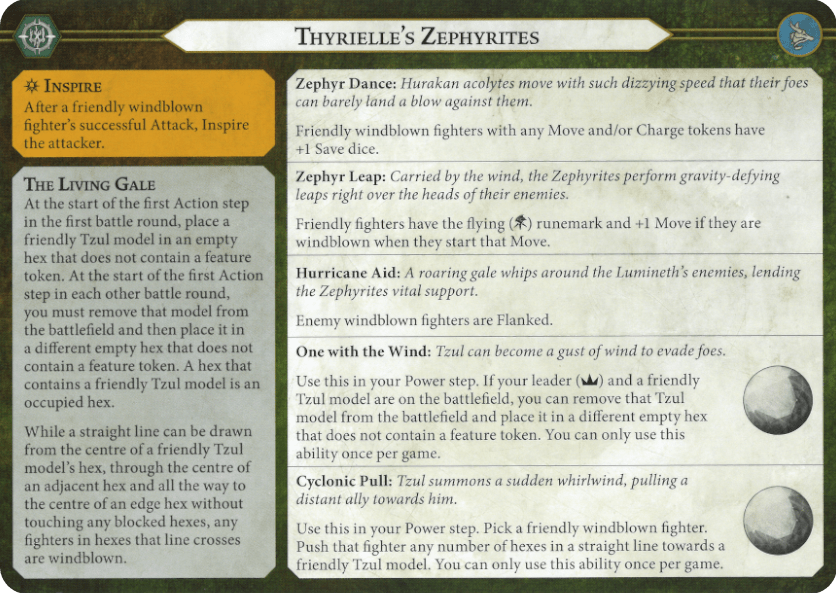
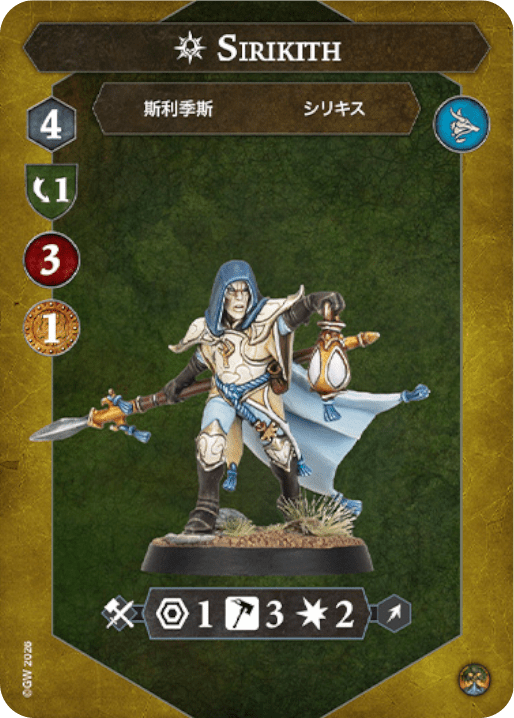
Inspire: The Inspire is pretty simple, but a pivotal part of your game plan. Your fighters gain a lot from inspiring, and especially Sikrith and Orieth become a lot stronger when they do. However, its hard to talk about it without the next ability.
The Living Gale: The most important ability for the Zephyrites. Placing Thzul every round is the hardest part of playing them. In the early rounds, you want to hit as many objectives as possible, to inspire, but more importantly, get that +1 save with a move token. Remember that you have to move it and can’t leave it in the same spot! However, using One with the Wind in your final powerstep to get windblown for the last activation and to place Thzul back in the best spot next round is completely valid, and makes it so you get a way more consistent gameplay experience.
Zephyr Dance: This ability makes the entire warband sing. Flying is actually so underrated on 5+ move fighters, and with a simple Headcase or Visions of Ruin you can reach every token on the board. You’ll be surprised how much this comes up to be insanely powerful.
Zephyr Leap: As stated before, your win condition with this warband is to stay alive and slowly ping your opponent to death and/or claim every objective. A non-capped additional Save dice makes that so much easier, and your two best fighters can easily reach 3 dodge (probably in cover). Always play for this ability.
Hurricane Aid: Your main way to guarantee inspires and buff your defense is to get enemies flanked through Thzul. If you place them right in the middle of the board, that makes almost a quarter of the board “inaccessible” to opponents (as in, they have to be flanked). That, in combination with the fact that Thzul counts as an occupied hex, makes it so the opponent’s Charge lanes are very limited.
One with the Wind: You should keep your leader safe, as it is often your most important fighter and also allows you to use one of your best abilities. Use it in combination with Cyclonic Pull to get anywhere on the board! This also works great to reposition a fighter and to guarantee the “great” spot for Thzul next round (as said before).
Cyclonic Pull: One of the best abilities in the game (no, seriously), it allows you to do so much. Place tokens in a straight line of eachother to get from one to the other and score Iron Grasp, Broken Prospects or Set Explosives with ease. Use it to get a fighter out of dodge or to set up a charge-less attack. So incredibly versatile, but do remember it’s only in your Power Step.
Board selection: If you are playing a bit of a passive strategy, the board with the blocked hexes (although counterintuitive) is actually insane with the Zephyrites. It gives you so much board control, and if you place Thzul right in the middle, makes it so opponents can’t really take any good attacks or moves. Since you are Flying, you don’t care about the wall of models in the middle of the board, but your opponent won’t be able to cross it. Also, the amount of times my opponent’s have looked at my warscroll and went: “Oh, you get stopped by Blocked hexes, I’ll take that board” without knowing they play exactly into my hand is really funny.
Treasure Token placement: When placing treasure tokens, try to line them up with the middle hex if you place first, or with the hexes left/right of the middle one if the opponent placed first, depending on where they placed the first token. That way, you can guarantee a 3-token Thzul placement. Then, when placing the last token, try and place the token so that you have a second Thzul placement that hits 3 tokens. You will have to move Thzul to at least two different spots, so you have to have 2 good spots.

Chapter 2: ES/P&P
ES/PnP is a staple Hold Objective warband, and Zephyrites play it really well. They have a lot of defense dice and benefit a lot from gaining Guard and/or being in cover, whilst having the range to attack from treasure tokens.
Objectives
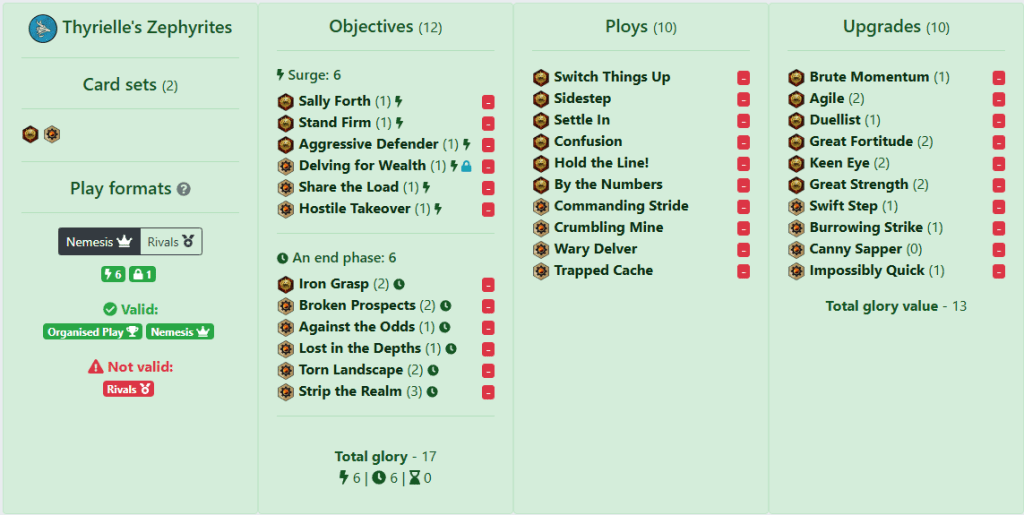
The interesting thing about this deck is that we can take almost all of the Pillage objectives, swapping only Desolate Homeland for Iron Grasp, which is really easy with Crumbling Mine and all the delving you want to do anyways. This gets us a nice glory ceiling of 17.
Lost in the Depths is a great pick for a four-fighter warband that wants to spread out anyways, and since your fighters are quite fragile, you’ll score this almost any game (unless you get wiped).
The other objectives are delve-focused, allowing us to score them even if our fighters perish before the end phase.
The surges are a bit worse than the end phases but are all very scorable. Just don’t greed for Sally Forth and Stand Firm and discard them if necessary. The best way to score them is to get an elf onto a token deep in enemy territory where they’re windblown so that your opponent has to waste a lot of energy moving back to get them off (against the aggro/flex matchup. Against Hold, just discard this card unless you have Guard or no-driveback cards.)
Delving for Wealth is one of the best surges in the game and secures its spot here as the restricted card. The other surges are pretty much auto scores for this warband, and reminder that taking a simple move or guard action often increases your defense percentages by double (or more). Don’t greed and play slow and steady, going for big plays at the end of the round.
Substitutions: You can definitely swap out Delving for Wealth for Supremacy, to get some more scoring power. It could be your 13th objective or it could replace Lost in the Depths. You do have to take Unassailable or Aggressive Claimant then, which aren’t ideal and can be a bit swingy, but might fit your playstyle! The third and diabolical option is to take 5 surges, leaving delving for wealth at home and taking Supremacy as a 7th end phase.
Ploys
The ploys are simply supporting the objectives, and don’t really offer any killing power. A lot of Guard, no-driveback and some card draw, with Trapped Cache being a consistent ping. Use By the Numbers to draw cards, and once again, don’t greed and be happy with two! Use your sidestep and commanding strides to reach tokens outside of enemy reach with the +1 move and flying whilst being windblown to score some easy glory!
Switch Things Up allows us to score Broken Prospects and Against the Odds way easier, whilst Crumbling Mine gives us some control over Iron Grasp and Torn Landscape. Confusion is always a good card and wins games, so use it when you have the chance! All in all a simple ploy package that really cements the playstyle.
Substitutions: Some players don’t really like Commanding Stride, so you can swap in Healing Potion or Brash Scout, giving some more survivability or accuracy, respectively.
Upgrades
The upgrades really fuel the playstyle, with Brute Momentum, Impossibly Quick, Great Fortitude and Agile allowing us to play very aggressively and take Treasure tokens in enemy territory. Keen Eye, Great Strength and Burrowing Strike really elevate this warband’s killing power in melee, as Burrowing Strike is made pretty accurate by the flanked status that Thzul gives! Finally, Swift Step, Canny Sapper and Duellist allow us even more mobility to outmanoeuvre our opponents.
Substitutions: There aren’t really a lot of them, but you could swap Great Strength for Gloryseeker (or swap it in for any other card you don’t like).
Tips
Playing ES/P&P with this warband is all about movement. You have to constantly be moving and claiming new objectives to keep your opponent guessing. Place at least two tokens in your territory, and against Aggro, place one deep in enemy territory in a straight line from another in friendly territory. You can use the One with the Wind ability in combination with Cyclonic Pull to do some crazy stuff in your last power step. Also, don’t hesitate to use your abilities! Both of them are really powerful and can trap you in a “but I can get a better use out of this” mindset. Just use it to claim objectives! One of the best uses for One with the Wind is if you have a perfect spot for Tzul that hits 3+ objectives, to relocate him, which allows you to place him back in the same great spot as before!
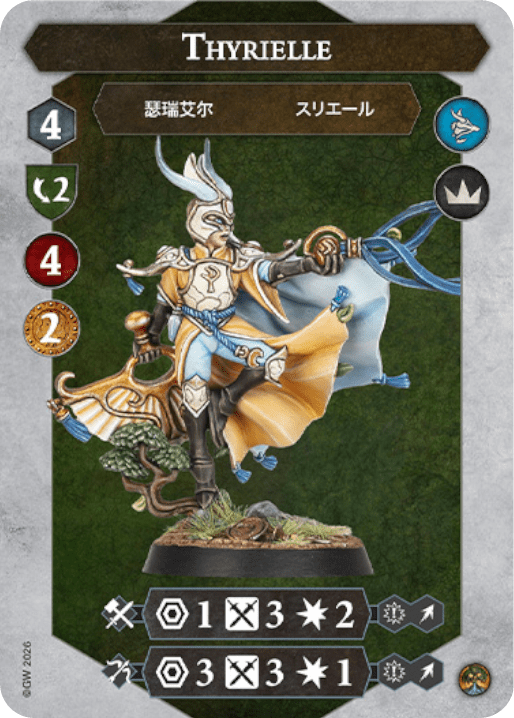
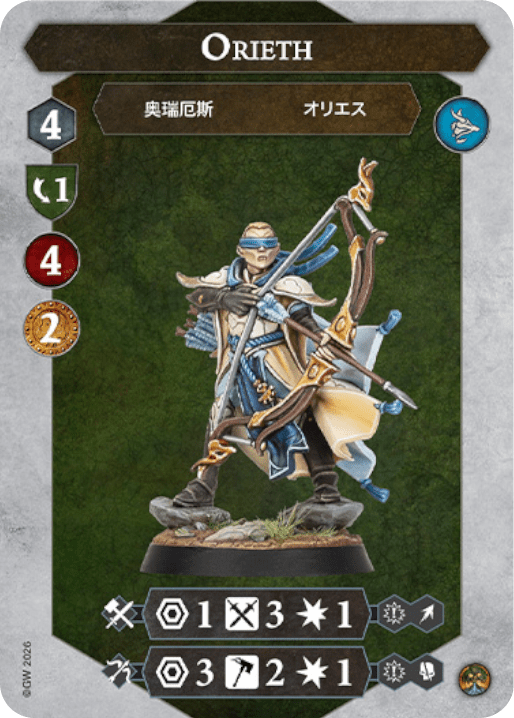
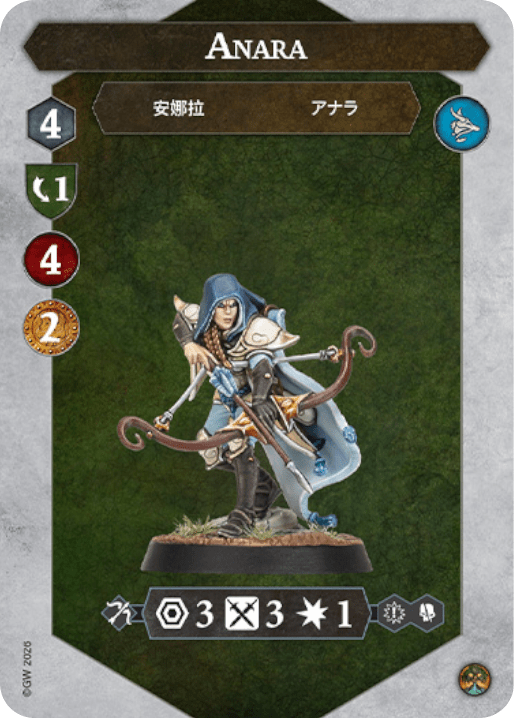
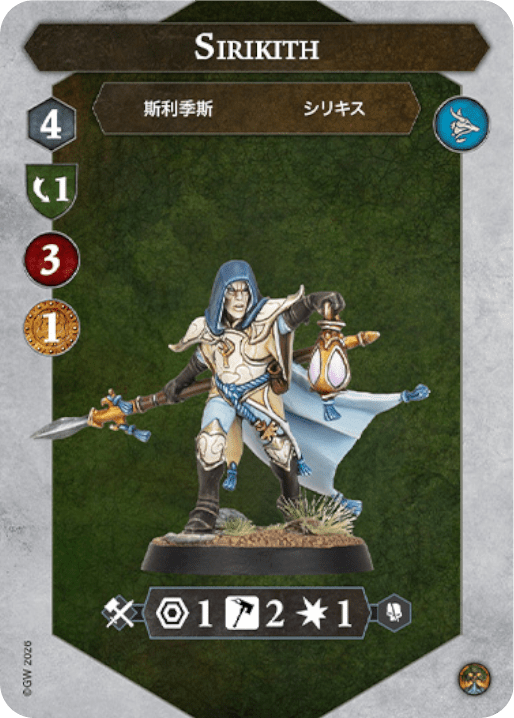
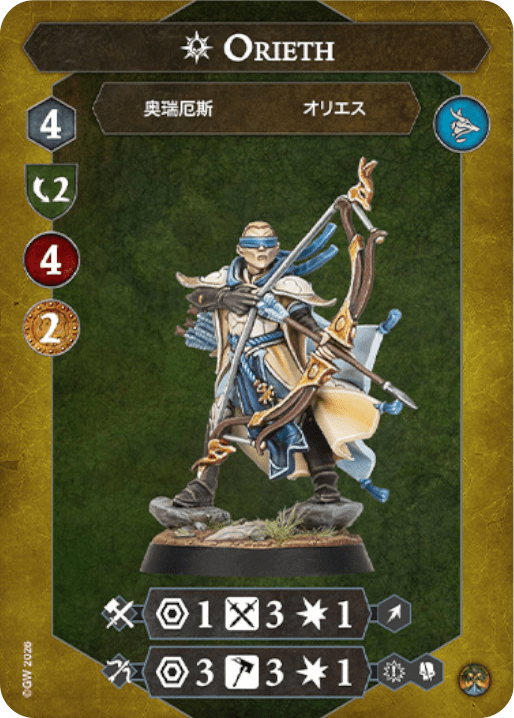
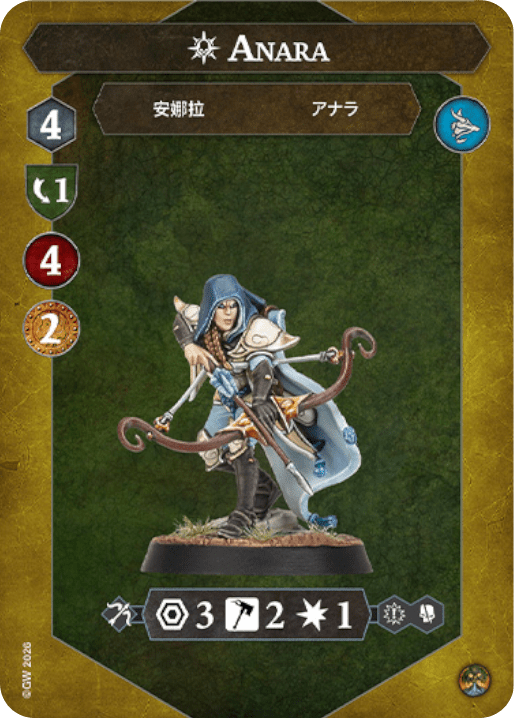
Try and put out some consistent damage, but don’t worry too much about it. Staying alive is way more important for this warband. The most important Inspire is Orieth, as he gains the most, (3 hammers with crit Grievous on range 3 is actually insane) followed by Thyrielle. Sirikith is a good choice and gains a lot, but isn’t really necessary in this deck to gain a lot of value. Inspiring Anara is almost always a downgrade, so don’t waste any resources forcing it.
Chapter 3: CtC/W&R
It wouldn’t be a Staggerers article without a Pingstorm deck, and the Zephyrites don’t dissapoint. Their accurate ranged attacks make for perfect damage tools to combine with the numerous pings in this deck.
Objectives
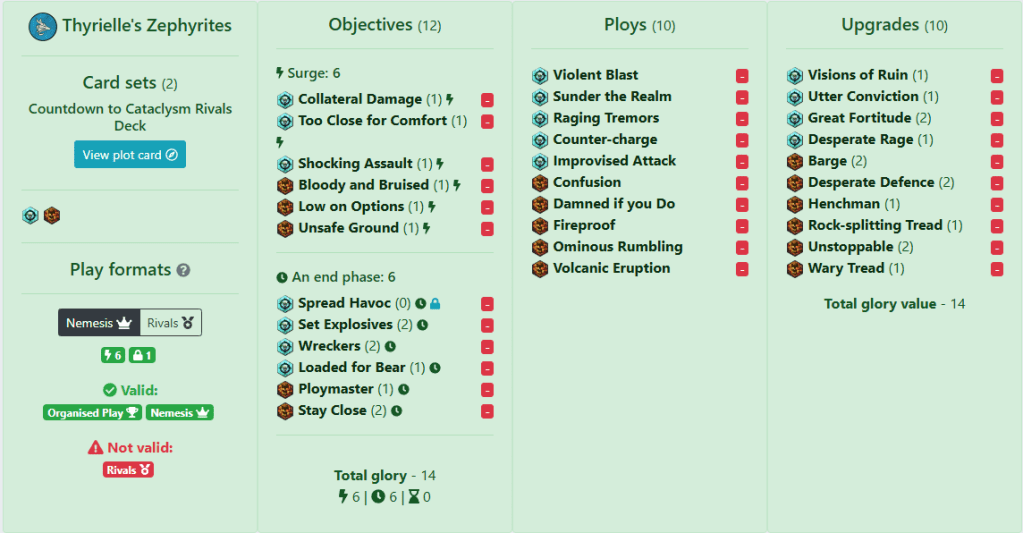
The most important card to score in this deck is Wreckers and/or Set Explosives, as you need the glory they provide. The surges aren’t ideal and most aren’t scorable in the early game. This is compensated by the pretty solid End Phase package, although you might have to pull yourself in different directions to score everything.
Make sure to have 2 Treasure tokens (at most) in the same territory, to score Set Explosives easier, and place at least one in neutral. Since you only need two objectives for this deck, you can be a lot more aggressive with Tzul, since you don’t always have to charge onto objective tokens.
Substitutions: You can swap Wreckers for Alone in the Dark if you don’t think you’ll face a lot of DS.
Ploys
The ploys can be split into three categories:
The disruption effects like Violent Blast allow us to moveopponents and force them off tokens, into Windblown hexes or out of Edge hexes. Confusion is the bane of any Hold player that isn’t using Emberstone Sentinels (or Deadly Synergy enjoyer), so use it wisely to drive in the fact that they don’t have access to this horrible and glorious card.
The Pings are the staple of any pingstorm deck (wow, crazy) and force even more positioning from our opponents to dodge Sunder the Realm. Volcanic Eruption, Ominous Rumbling and Damned if you Do (which is a disruption effect too!) allow us to ping anyone, anywhere, providing some much needed damage to force things like Wreckers and Bloody and Bruised.
The buff effects allow our already insane warband to stay on the board even longer, or get stronger. Fireproof is just generally an Insane card that can really break someone’s mental (if used correctly). Counter-charge can be used to take space and get a non-windblown fighter windblown, whilst Ominous Rumbling’s Stagger option and Improvised Attack allow our fighters to get inspired way quicker.
Substitutions: You can take Savage Blow to almost guarantee an inspire for your Leader or Orieth, or Vicious Intent if you like to use a lot of melee attacks. Swap them in for any of the Pings you don’t really like, as they can be a preference. The same goes for Total Collapse, which I personally don’t enjoy, but is a very good card when used right.
Upgrades
The Upgrades are a bit of a mixed bag. Utter Conviction is an insane card that just makes your fighters even more survivable, especially in combination with Desperate Defense and Great Fortitude. Henchmen is just a really funny card with a warband that makes a 3rd of the board Flanked, whilst a Windblown Zephyrite with Visions of Ruin can reach any hex on the board.
Desperate Rage allows us to do some burst damage that becomes especially funny with Unstoppable, whilst Rock Splitting Thread is yet another Ping. (And since we don’t run Alone in the Dark, we don’t have to worry about denying ourselves!)
Finally, Wary Tread is just a really good card that allows this positioning-heavy Deck and Warband to shine, whilst Barge allo- wait, we’re running Barge!?!?
Barge is pretty good in this pairing, because we can use it in the last Power Step to force opponents off of tokens (it’s really good in the Stalkers matchup), and it’s quite undodgable because our entire warband is 4/5 move flying (and we’re playing with Visions of Ruin). So, definitely not the first pick, but a really interesting and fun card to play with, especially with this warband.
Substitutions: Ok ok, you can swap out Barge. Put in Driven by Pain, Sundering Weapon/Inescapable Grasp (which only work in Melee!!!) or Great Speed (because why not?). Otherwise, the upgrades are pretty much set!
Chapter 4: P&P/RF
This deck was actually my first idea with the Zephyrites, as I’ve tried it a lot, and this warband seemed like the perfect candidate. The pairing has an issue where you have to be be able to reach opponents AND stand on tokens, but their ranged attacks fix that. They also make up for the lack of accuracy that RF/PP has (relative to BA/PP) by making windblown enemies flanked. RF also fixes a glaring weakness of this warband, which is that you don’t get the extra save dice for being Windblown without a move/charge token, meaning you only get it near the end of the round normally. Reckless Fury however, has a lot of ways to give your fighters charge tokens, making it so they can stay on their tokens and still get a charge token. They also don’t mind being Charged Out, as they have the range available to stand still and take shots.
Objectives
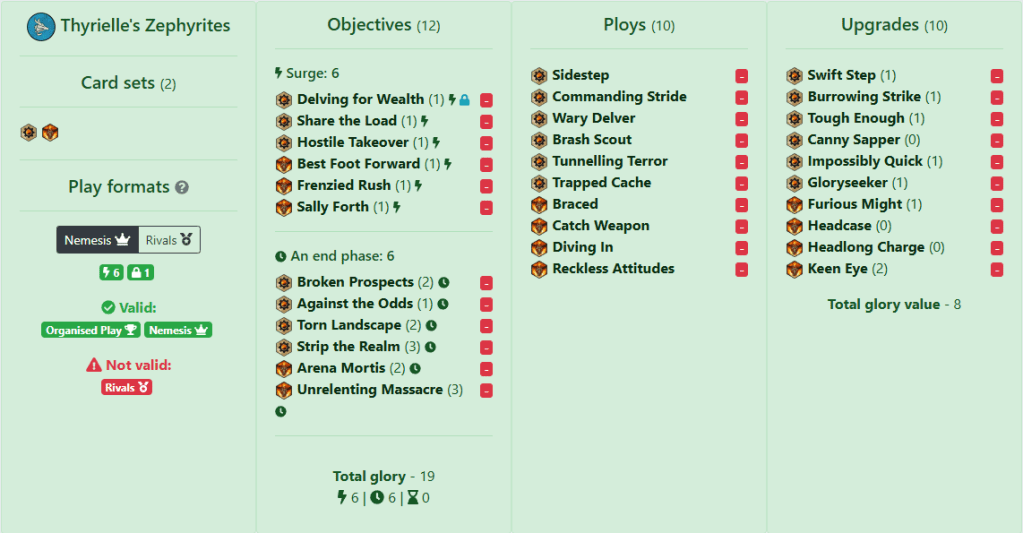
Most of the objectives here are second edition staples, like Broken Prospects and Share the Load. The Reckless Fury objectives are strangely passive, with only the surges requiring (truly) aggressive play. The immense range on this warband makes it so getting charged out in your own territory on tokens isn’t all that difficult. Scoring Arena Mortis, Torn Landscape and Against the Odds is very doable!
We take Delving for wealth as our Restricted card, as it allows us to score glory and cycle, even in rounds where we can’t get charged onto tokens and start there. Bladecatcher is also really tempting, but we have to prioritise our surges here.
Although we want to charge with Reckless, Hostile Takeover is very scorable, as you want to have your entire warband charged out at the start of activation 3/4 (preferably standing on tokens), giving you some easy charged out shots.
This deck pairing can actually take both of the three glory objectives, netting a very high glory ceiling of 19! Since you have a lot of range, you can kind of force opponents to come to you, or not attack at all (which is great, since you can delve more!), making Unrelenting Massacre very strong as a control piece for your opponents. Strip the realm further ties into this, forcing opponents to come and knock you off objectives to overrun (and therefore helping Unrelenting Massacre) or move away, allowing you even longer survivability! These elves can really explode if they get cornered, so the more attacks you can deflect, the better!
Substitutions: If you want, this pairing can easily run Brute Momentum, as a swap or even as a 13th objective. Claim the Prize could be taken as restricted surge, but forces some more aggressive play.
Ploys
The ploy package contains some essentials; Push cards, Guard and a ping. The other cards are the interesting part. Reckless Attitudes lets us force opponents to charge, or to focus if they aren’t able to. Braced allows us to give our fighters on a Feature Token a charge token, so that they can get the extra save dice without having to move, whilst Tunneling Terror + Cyclone Pull gives some insane movement and allows us to get charged out easily.
Catch Weapon gives us even more control of the gamestate, allowing us to punish early charge-less attacks (especially from leader-heavy warbands like Mollog’s Mob), or to give ourselves another Charge Token without moving.
Substitutions: Brash Scout is definitely the least important Ploy, and can be swapped out for Crumbling Mine if that’s your style, or for Explosive Charges if you want to go completely bananas with movement.
Upgrades
The upgrades are a bit scattered, but are mostly very cheap. Canny Sapper (which is basically a ploy) lets us get away with devious things, and combined with Tunneling Terror, Sidestep, Commanding Stride and Cyclonic Pull, allows us to get away with some devious shenanigans. It can work great to score Arena Mortis, a last ditch effort to run away or score Frenzied Rush, get a fighter with a charge token into enemy territory to make an attack for Hostile Takeover and/or Best Foot Forward or to reach a Treasure/Ghyranis Token. All in all, great card.
The other notable free upgrade is Headcase, allowing us to play more aggressively with our important fighters and leave our delving friends behind. Most of the time that will be Sirikith, but Anara can easily stay behind if she doesn’t want to get inspired. You can also use it to get an easy defence dice on a fighter by giving them a charge token at the start of the round.
Headcase finishes off the free trio by giving a whopping +2 move to fighters that charge, making a wind elves a 7 move and flying monstrosity (without Visions of Ruin btw). It helps you reach the furthest objectives, whilst still charging due to your great range. Combine it with Swift Step to get literally anywhere you need to be (no seriously, a 7 move fighter with range three can attack any spot on the board with a charge), or to get a “free overrun”.
Furious Might is supported by all of the mentioned “give charge token” cards, and can give some much needed melee damage, as does Gloryseeker. Keen Eye and Burrowing Strike (once again) help with the low damage output, and can use Grievous to great success.
Impossibly Quick makes your elves even more difficult to hit, but, more importantly, can dissuade your opponents from even attacking them, meaning you can easily score Sally Forth or Share the Load. Finally, Tough Enough makes your fighters immune to Cleave and Ensnare, making them even more evasive.
Substitutions: if you’re a fan, you could take Bellowing Tyrant over Furious Might/Headcase, or swap out Headcase for Great Speed. It really just depends on preference. Not much to say here, there aren’t a lot of good upgrades in this pairing lol.
Tips
The weirdest thing about this deck is that it’s basically a passive deck, where your goal is to stay alive and get charged out. You don’t need kill bounty and can survive by just moving enemies around with attacks. Your fighters score so much glory simply by being alive that you should attempt to keep them safe. Make any fighter that’s reachable a really unfavourable target through upgrades, guard and positioning (you often have your fighters charged out by the third or fourth activation, so going on Guard isn’t a bad idea!). This way, you can score your deck consistently and focus on the difficult objectives: Unrelenting Massacre and Strip the Realm. My only tip is to make your fighters hard to attack without charging, and to focus fire on fighters with move tokens.
Tournament Report
Surprise! You thought this was just a deck guide? Think again! I actually took Zephyrites PP/RF to the Benelux Clash V, where I placed 3rd, and my only loss was purely dice based (no like, seriously), as I only hit two attacks (my first hit attack was in round three), and I rolled 4 double Supports twice whilst attacking with 4 swords and Flanked. The other games went really well and I felt in control during it. One of the most important things I noticed is that Orieth has to hit in the first round, because he is so incredibly strong whilst inspired. Otherwise, some matchup notes:
- the Zephyrites can deal with Starblood Stalkers really well, especially if you place a 3 dodge fighter in cover and on guard in their territory (speaking from experience). If you’re playing RF/PP, you can use Headcase to get there. Otherwise, use Cyclonic Pull! Do watch out for Confusion, as it can turn your great play into a better Sidestep for them.
- When playing into Deadly Synergy, you can kind of dance around your opponents, forcing them to spread out. Make sure to place tokens as far away from eachother as possible, because you can probably reach them, but they can’t.
- When playing into another Pillage and Plunder deck, focus on getting some Bounty by targeting Delving opponents. Having a Staggered target makes the crit-Grievous suddenly feel very achievable!
Closing Thoughts
Although that might have been the shortest tournament report ever, this article certainly wasn’t. Thanks for reading through it! The Zephyrites are by far my favorite new Underworlds Warband, and I will be continuing my journey with them in the next year. Also, keep your eyes peeled for my PP/RF deck guide and analysis that will be released shortly! (I promise I won’t go on a 2 month break again, my finals are actually over now) With that, I invite you to join us on the Staggerers Discord server to chat about the Zephyrites or any other Warband, and have a very good day!
